Last Updated: 2020-08-26
Overview
In a typical invocation to a REST API, HTTPS is used and the client must trust the server in order for the call to be successful. On top of that, an additional trust can be implemented in the other direction, i.e., the server must also trust the client as well in order for the call to be successful.
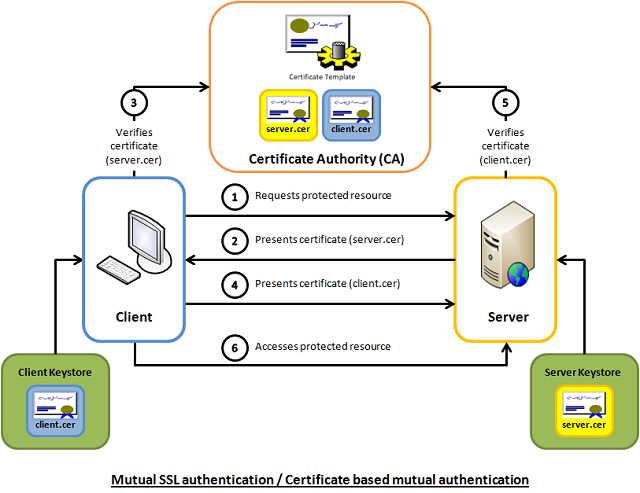
This codelab contains the step-by-step procedures to implement both variations of HTTPS using MuleSoft.
What you'll learn
- How to implement 2-way SSL in Anypoint Studio
- How to create a keystore
- How to create a truststore
What you'll need
- Anypoint Studio 7.6.x
- A tool to manage digital certificates.
keytoolis a great command-line tool for this purpose. However, there are so many command arguments, and it is hard to remember all of them. In this codelab, we use an open-source tool called Portecle to execute the relevant digital certificate creation, management and CSR creation, etc.. Both tools are serving the same purposes, and the choice is purely based on personal preferences.
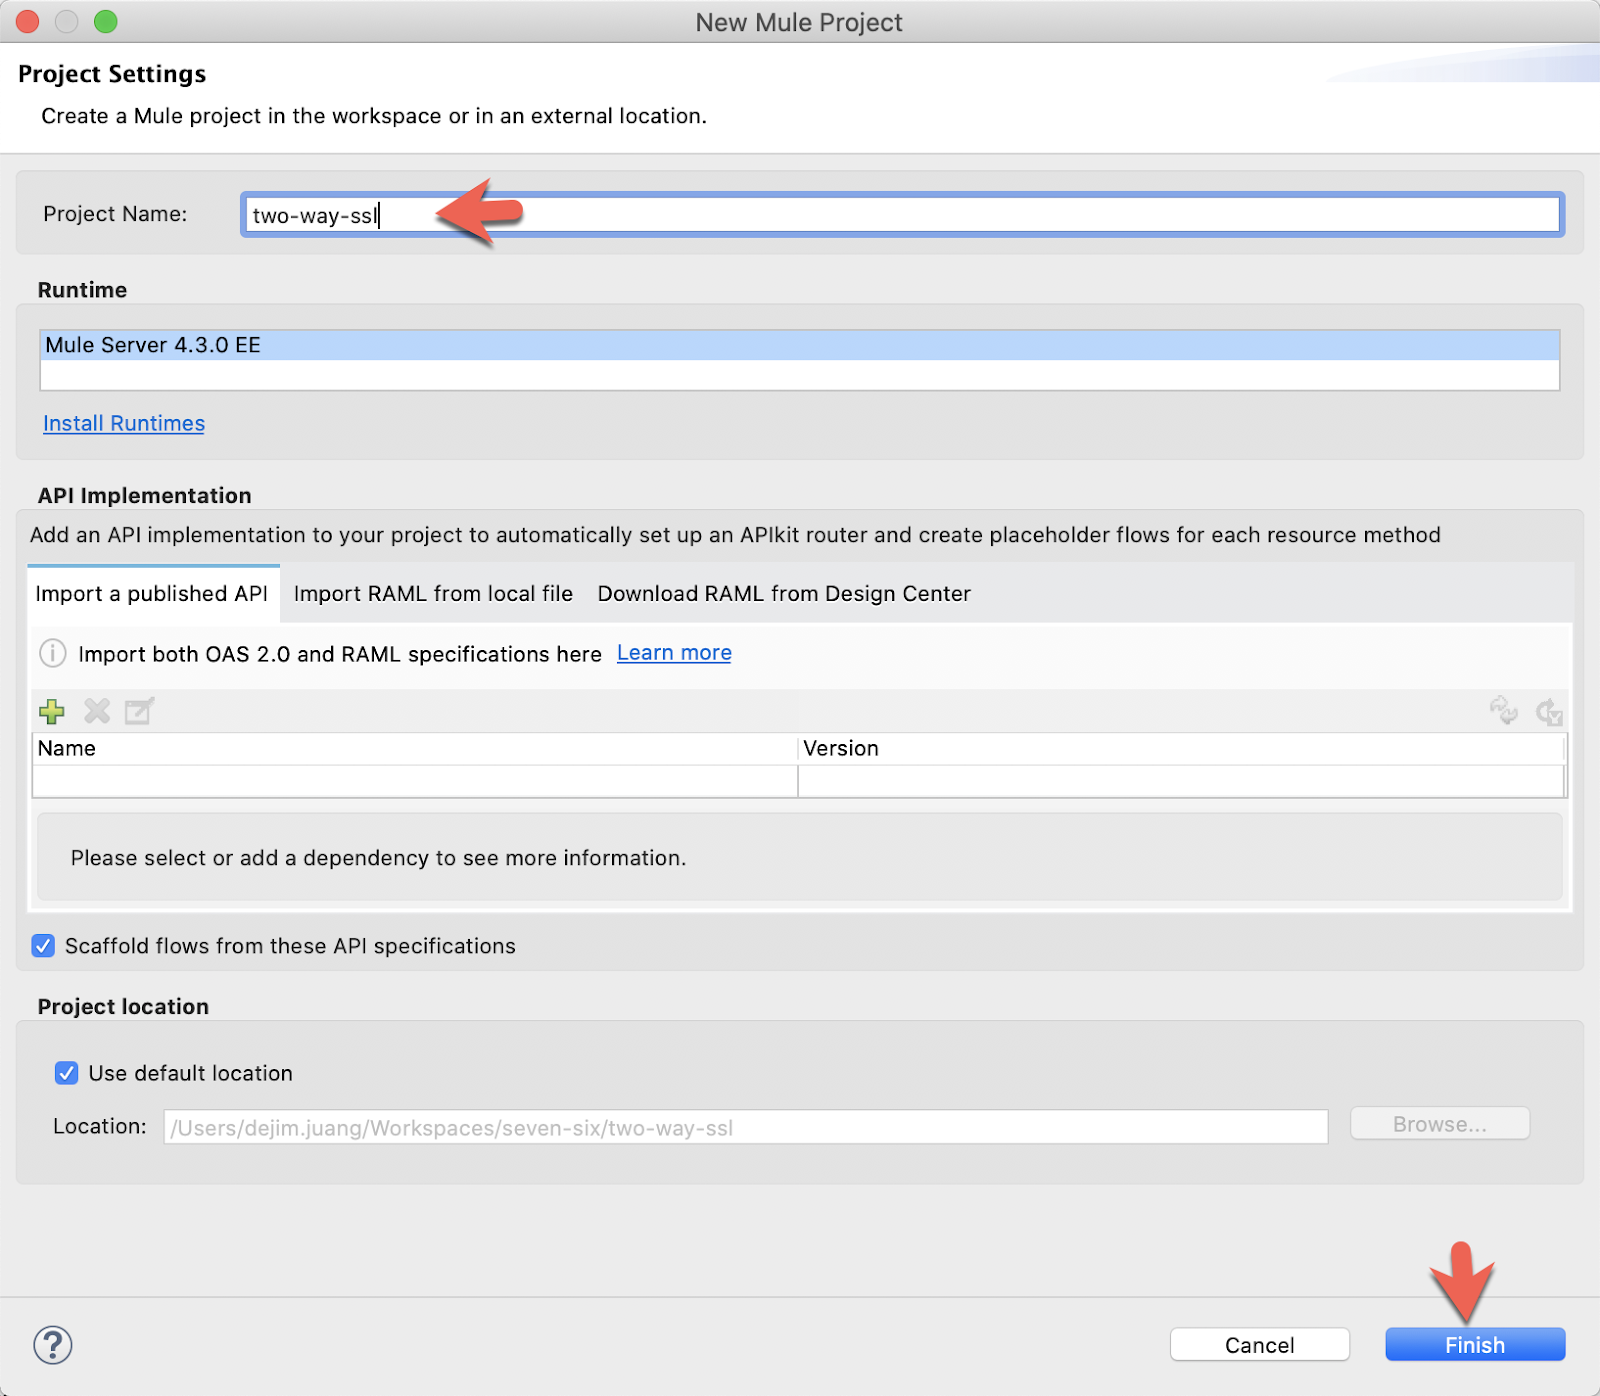
Start Anypoint Studio and create a new project.
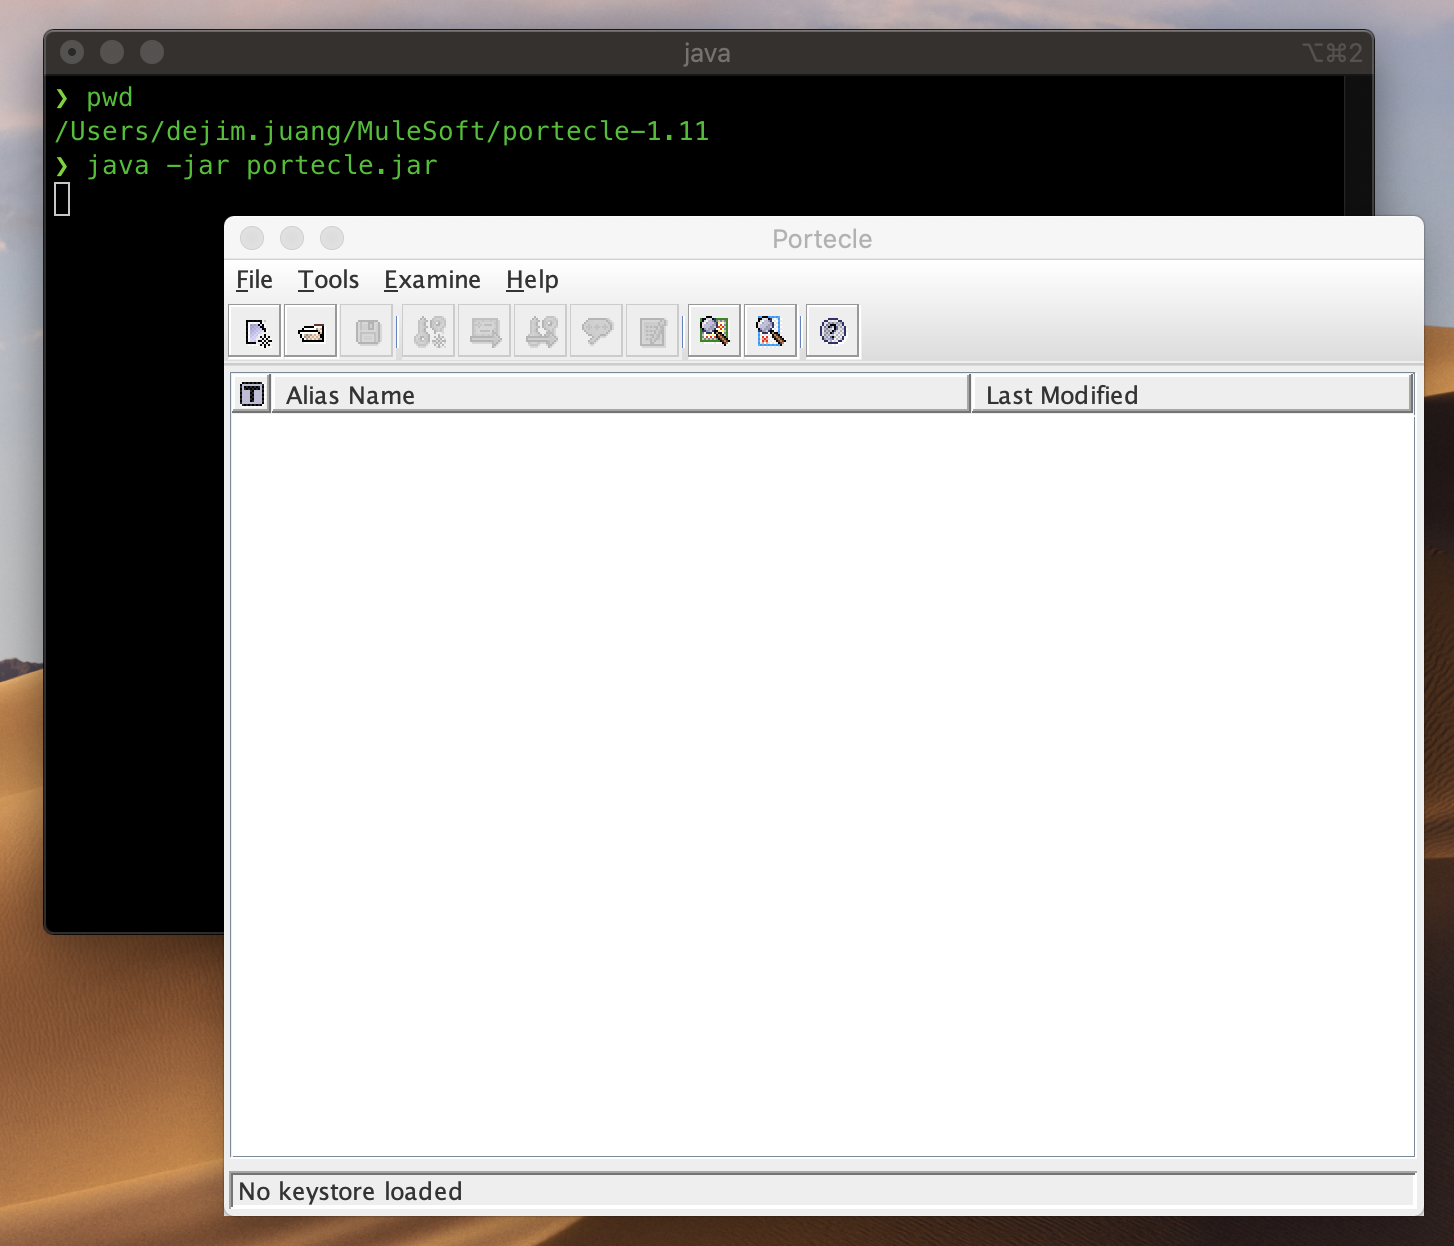
Next, open a Terminal window and go to the directory of where you unpacked Portecle, and execute the following command to start the tool.
java -jar portecle.jarYou should see the following screen after running the command.
In the next few steps of this codelab, we'll be creating the keystore for both the client and server side, and a single truststore that contains the client and server certificates.
Keystore | The keystore stores the identity of this server, and it contains the certificate and the private key of the identity of this server. |
Truststore | The truststore stores all the certificates (less those private keys) which this server trusts.
|
Again, you can use keytool or any digital certificate management tool that you are familiar instead of the Portecle.
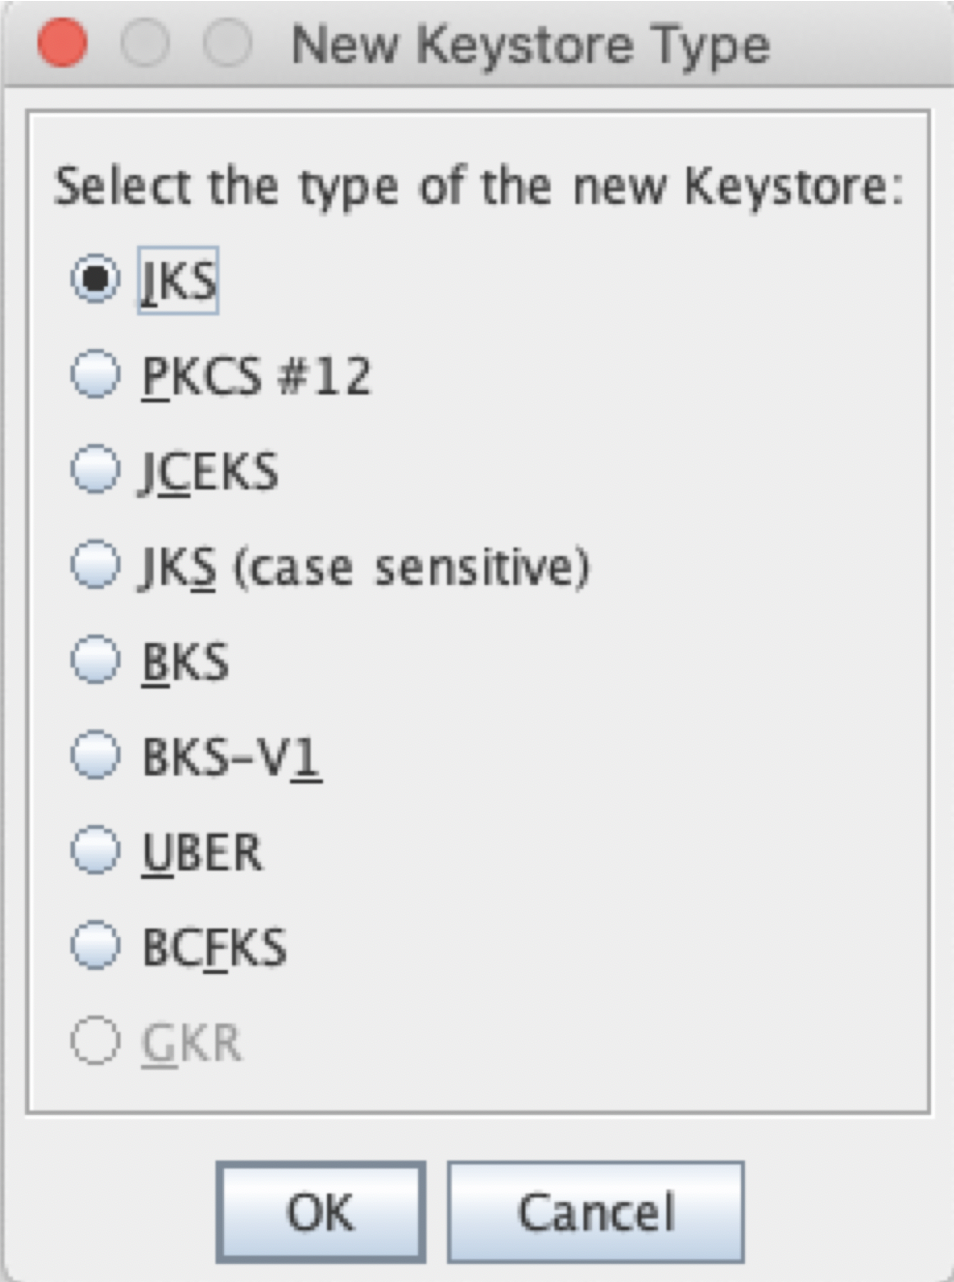
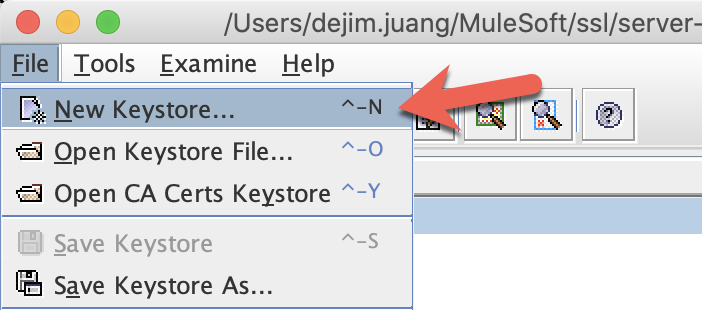
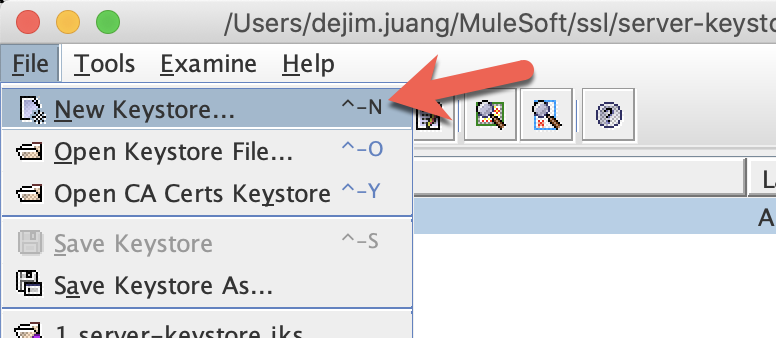
In Portecle, click on File > New Keystore
Leave the default selection of "JKS" for keystore type.
Click on Tools > Generate Key Pair
Leave the default selection of "RSA" as Key Algorithm, and "2048" as Key Size.
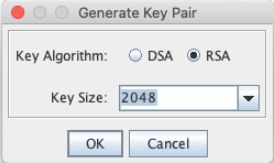
Click OK, and enter the following values:
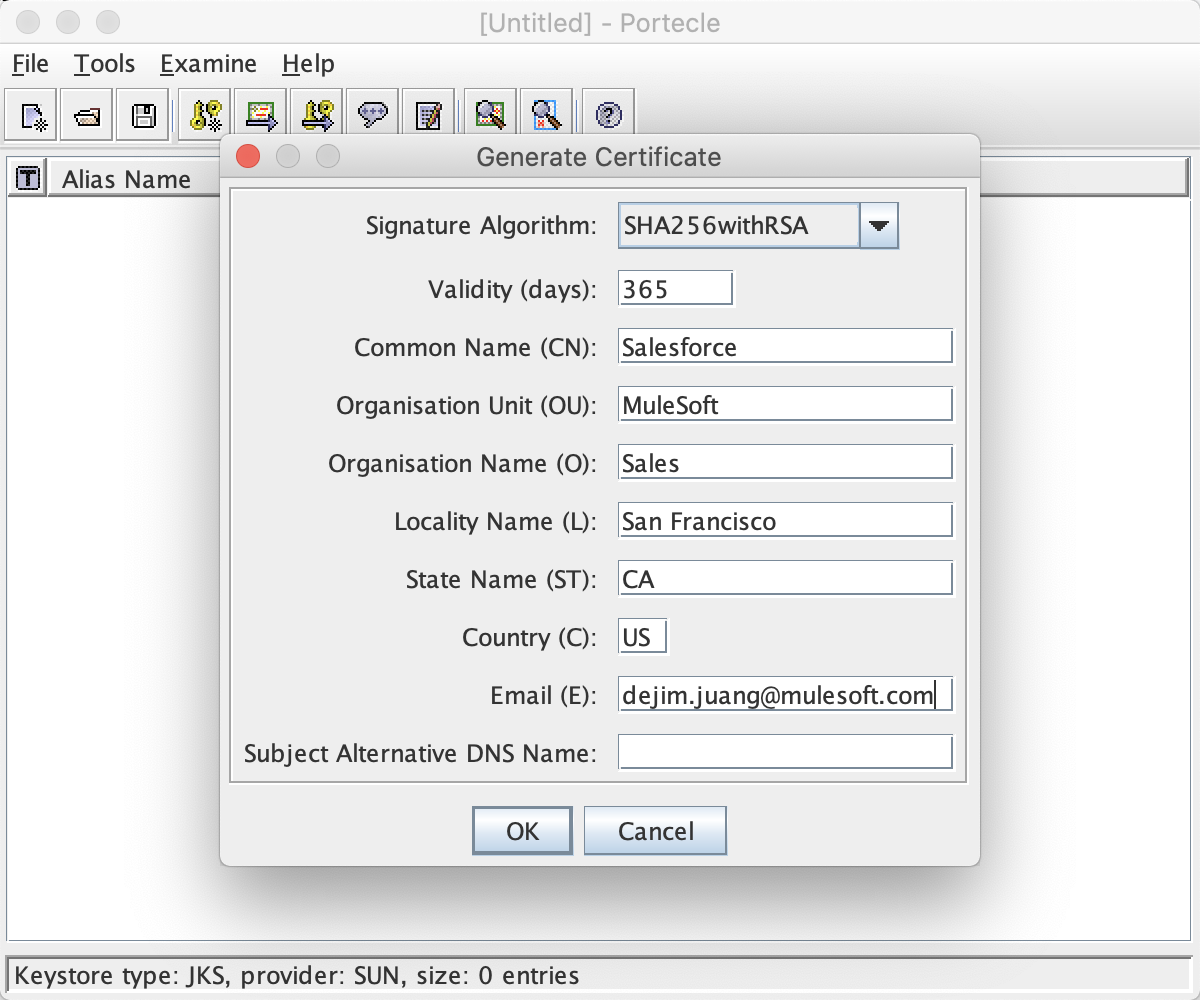
Click OK. Leave the given alias on the next dialog screen:
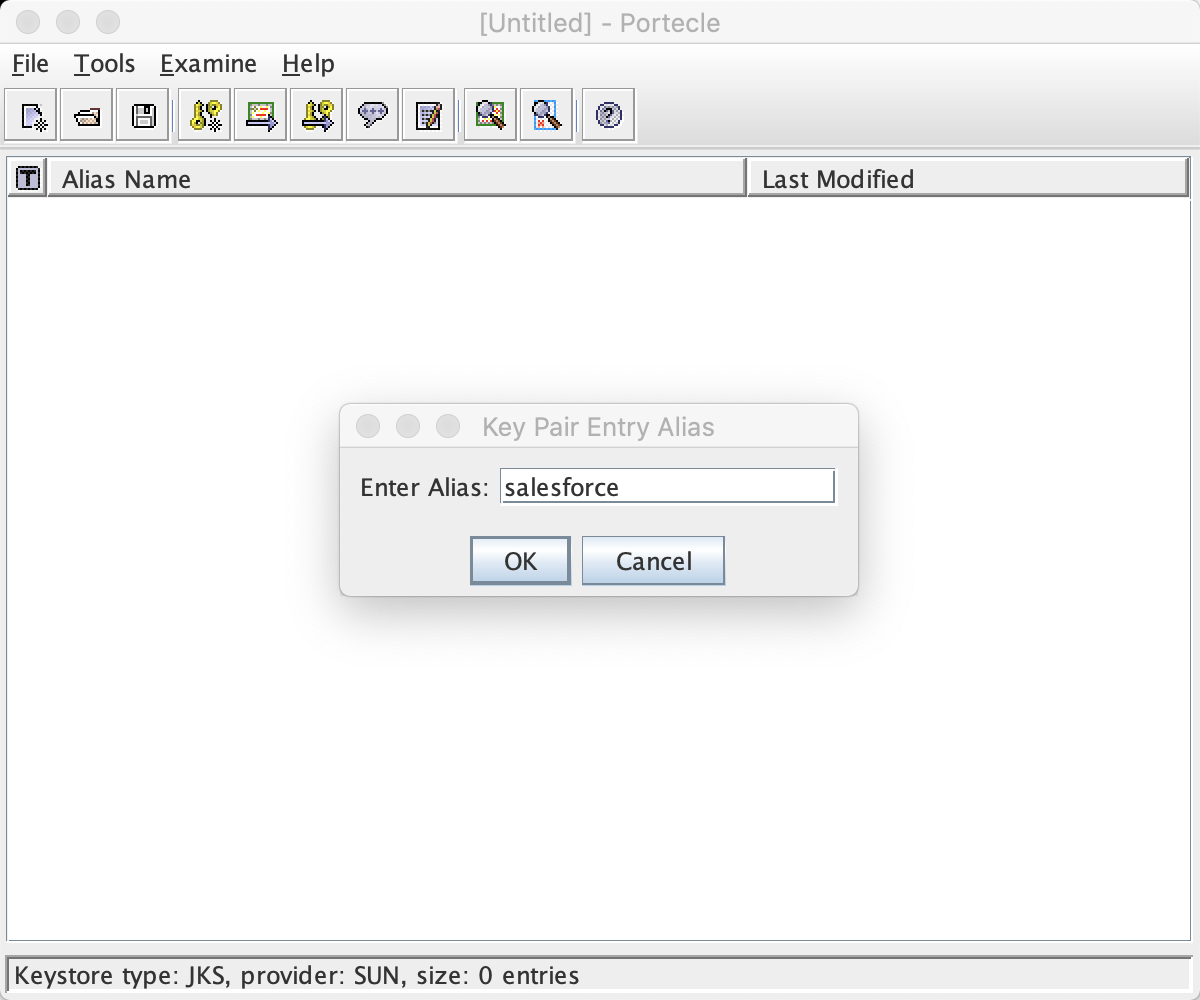
Click OK. On the next screen, use a password to protect this key pair. You should see a success message for the keystore creation.
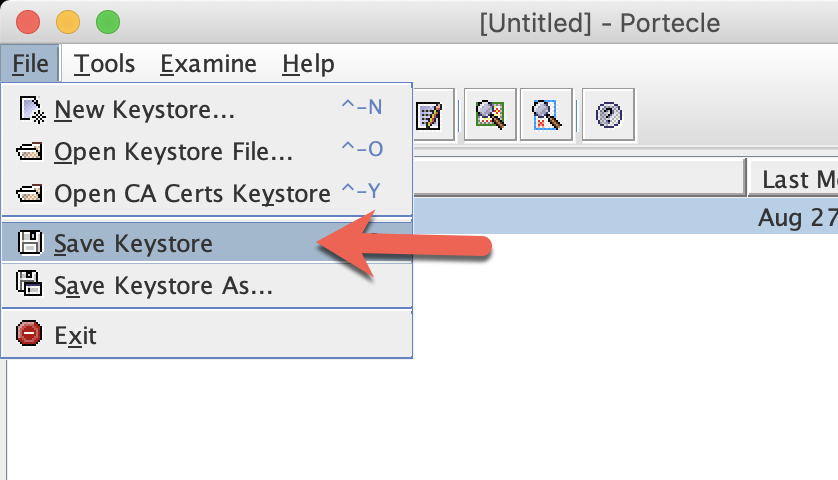
Click OK and then click on File > Save Keystore
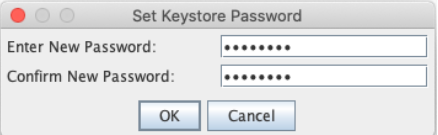
Use a password to protect this keystore.
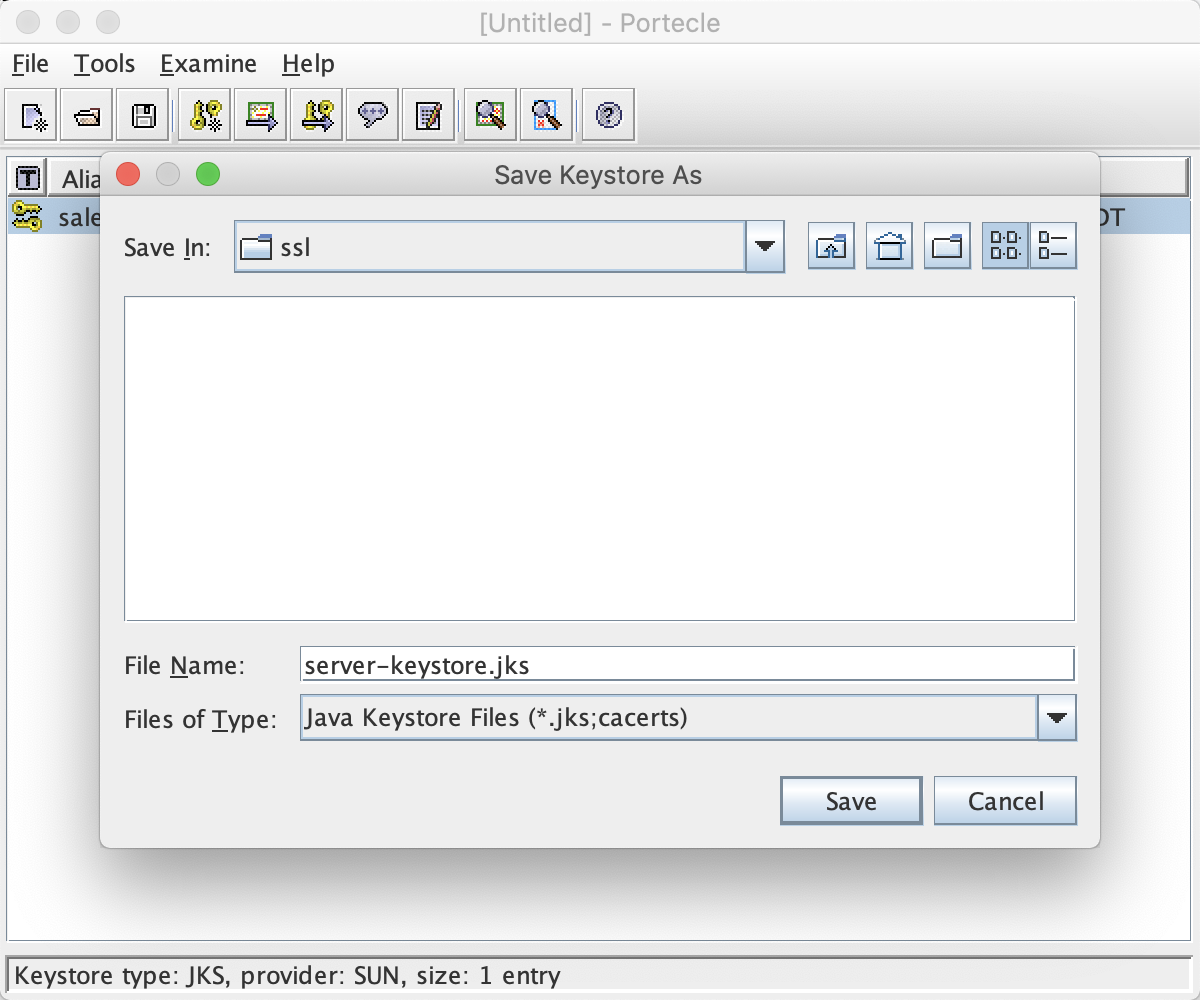
Enter the file name server-keystore.jks to save the new keystore file:
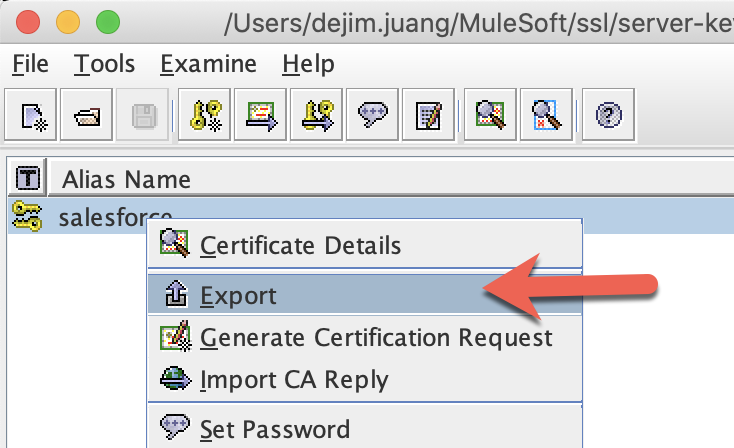
Next we want to export the certificate. Right-click on the keystore you just created, and click on Export.
Leave all default values:
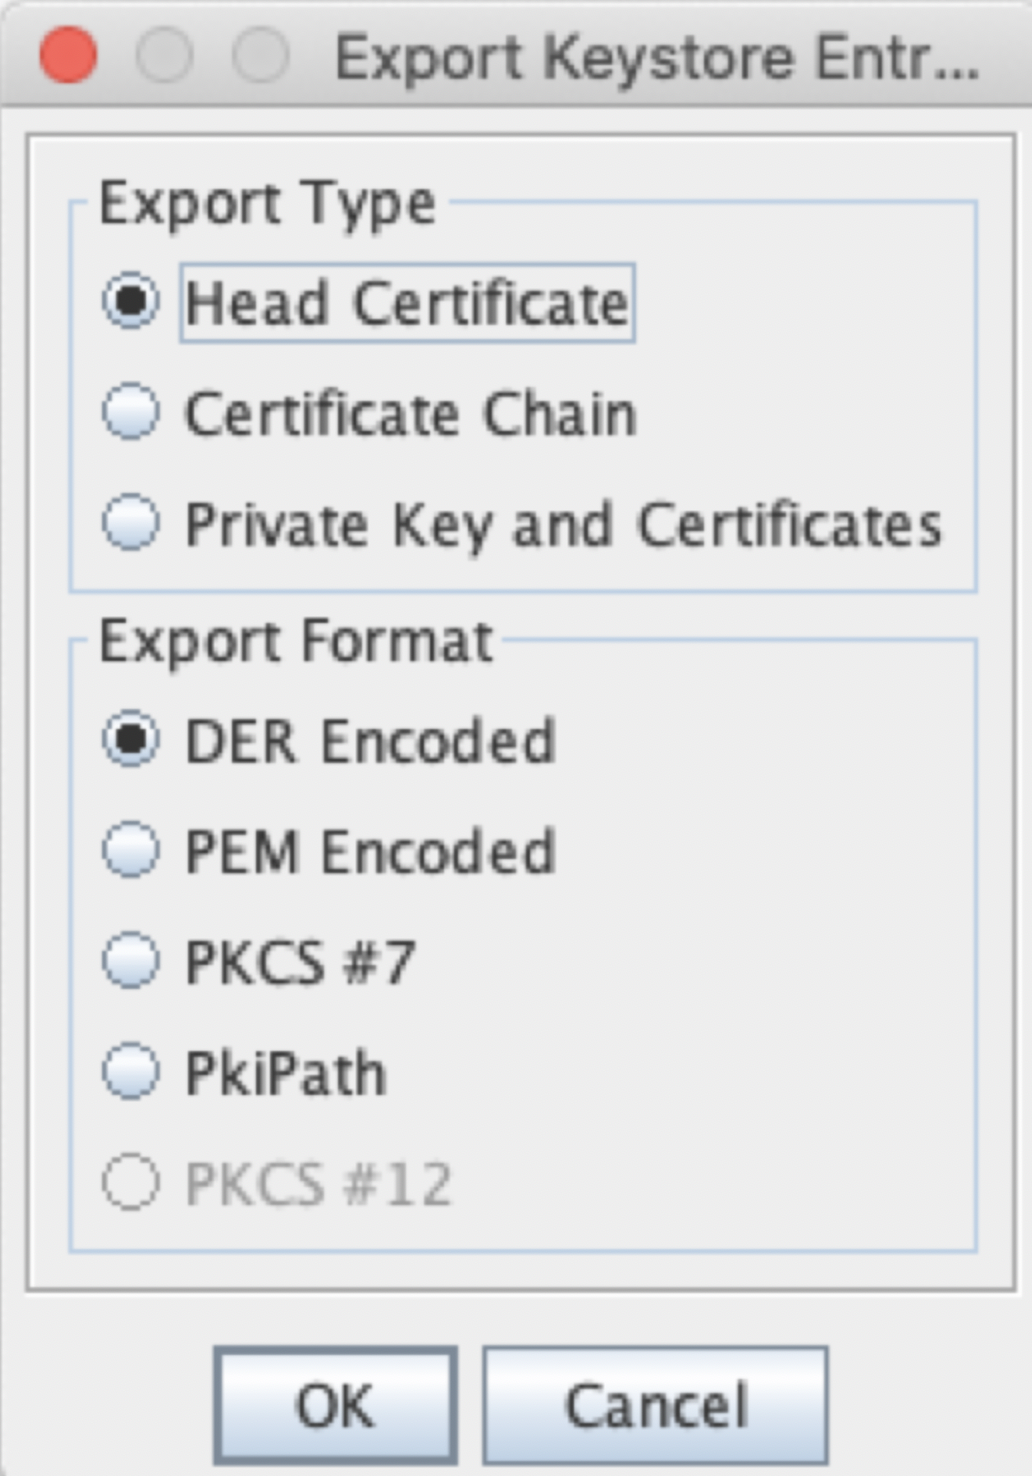
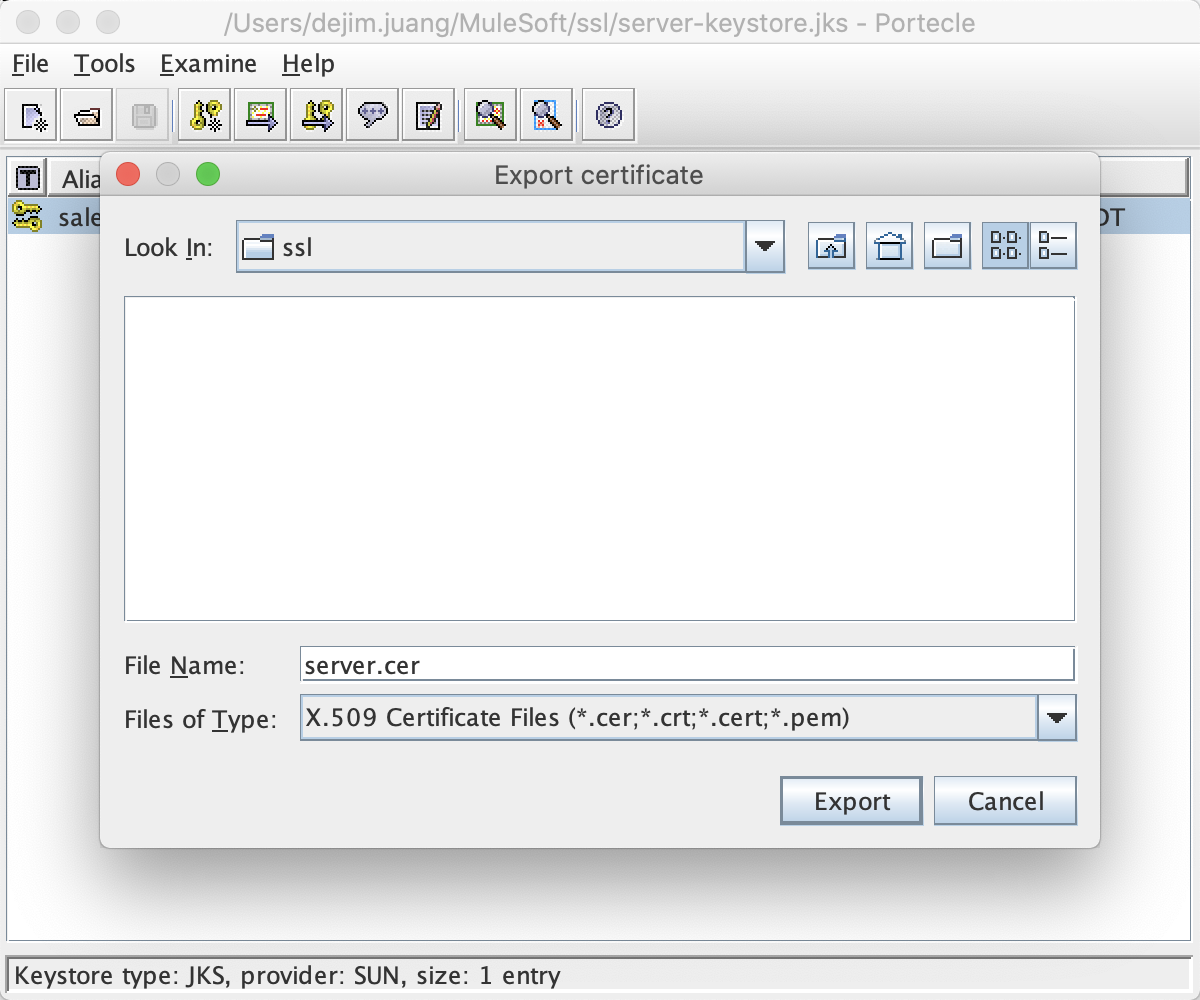
Click OK. Change the file name to server.cer and then click on Export.
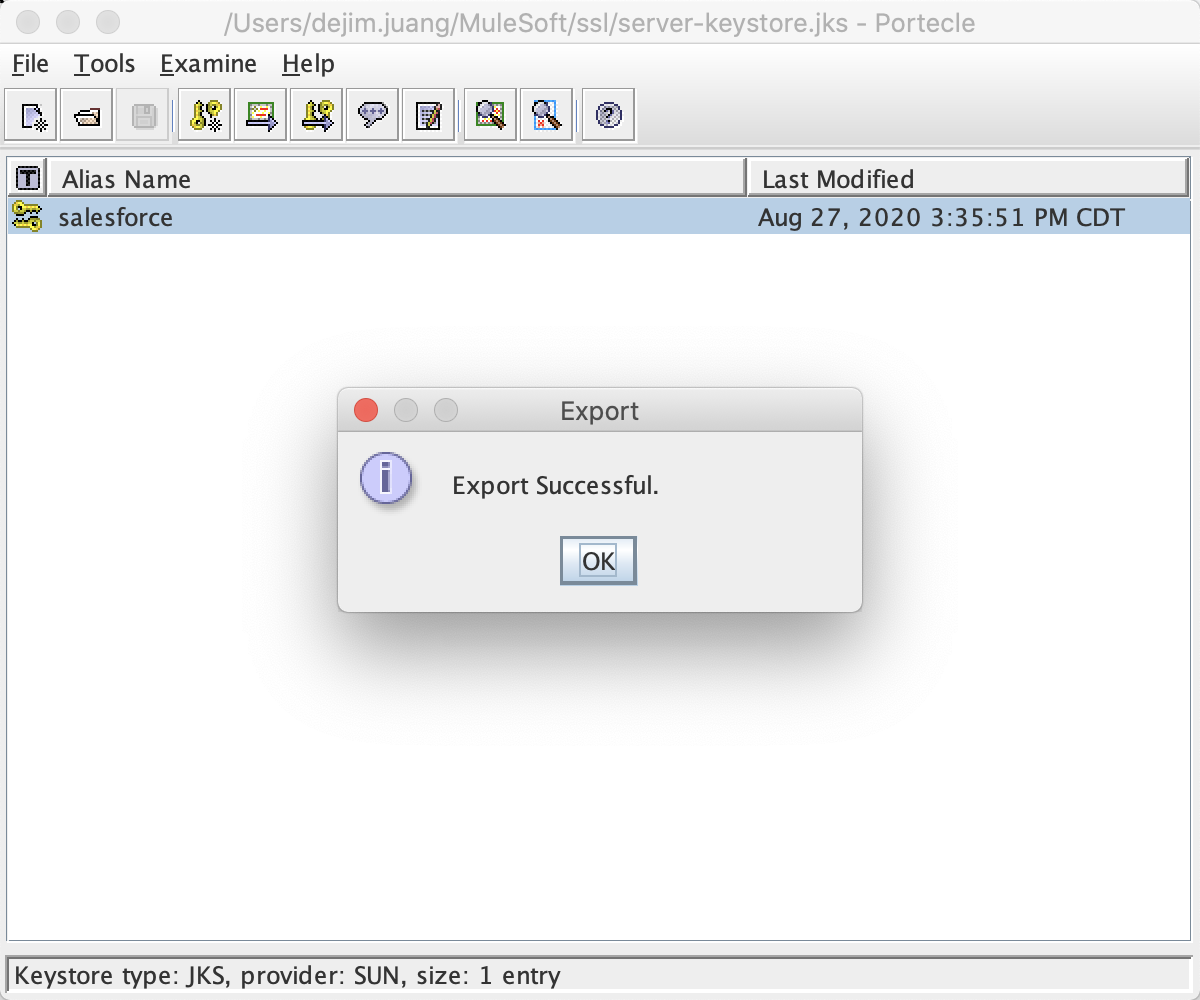
Once you get the Export Successful message, click on OK
Keytool Commands
If you prefer to use keytool, you can run the following commands in the terminal to generate the same files. If you prefer to use keytool, you can run the following commands in the terminal to generate the same files. The password for these commands is currently set to password. Be sure to change them before running the commands.
Generate Keystore
keytool -genkeypair -keystore server-keystore.jks -dname "CN=Salesforce, OU=MuleSoft, O=Sales, L=San Francisco, ST=CA, C=US" -keypass password -storepass password -keyalg RSA -sigalg SHA256withRSA -keysize 2048 -alias salesforce -ext SAN=DNS:localhost,IP:127.0.0.1 -validity 365Export Server Certificate
keytool -export -alias salesforce -file server.crt -keystore server-keystore.jksSo we've created the keystore and certificate for the server side. We need to repeat the steps for the client side as well. Click on File > New Keystore
Leave the default selection of "JKS" for keystore type.
Click on Tools > Generate Key Pair
Leave the default selection of "RSA" as Key Algorithm, and "2048" as Key Size.
Click OK, and enter the following values:
Click OK. Leave the given alias on the next dialog screen:
Click OK. On the next screen, use a password to protect this key pair. You should see a success message for the keystore creation.
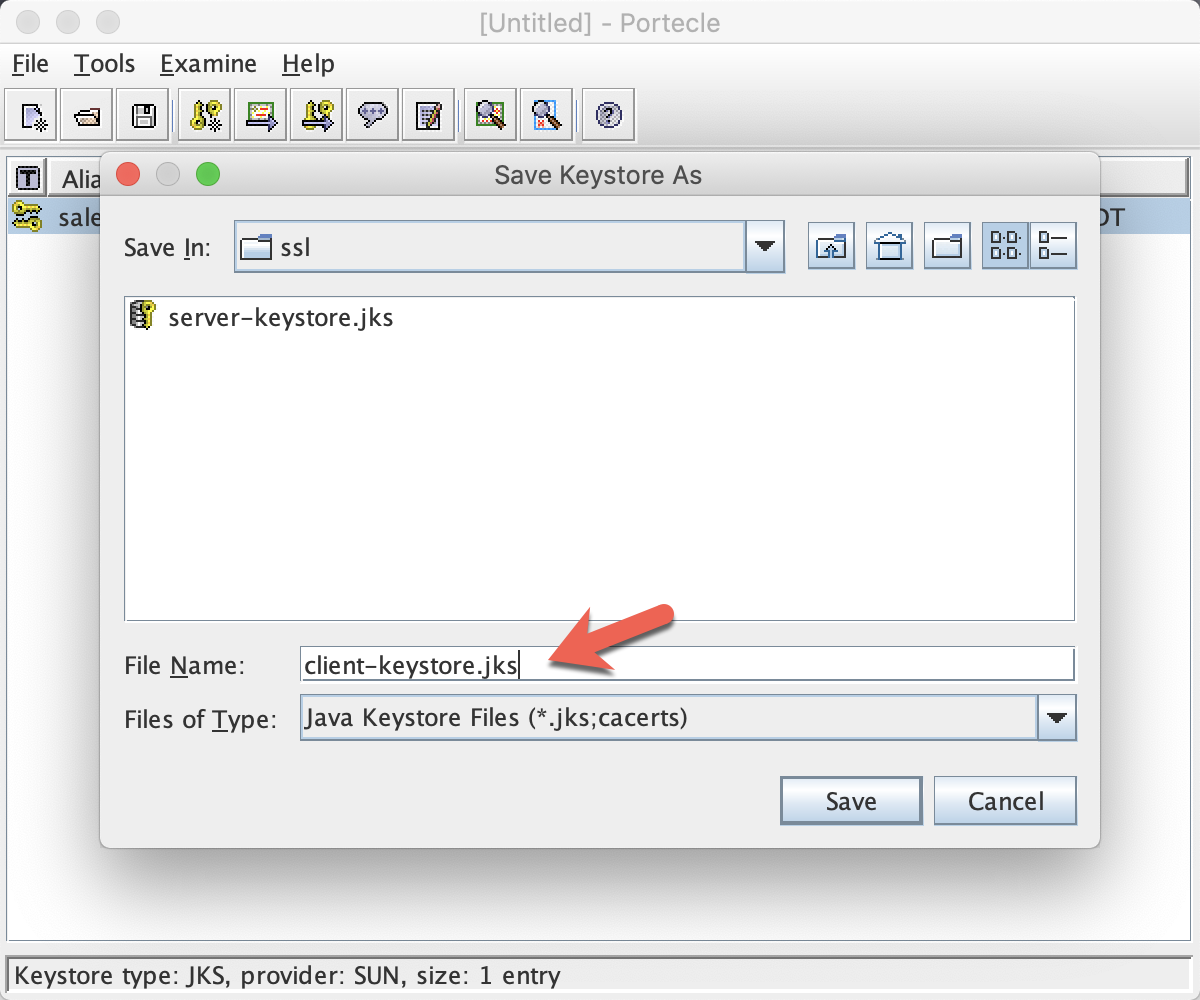
Click OK and then click on File > Save Keystore
Use a password to protect this keystore.
Enter the file name client-keystore.jks to save the new client keystore file:
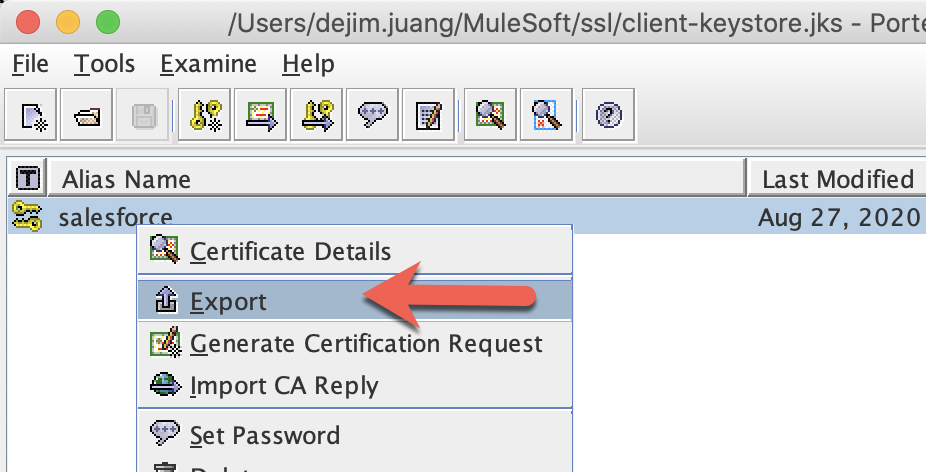
Similar to what we did for the server, we want to export the certificate. Right-click on the keystore you just created, and click on Export.
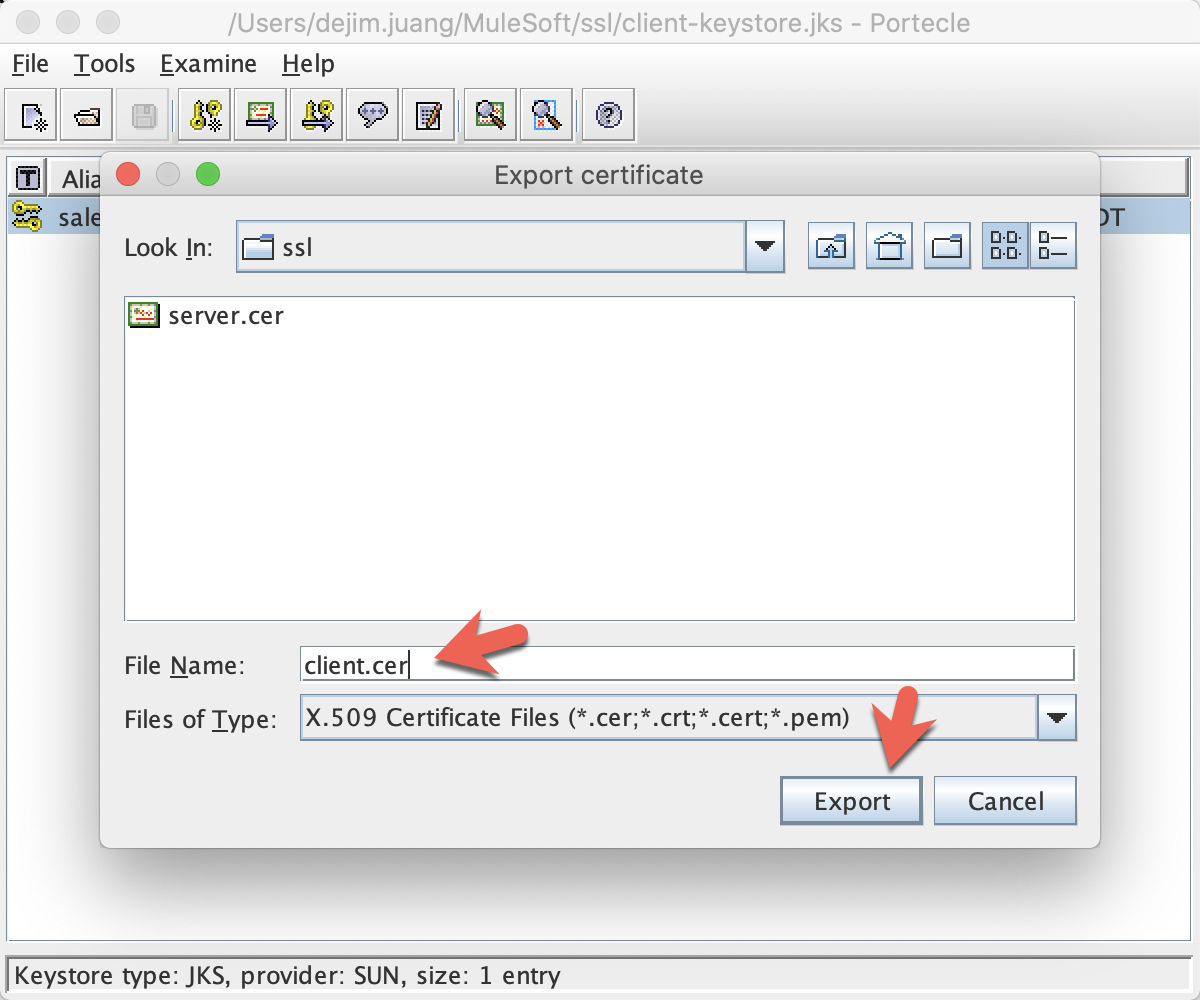
Leave all default values:
Click OK. Change the file name to client.cer and then click on Export.
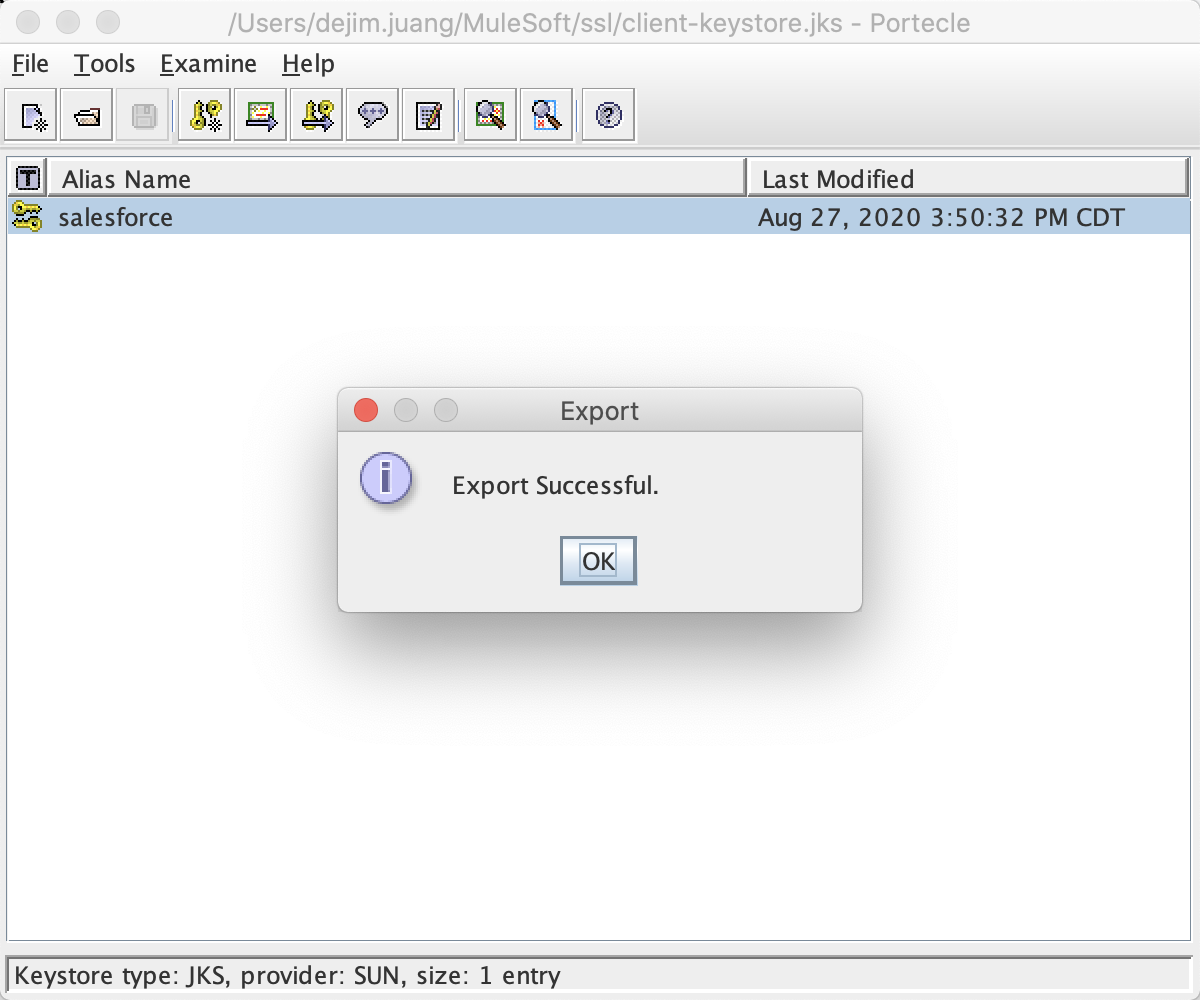
Once you get the Export Successful message, click on OK
Keytool Commands
If you prefer to use keytool, you can run the following commands in the terminal to generate the same files. The password for these commands is currently set to password. Be sure to change them before running the commands.
Generate Keystore
keytool -genkeypair -keystore client-keystore.jks -dname "CN=Salesforce, OU=MuleSoft, O=Sales, L=San Francisco, ST=CA, C=US" -keypass password -storepass password -keyalg RSA -sigalg SHA256withRSA -keysize 2048 -alias salesforce -ext SAN=DNS:localhost,IP:127.0.0.1 -validity 365Export Server Certificate
keytool -export -alias salesforce -file client.crt -keystore client-keystore.jksIn this step, we'll create the truststore. The truststore will contain the certificates from the client and server that we generated earlier in the codelab. Click on File > New Keystore
Leave the default selection of "JKS" for the keystore type and click OK
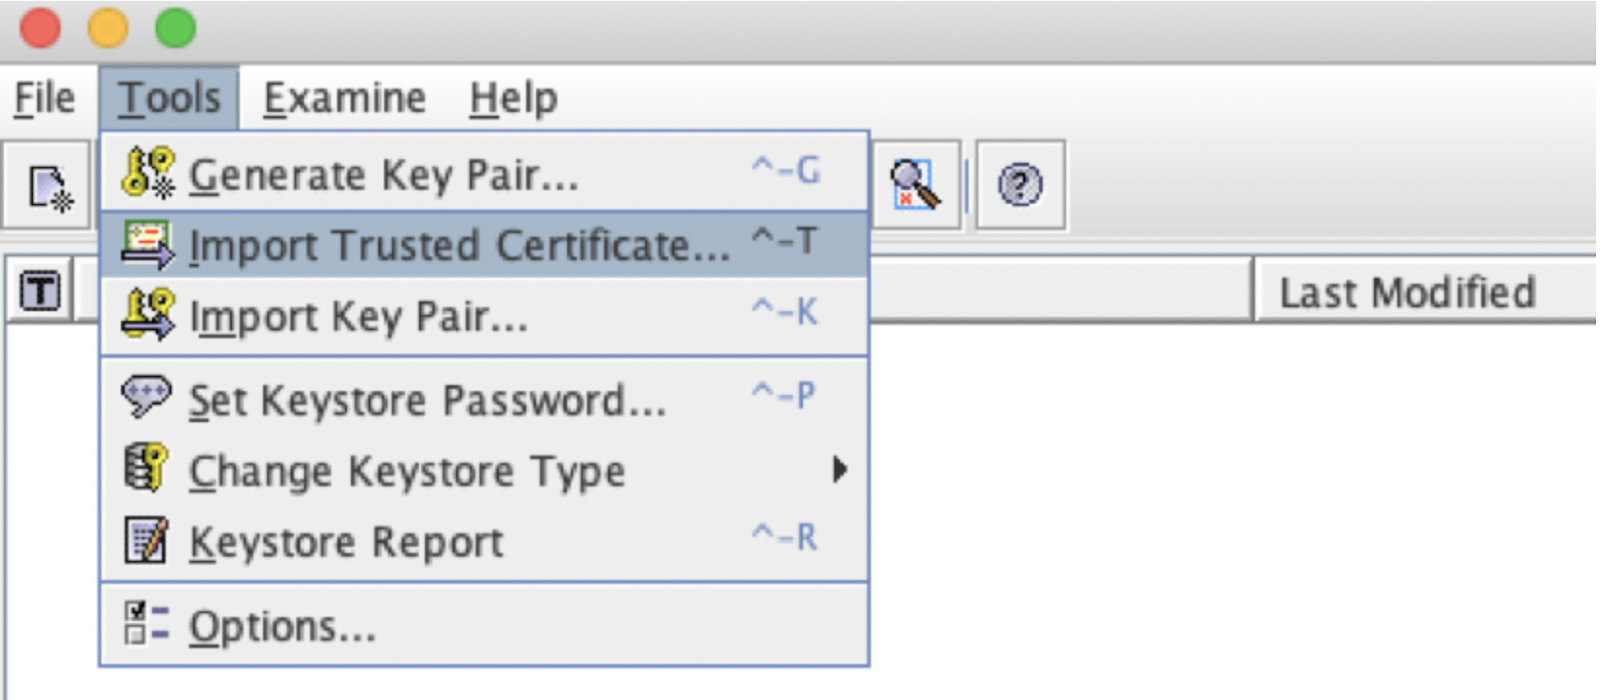
Click on Tools > Import Trusted Certificate
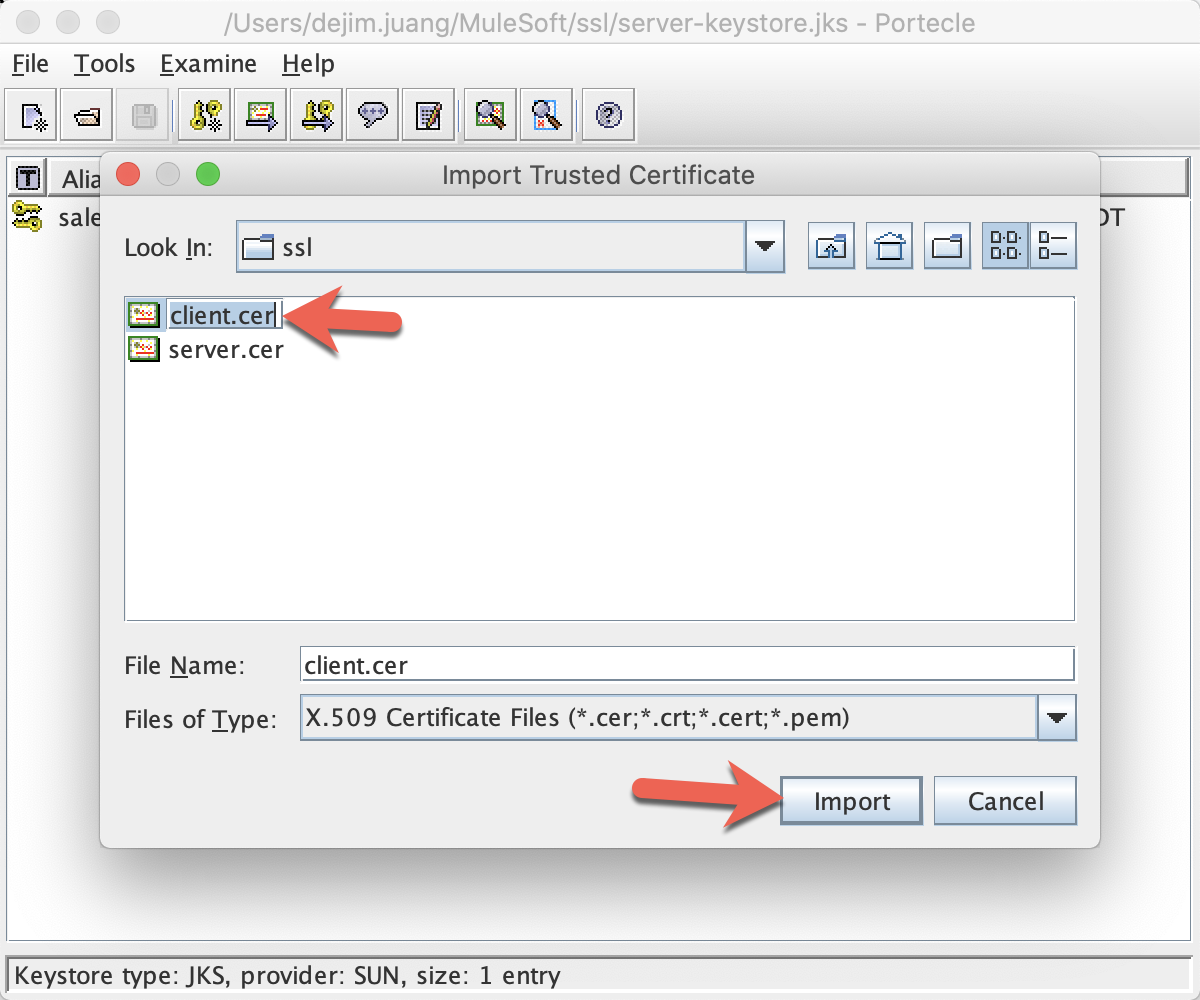
Select the client certificate you exported earlier client.cer, and click Import:
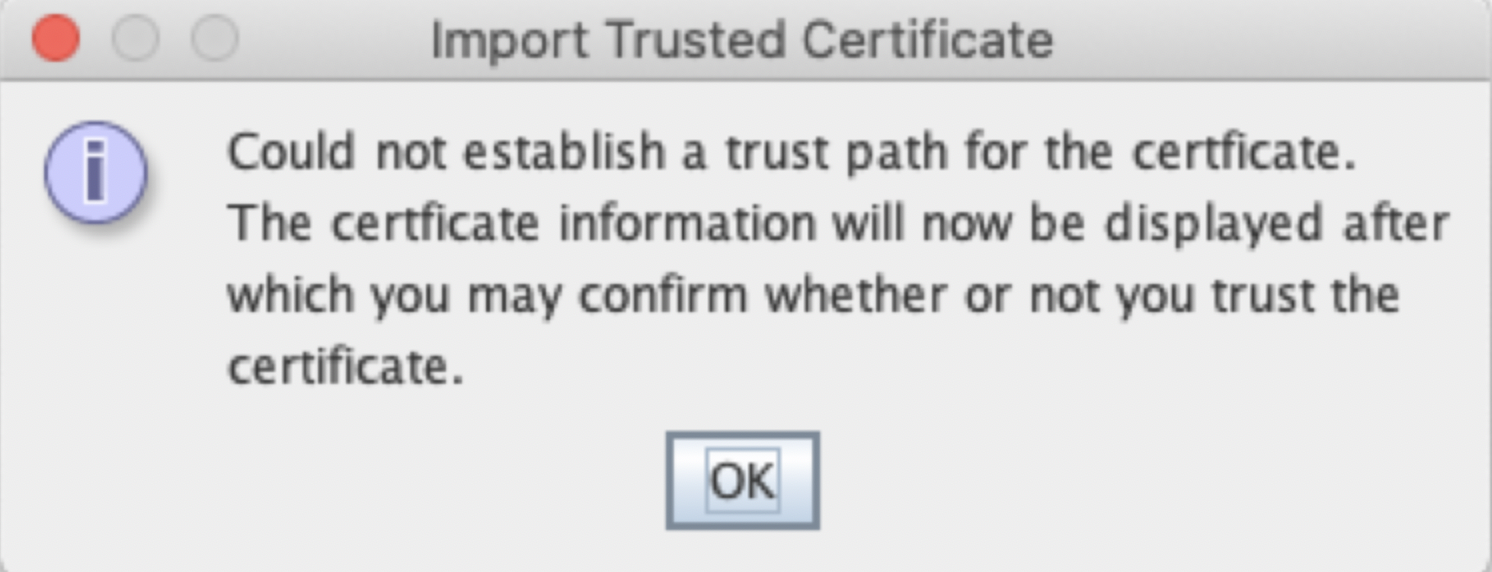
Since you are using a self-signed certificate, you will get a warning message like this:
Click OK. Visually inspect the content of the imported certificate:
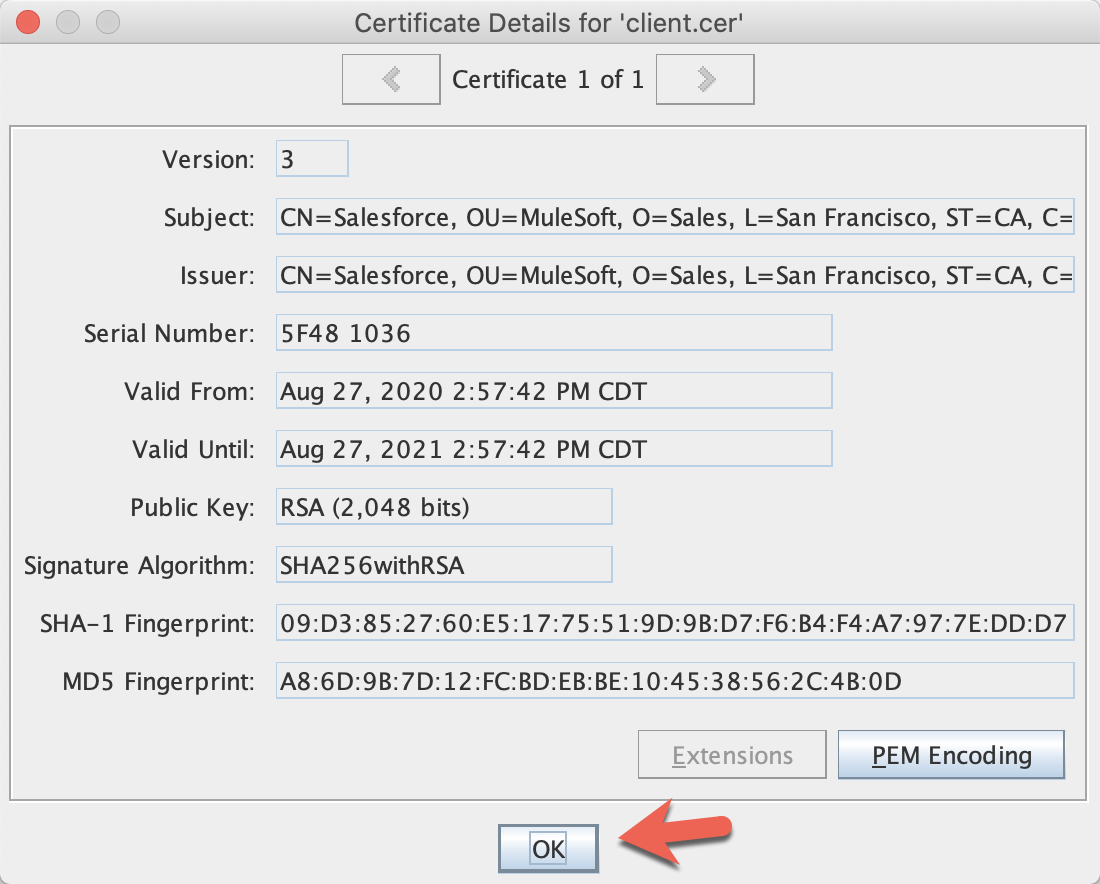
Click OK.
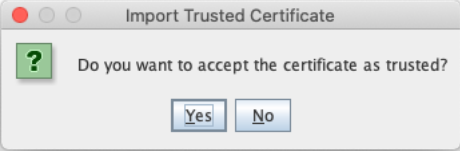
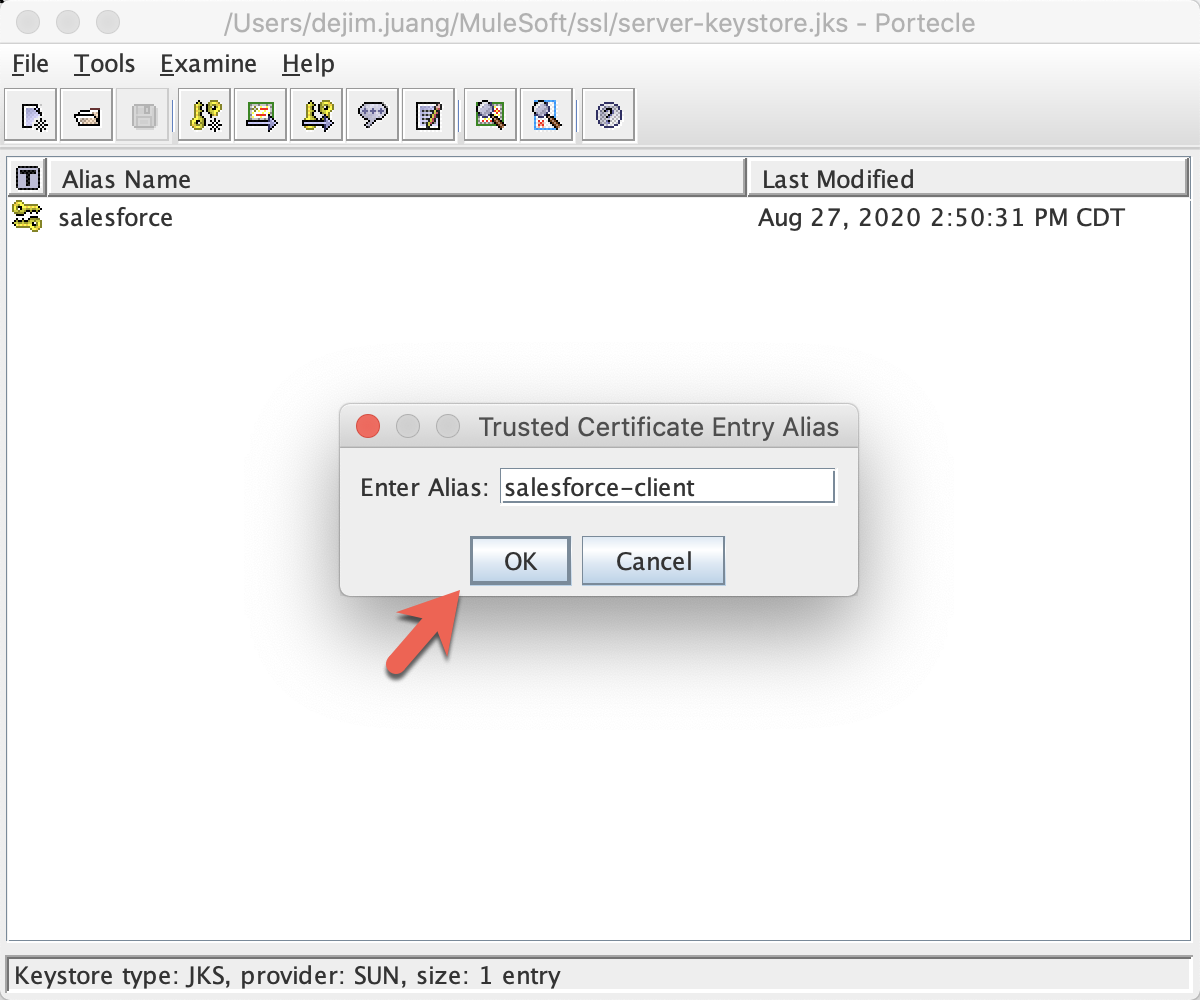
Click Yes. Change the alias to salesforce-client, and Click OK
Now the client certificate is imported successfully into the truststore:

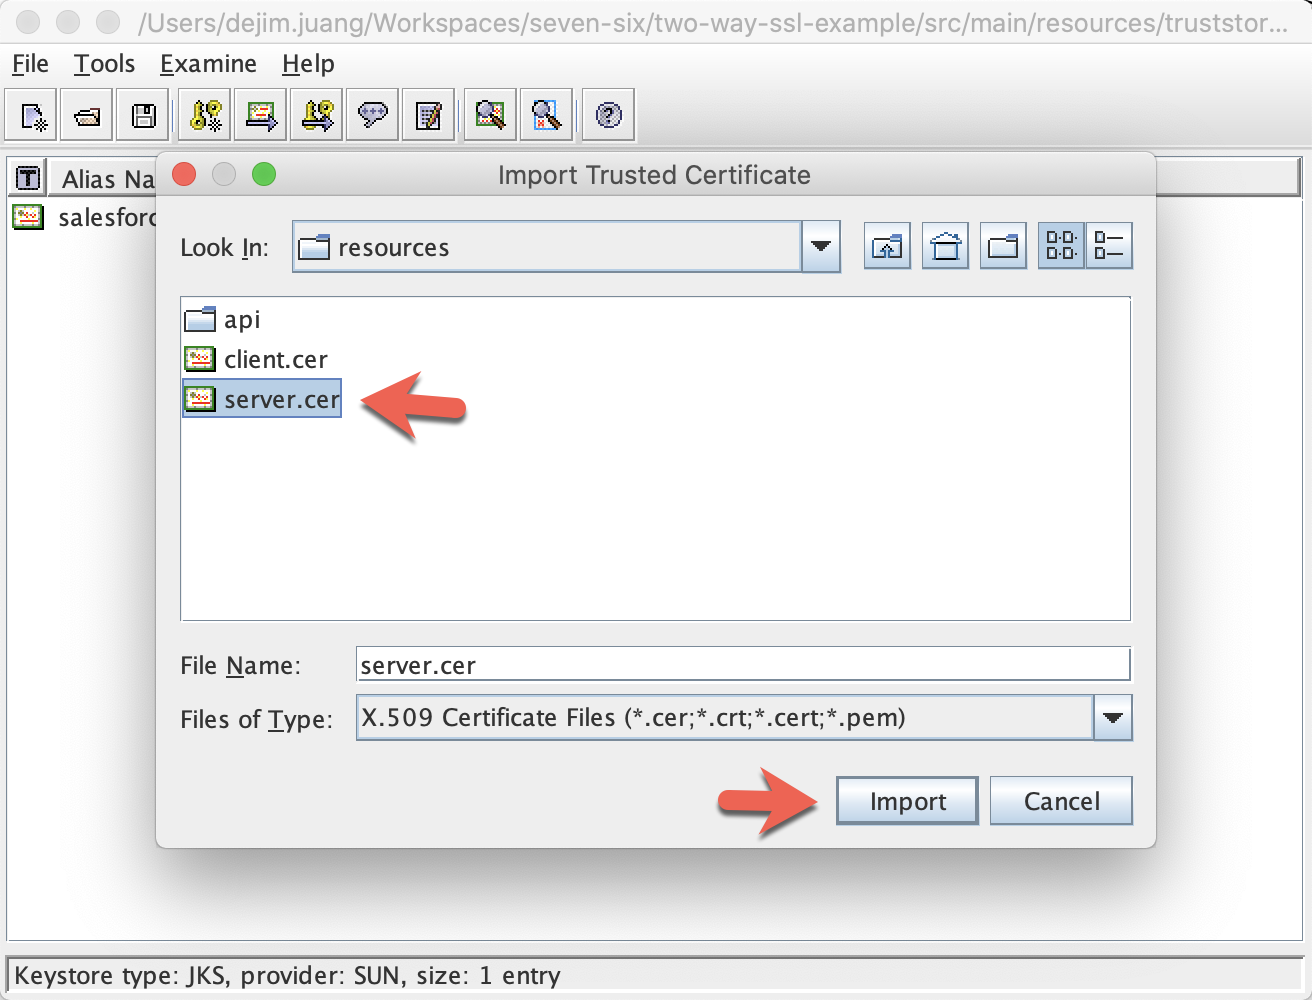
Next we're going to import the server certificate into the truststore. Click on Tools > Import Trusted Certificate
Select the server certificate you exported earlier server.cer, and click Import:
Since you are using a self-signed certificate, you will get a warning message like this:
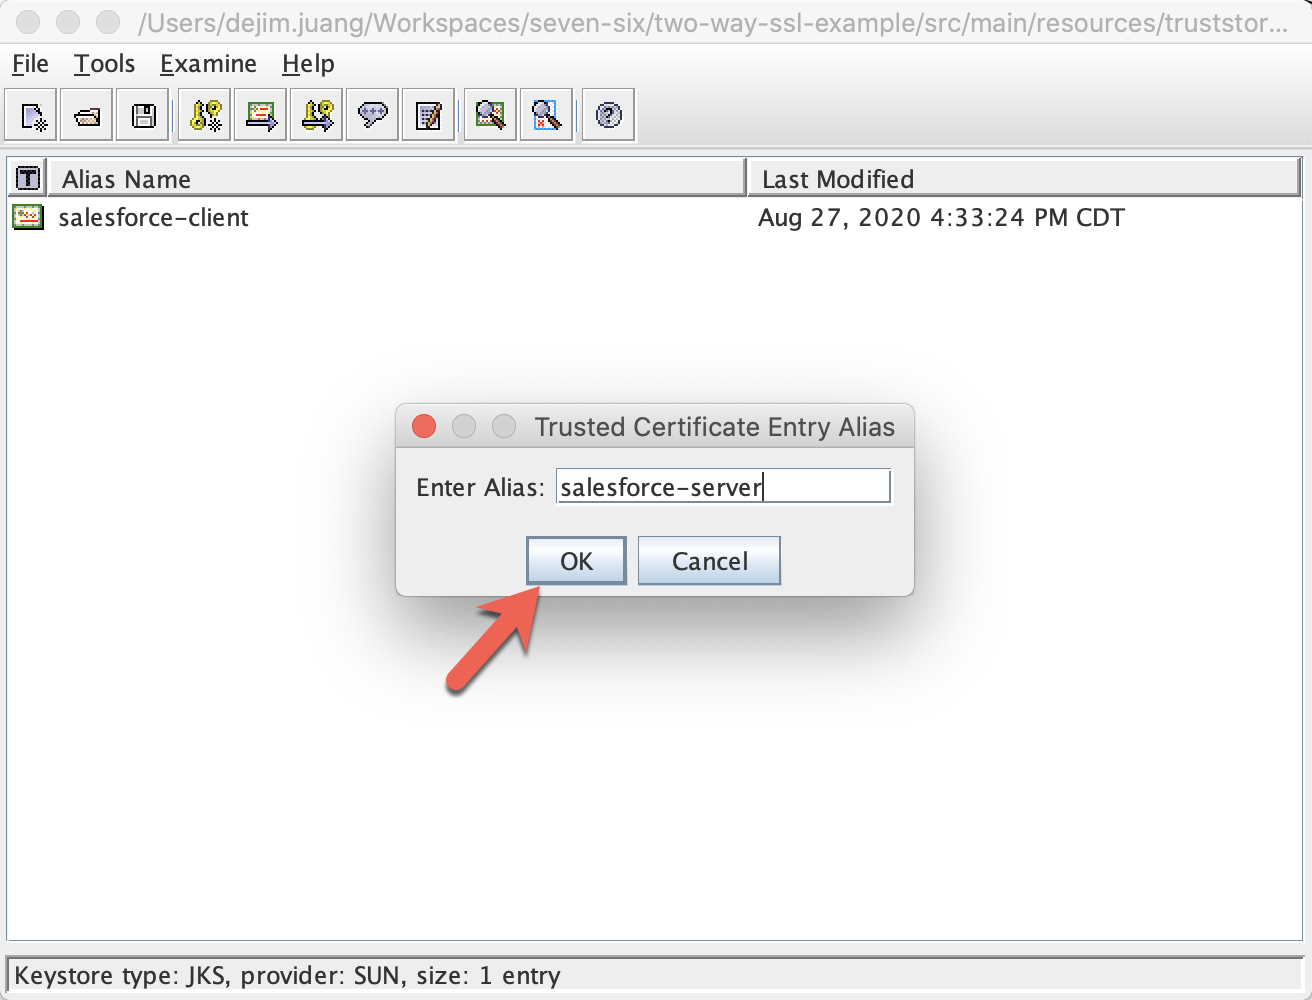
Click OK. Visually inspect the content of the imported certificate and then click on OK
Click Yes.
Change the alias to salesforce-client, and Click OK
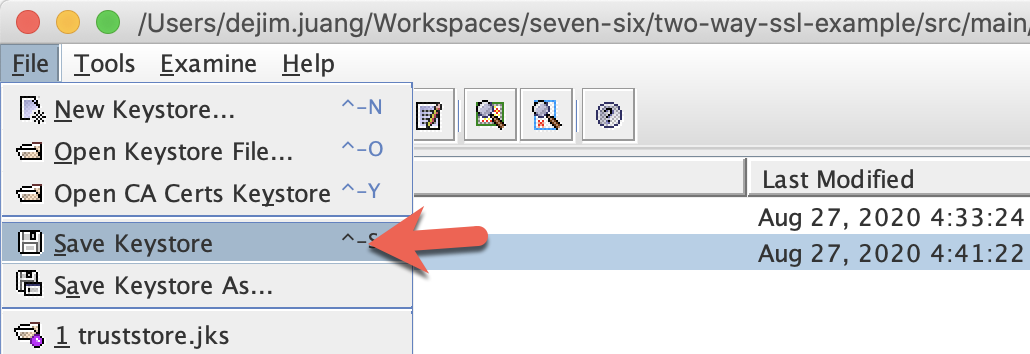
Click on File > Save Keystore
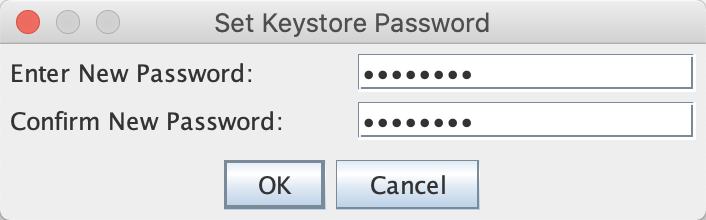
Enter a password
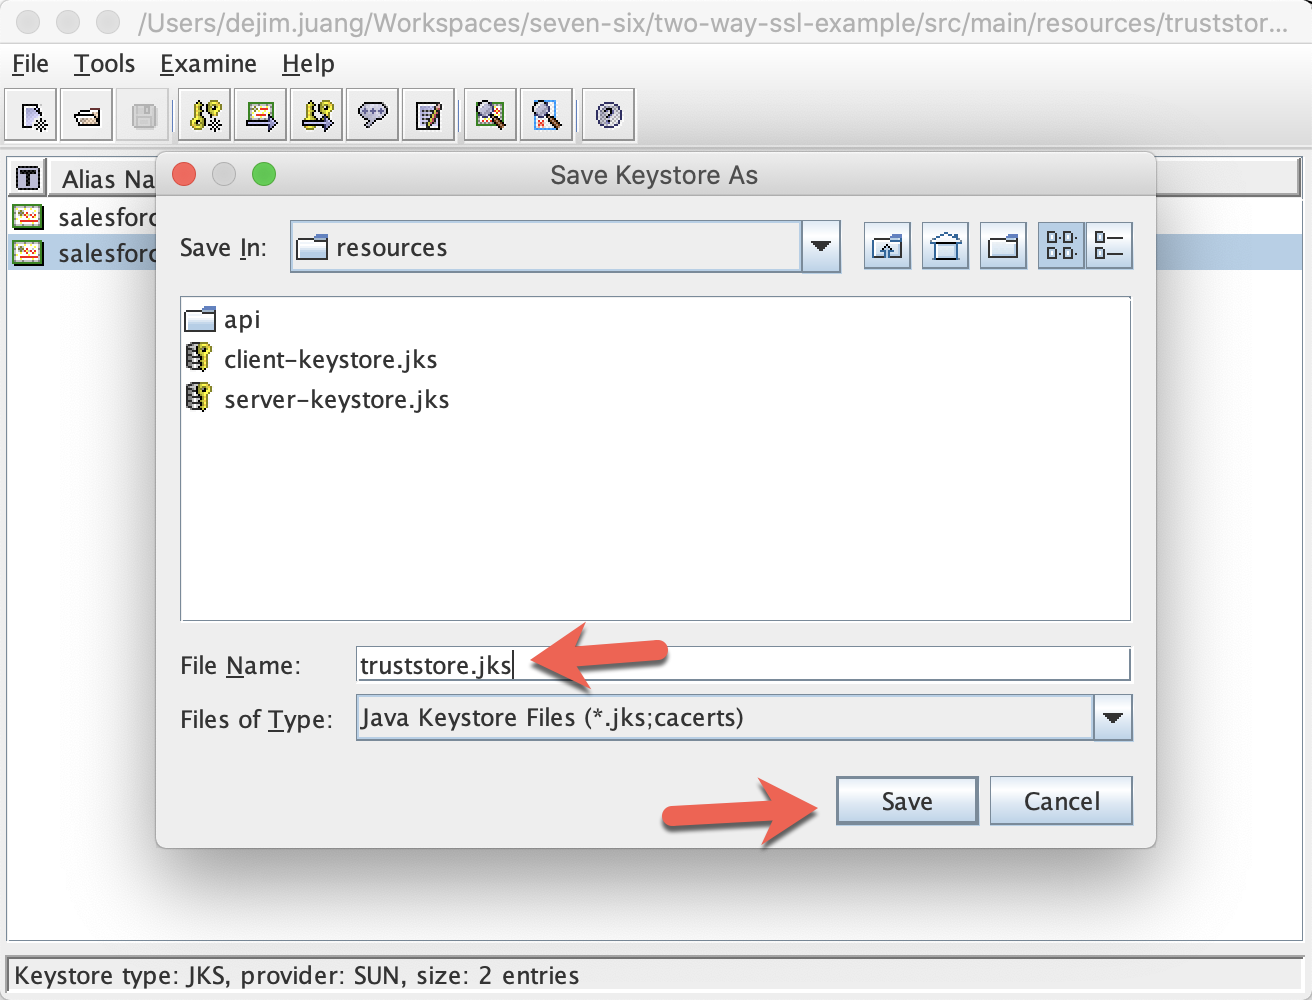
Save the truststore with the file name truststore.jks and click on Save
Keytool Commands
If you prefer to use keytool, you can run the following commands in the terminal to generate the same files.
Import Certificates into Truststore
keytool -import -file server.crt -alias salesforce-server -keystore truststore.jks

keytool -import -file client.crt -alias salesforce-client -keystore truststore.jks
Now we have the keystore for the client and server, and the truststore that contains the certificates from both, we're ready to configure two-way SSL in an example project.
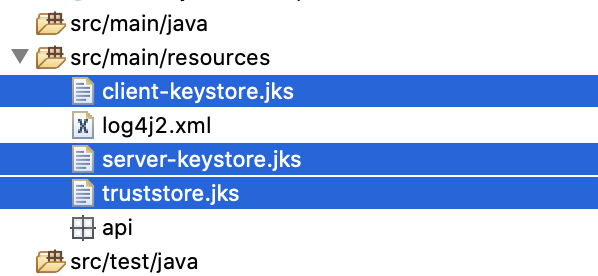
Copy the three files that we created into the src/main/resources folder inside your project.
Typically we would be creating two different Mule projects. One would be the server, and the other would be the client that makes a request to the server. But for the sake of simplicity, we're going to create one project with two flows.
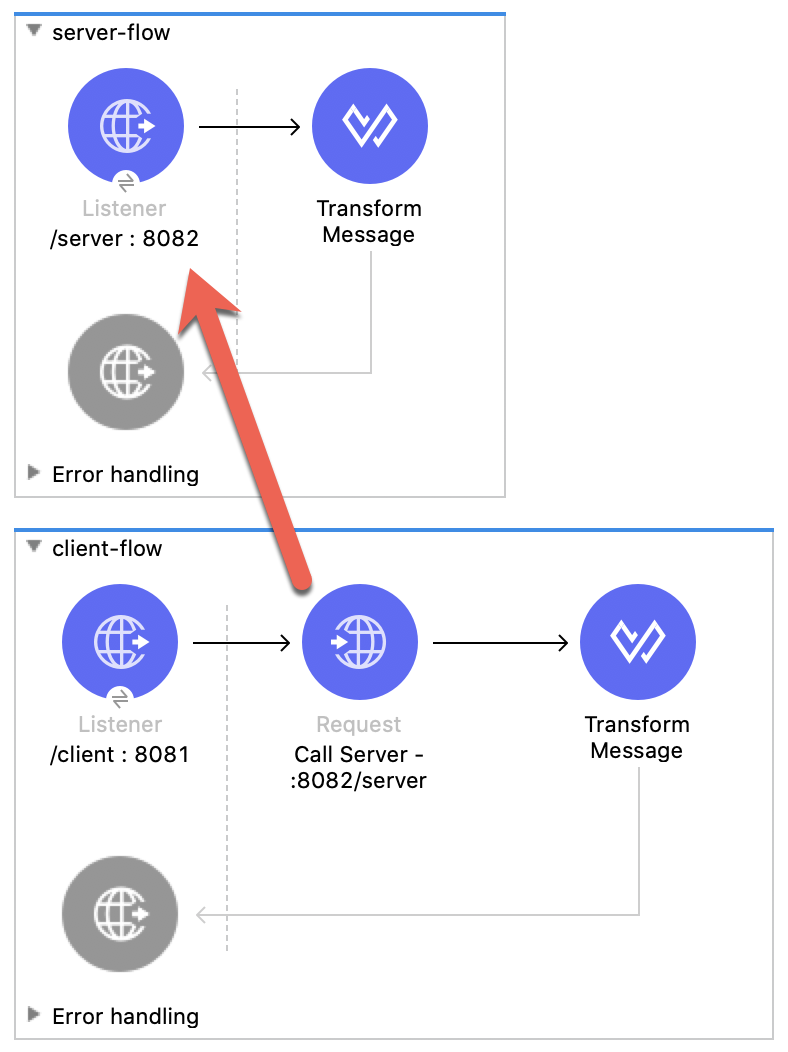
The first flow will act as the server. The second will act as the client and have an HTTP Request operation that call the first flow.
Server Flow
In the server flow, drag and drop the following components to build the flow so it looks like this:

You'll have an HTTP Listener and a Transform Message component in the flow and that will receive the request from the client. The Transform Message component will return a simple JSON message.
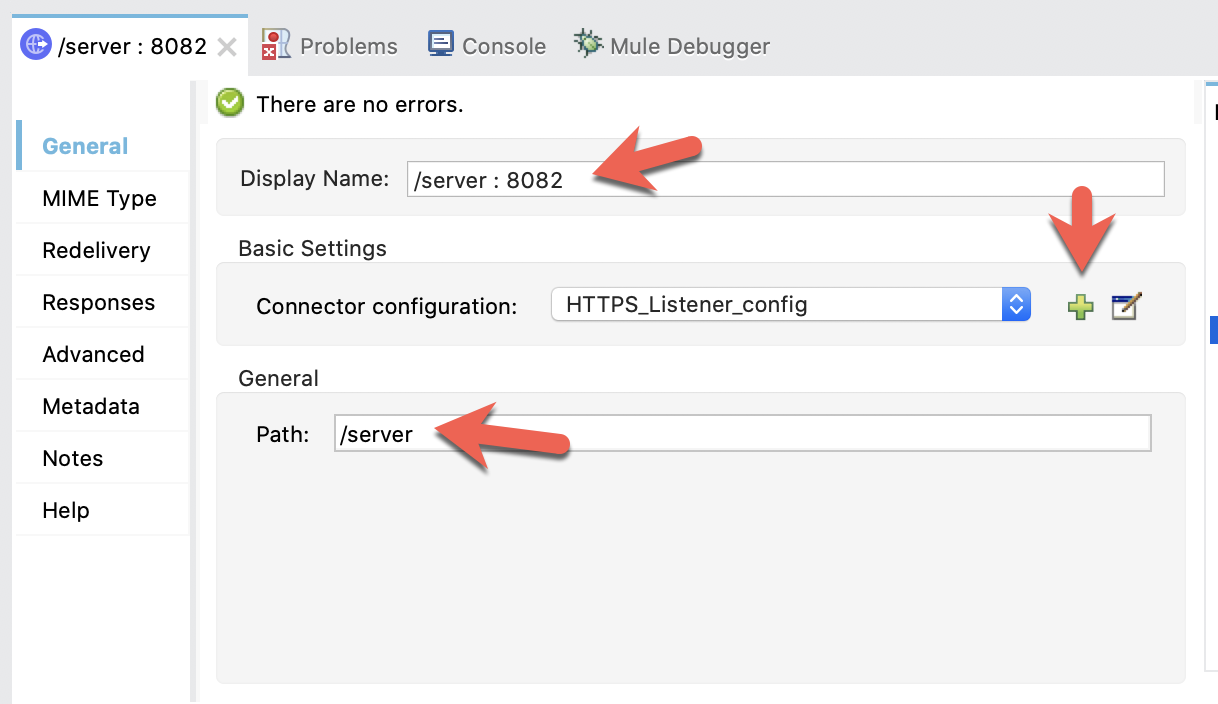
HTTP Listener
In the Mule properties window, fill in the Display Name and Path fields with the following
Display Name |
|
Path |
|
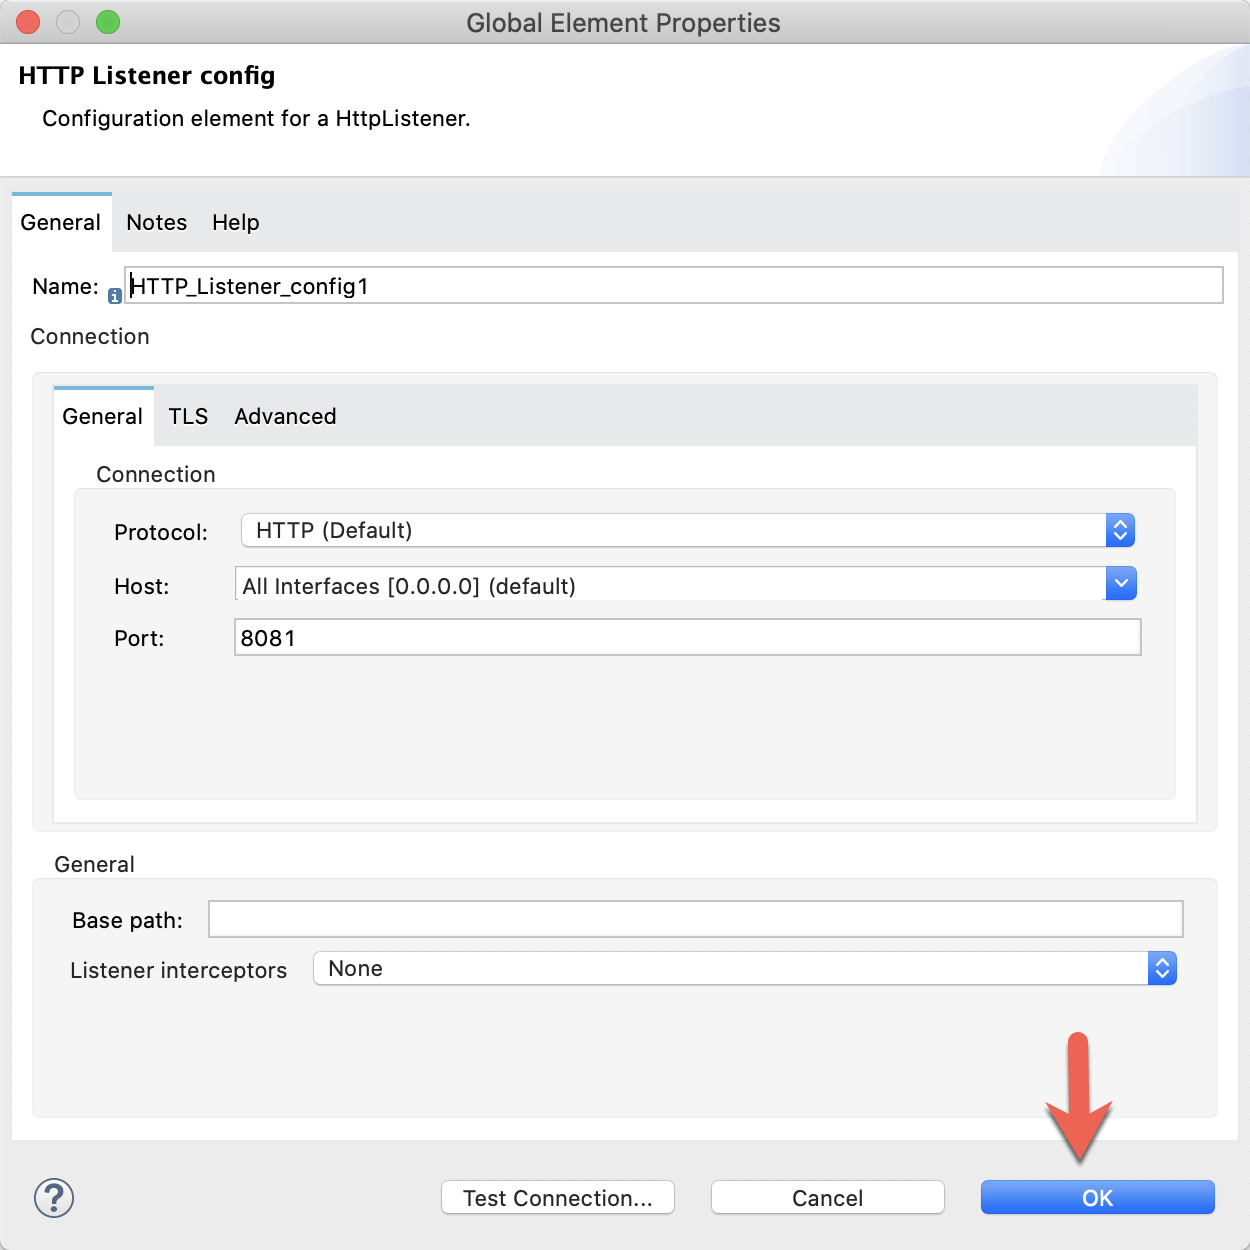
Then click on the green plus sign next to the Connector configuration.
Change the Protocol to HTTPS and set the port to 8082
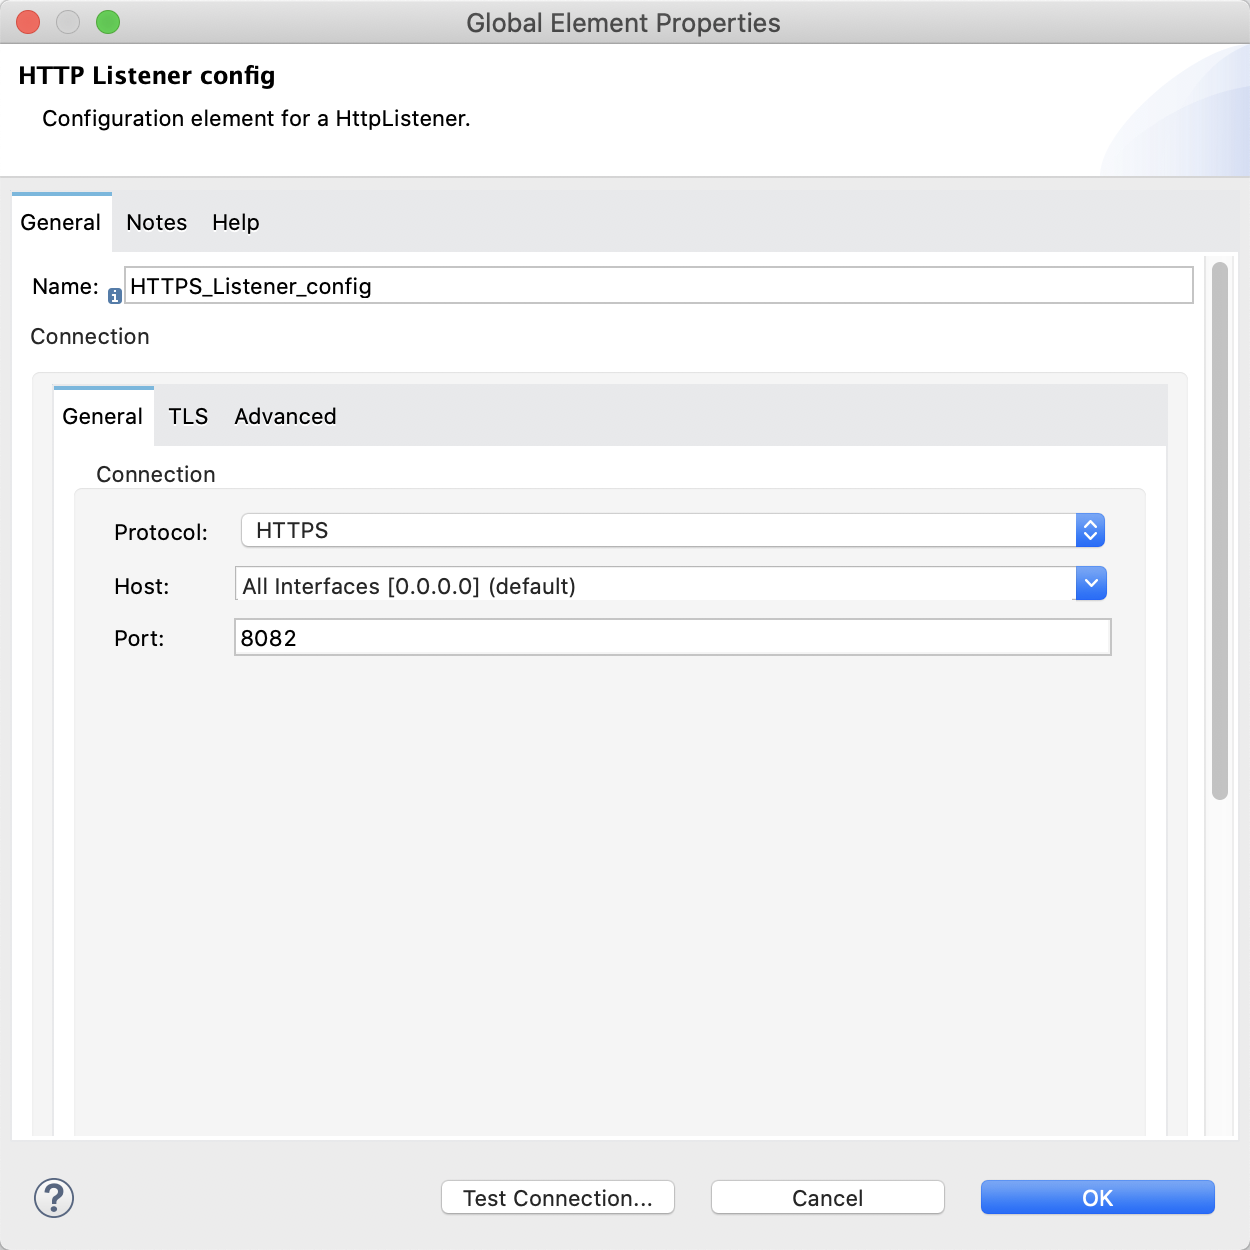
Click on the TLS tab and change the TLS Configuration drop down to Edit inline.
Fill in the fields to look like the corresponding screenshot below. Be sure to use the password that you used when you created the keystore and truststore earlier in the codelab.
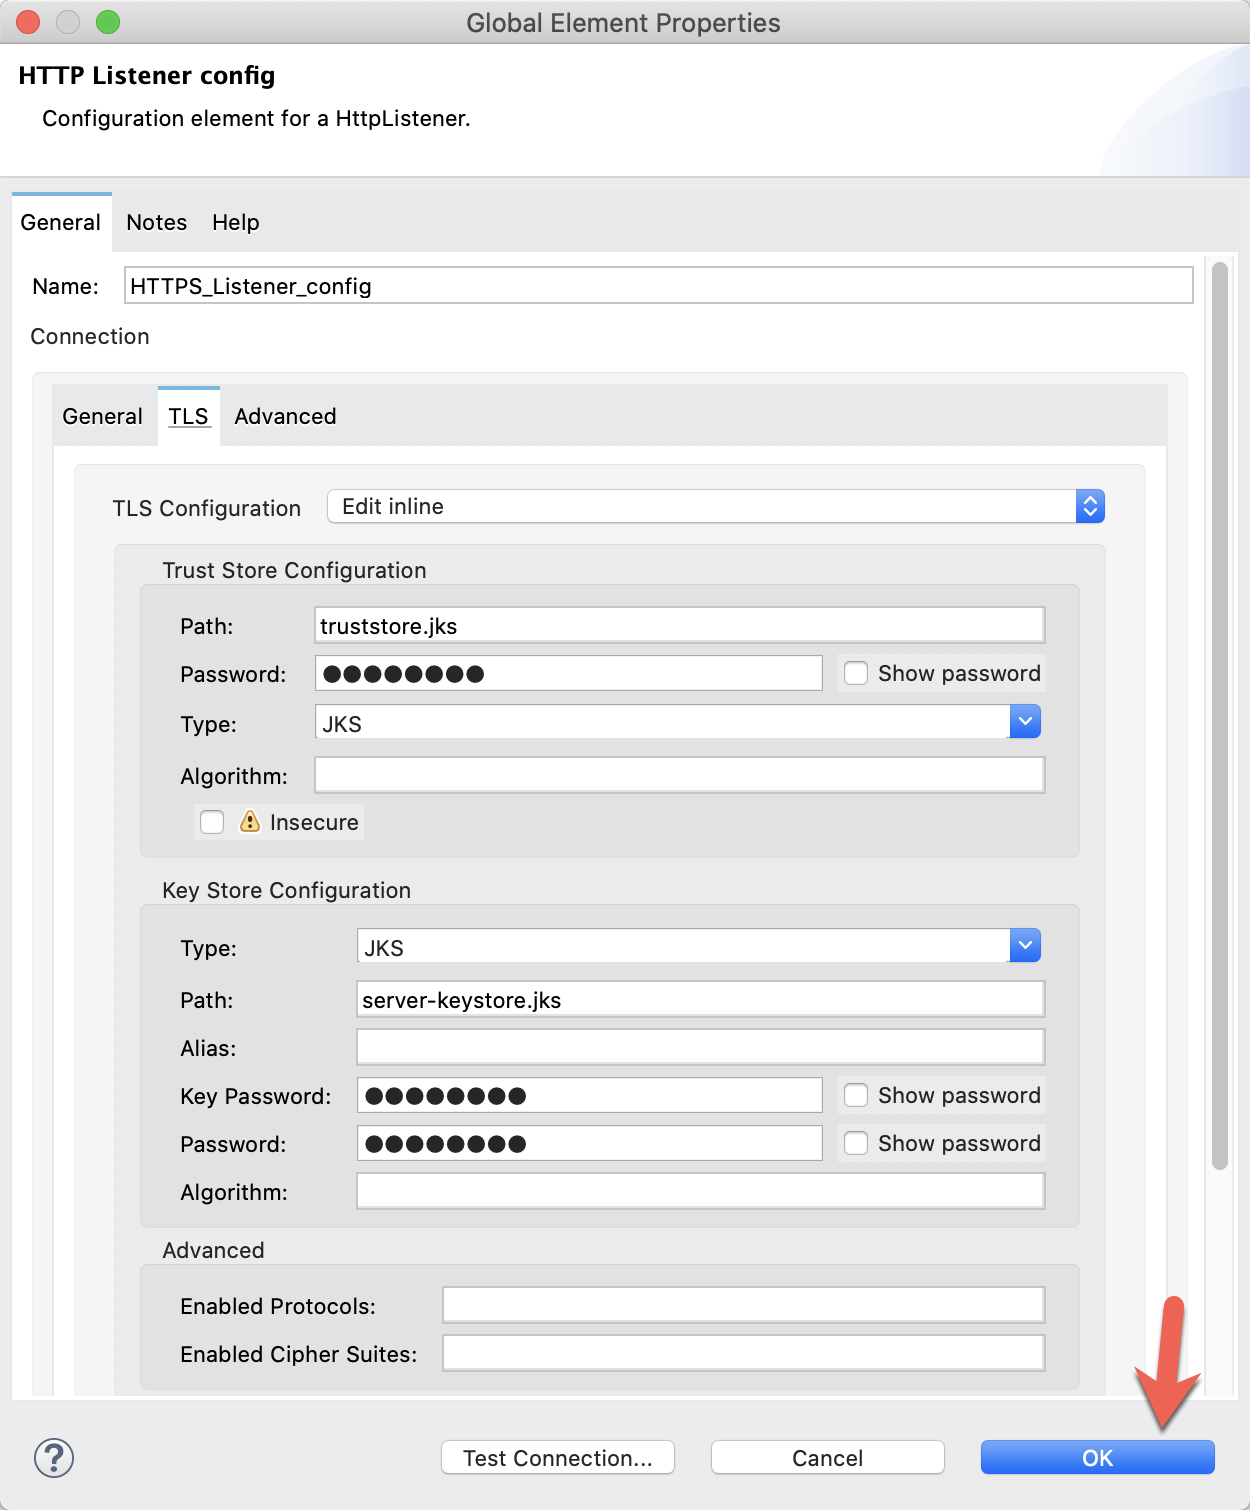
Click on OK
Transform Message
If the call to the server is successful, the Transform Message component will return a simple JSON message. Configure the script to look like the following:
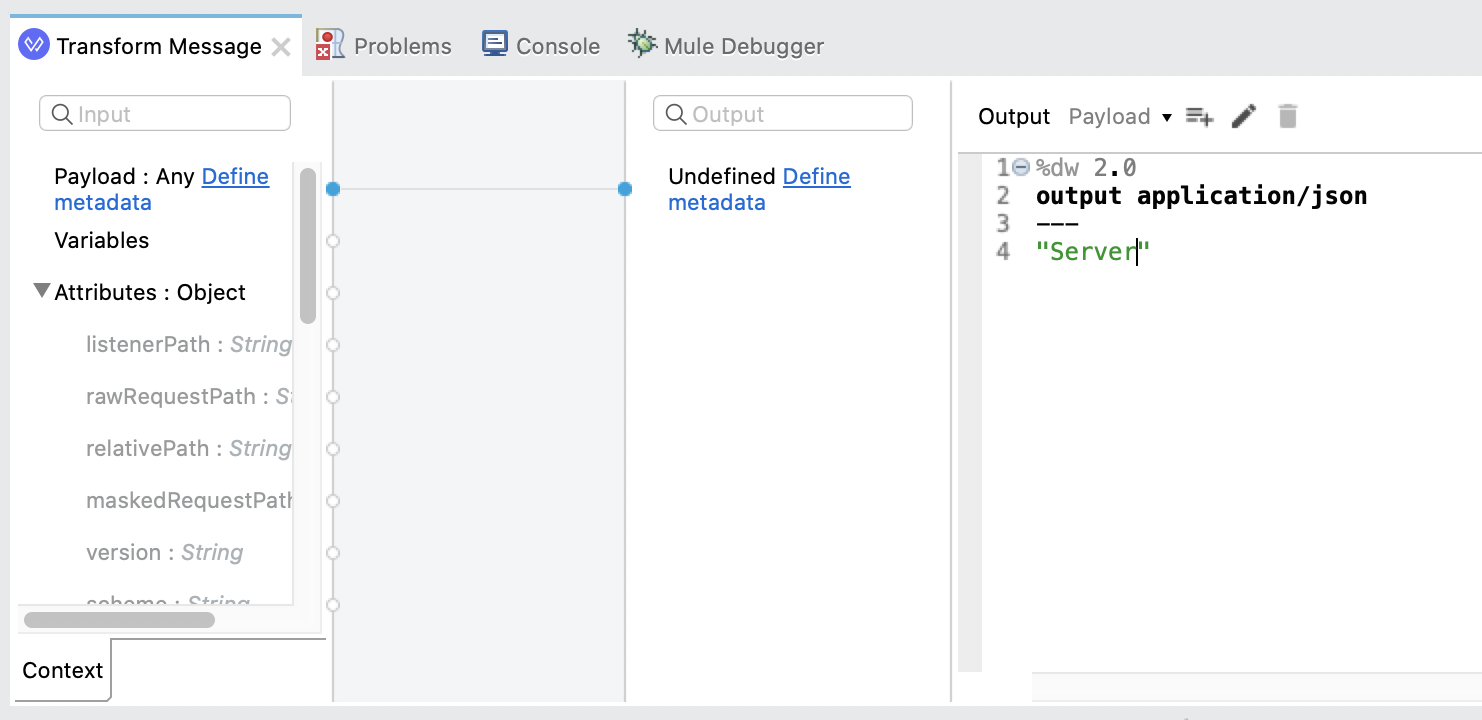
%dw 2.0
output application/json
---
"Server"
Client Flow
The client flow is what you'll call from the browser to make the request to the server. Drag and drop in components to match the following flow.
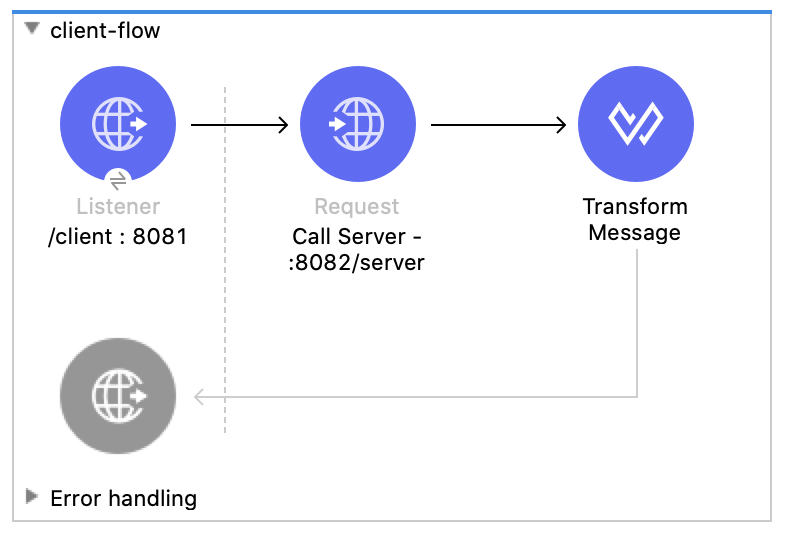
You'll have an HTTP Listener, an HTTP Request, and a Transform Message component in the flow. The HTTP Request will call the flow we just built for the server and the Transform Message component will return the response back from the server.
HTTP Listener
In the Mule properties window, fill in the Display Name and Path fields with the following
Display Name |
|
Path |
|
Then click on the green plus sign next to the Connector configuration.
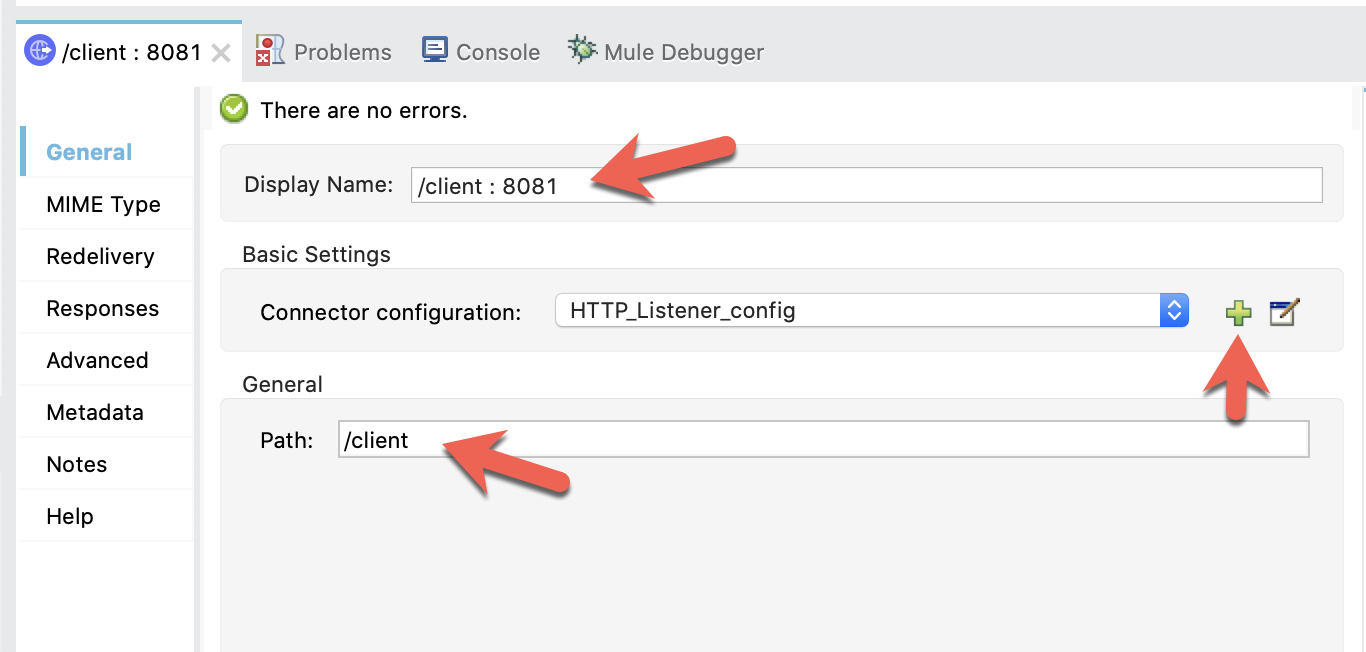
Leave the default values for this configuration (HTTP and 8081) and click on OK
HTTP Request
In the Mule properties window for the HTTP Request, fill in the Display Name and set the Path and Method fields with the following
Display Name |
|
Request > Path |
|
Request > Method |
|
Then click on the green plus sign next to the Connector configuration.
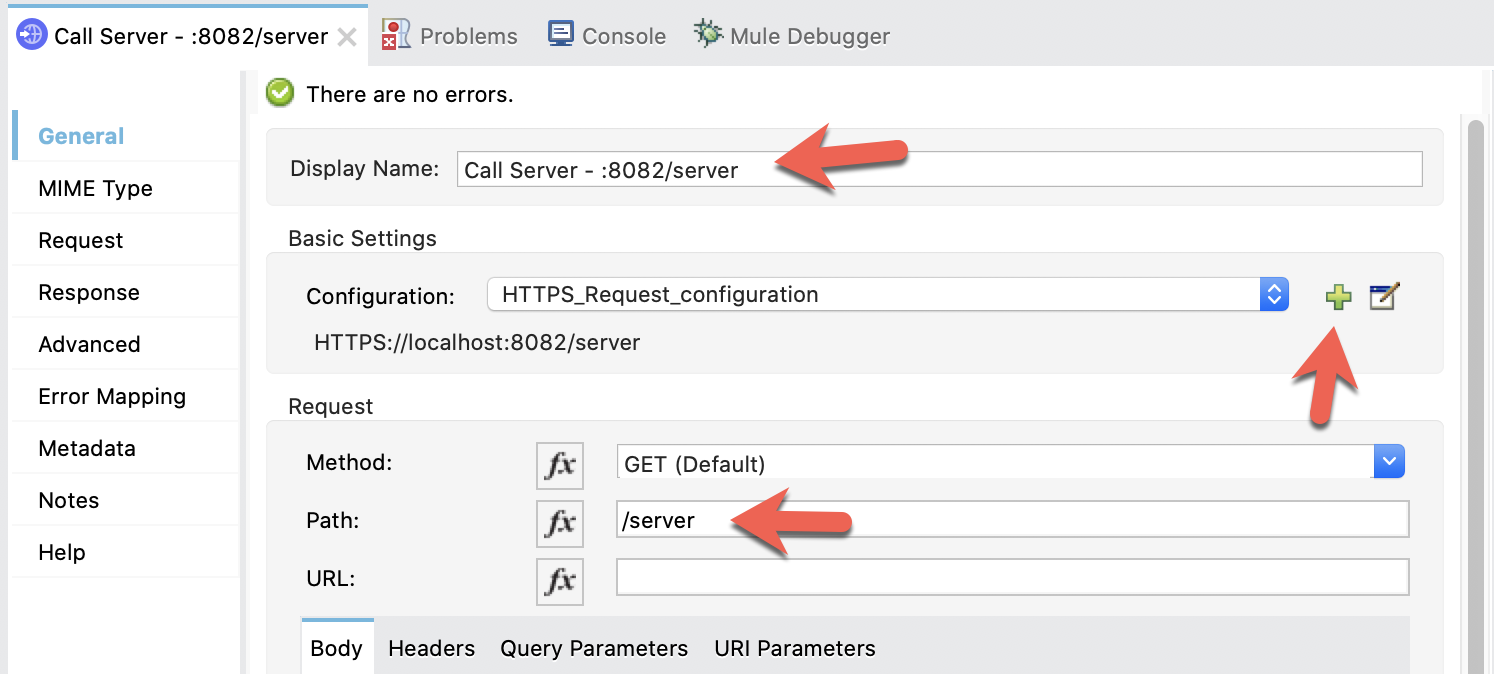
Under the configuration section, change the Protocol to HTTPS and set the Host and Port to localhost and 8082.

Change the TLS Configuration field to Edit inline. Fill in the Trust Store Configuration and Key Store Configuration to match the screenshot below. Be sure to use the password that you used when you created the keystore and truststore earlier in the codelab. Click on OK when finished.

Transform Message
If the call to the server is successful, the Transform Message component will return the response from the server. Configure the script to look like the following:
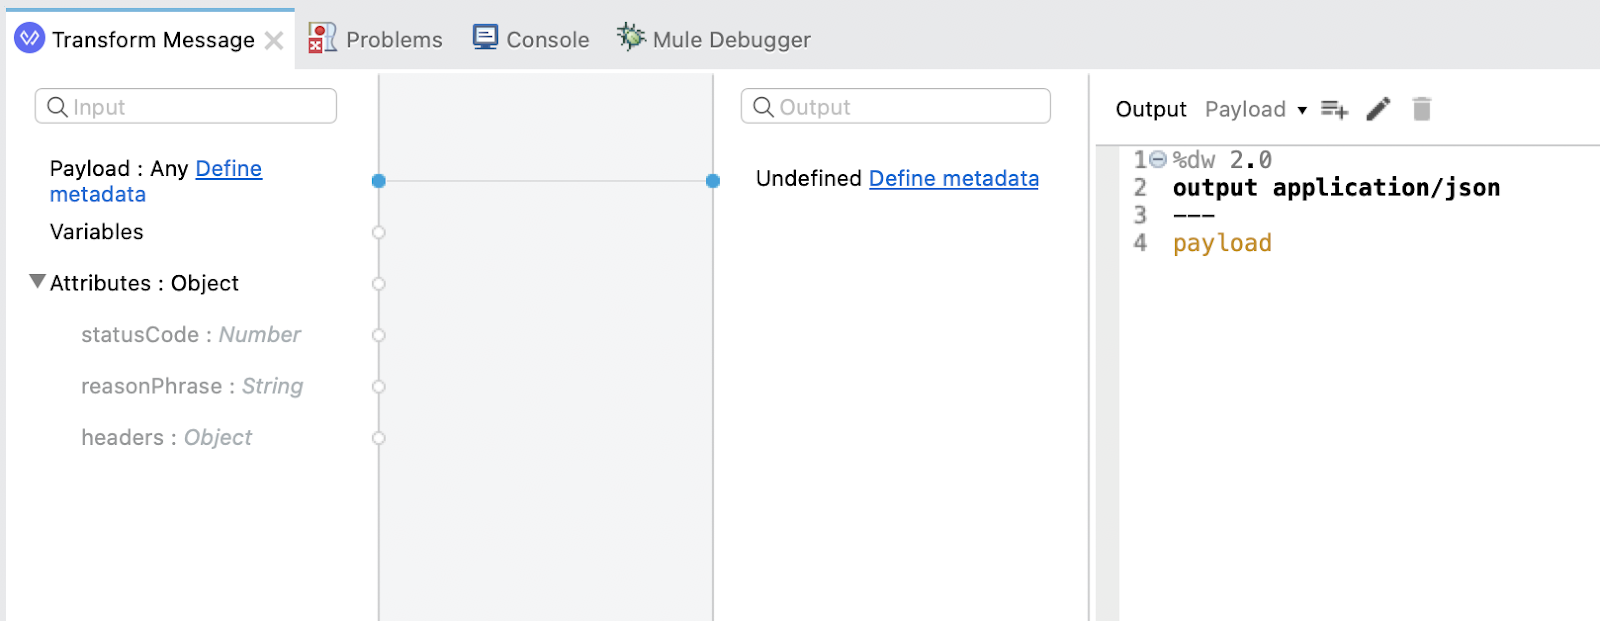
%dw 2.0
output application/json
---
payload
Now that everything has been configured, let's run the project and see the 2-way SSL in action. Right-click on the canvas and click on Run project
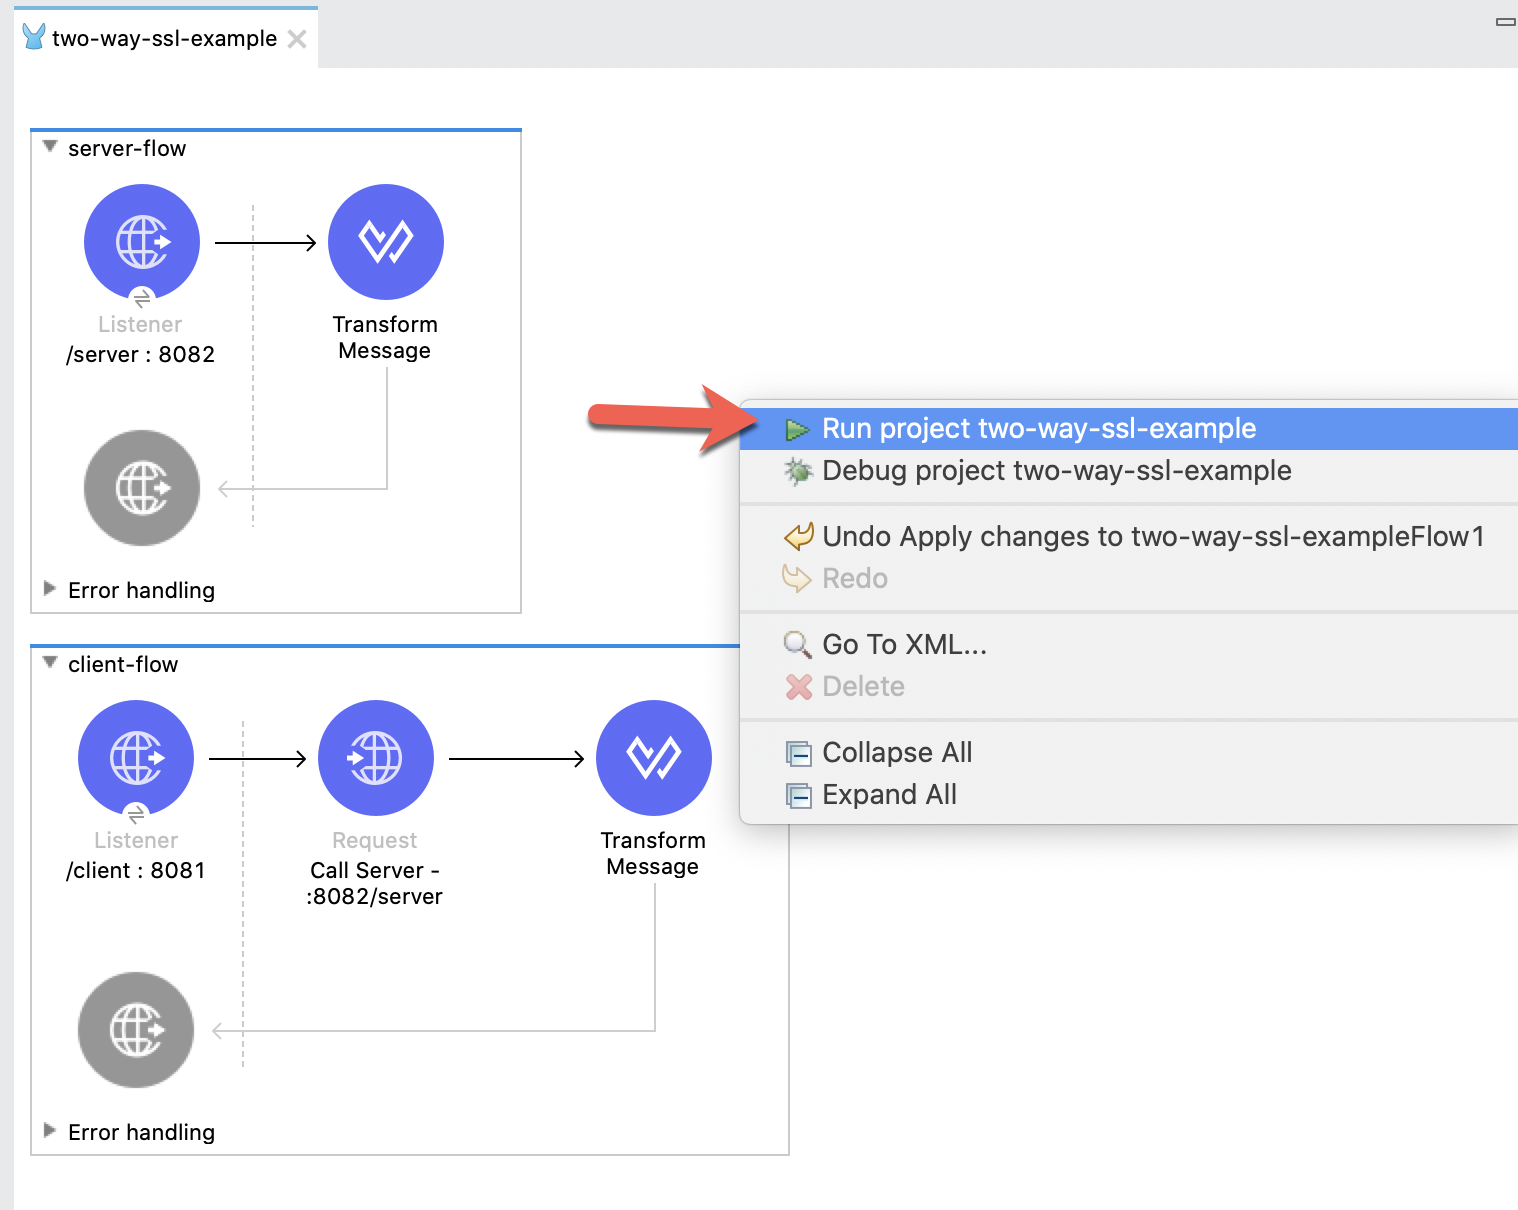
When the project is successful deployed, switch to your browser and navigate to the following URL
http://localhost:8081/clientIf everything was configured successfully, you'll see the following response in your window.
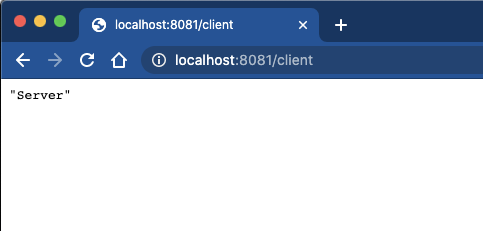
In this codelab, you learned how to create keystores and a truststore for 2-way SSL communication in Anypoint Studio. While we only created a single Mule project, generally you would split this into two projects. One would act as the server and contain the server keystore and truststore. The other would be the client and make the request to the server and it would contain the client keystore and truststore.
What's next?
Check out some of these codelabs...
- TBD