Amazon AWS Transit Gateway connects VPCs and on-premises networks through a central hub. This simplifies your network and puts an end to complex peering relationships. It acts as a cloud router – each new connection is only made once.
In MuleSoft Anypoint Platform, we've added the ability to set up Transit Gateways between CloudHub VPCs and your existing AWS VPCs resources.

Requirements / Prerequisites
- Anypoint Platform
- Anypoint VPC
- Amazon Web Services
Additional Resources
The first thing we need to do is create the Transit Gateway in AWS. If you already have one setup for your environment, you can click Next to move on to the next section.
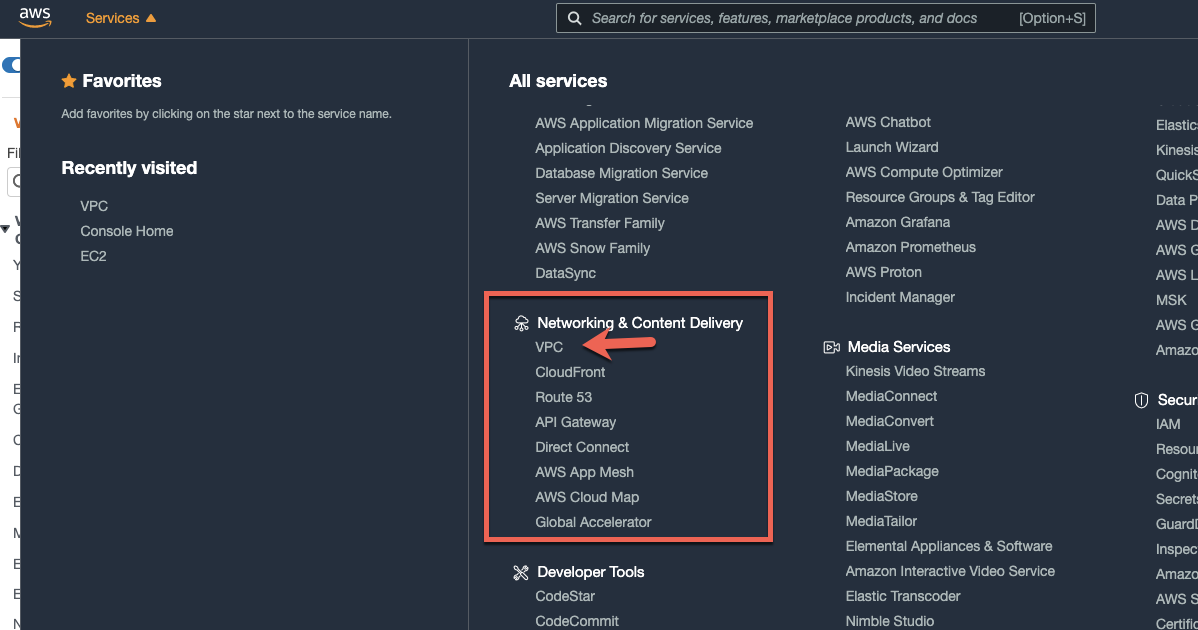
Login to the AWS console and navigate to the Networking & Content Delivery section and click on VPC
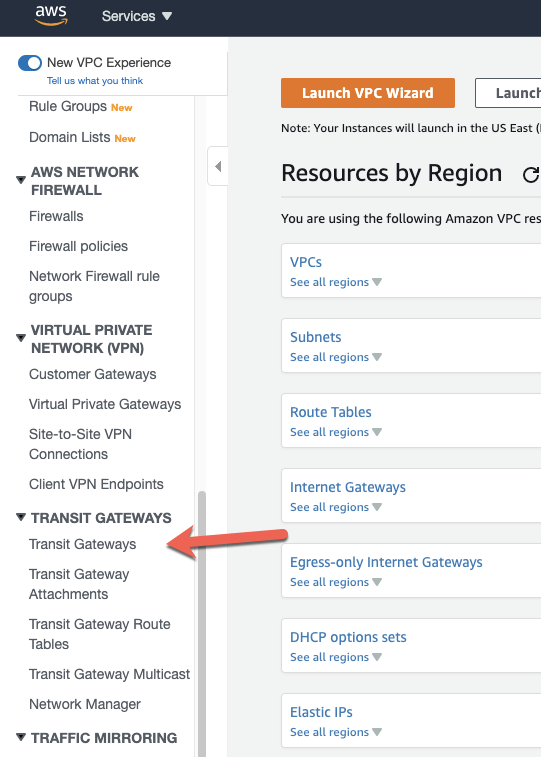
In the VPC Management Console, scroll down on the left-hand navigation bar and click on Transit Gateways
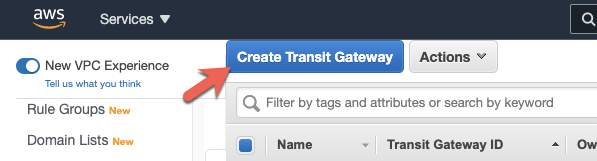
Click on Create Transit Gateway
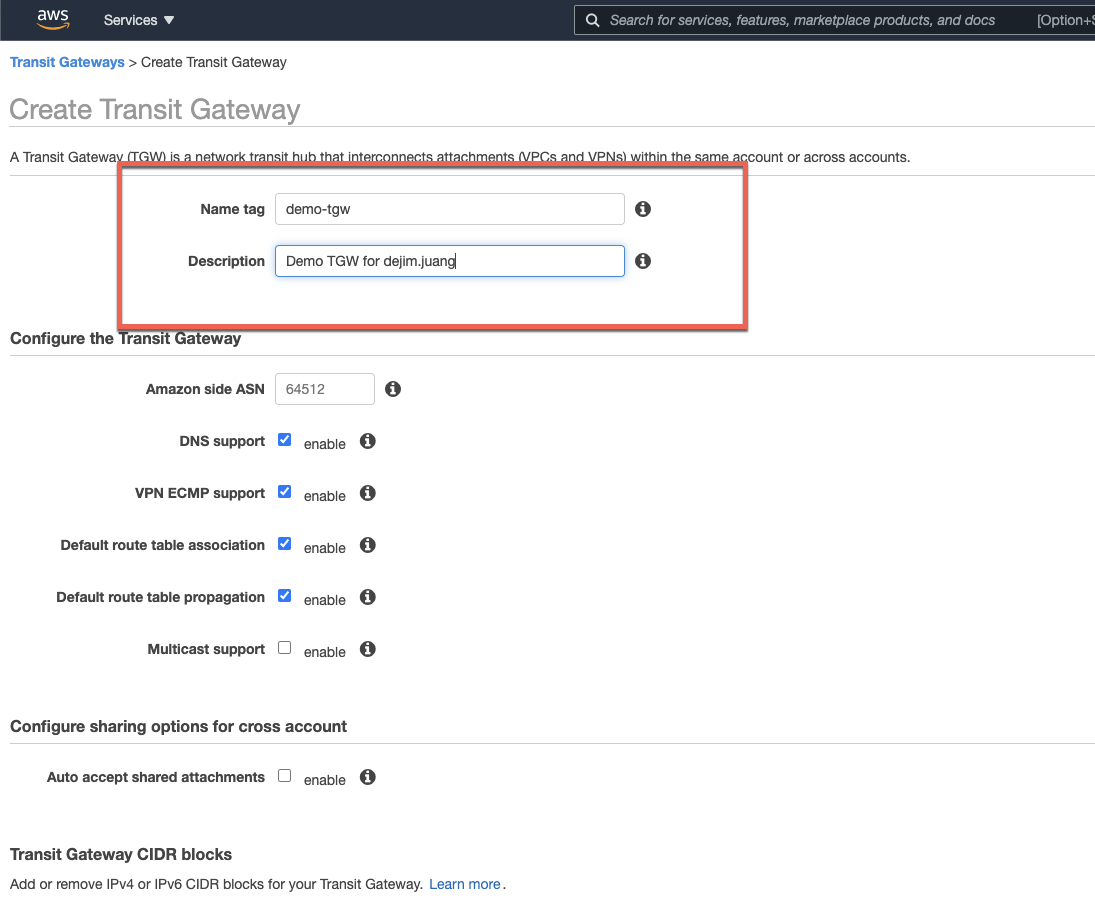
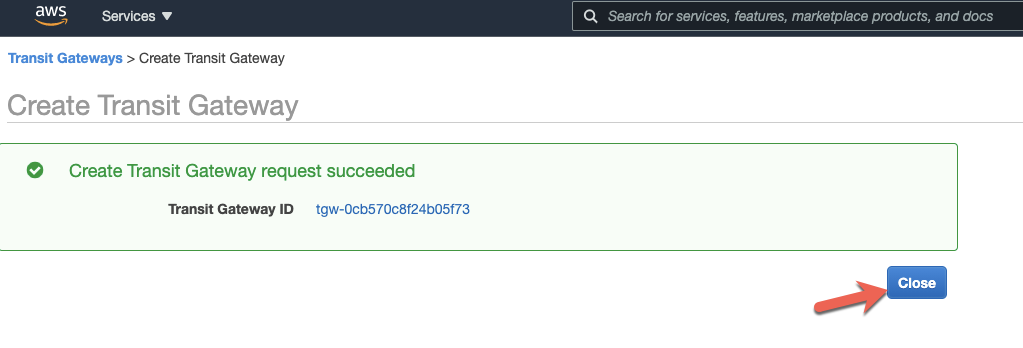
Fill in the Name tag and Description fields and click on Create Transit Gateway
Once the Transit Gateway is created, you'll see the following message. Click on Close but keep the AWS Console open, we'll need to come back to it later to finish the setup process.
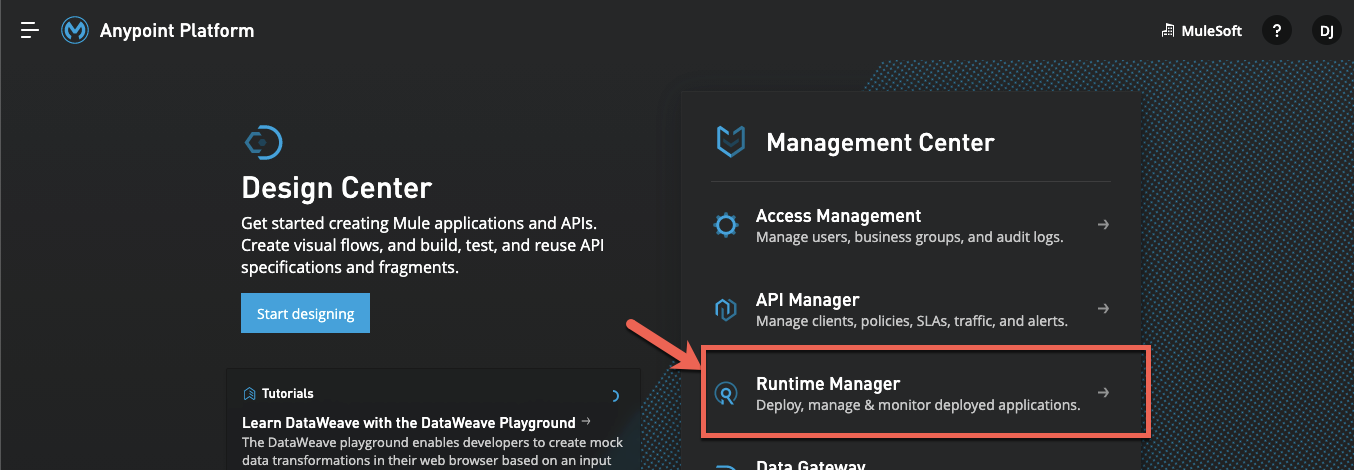
Login to Anypoint Platform and navigate to Runtime Manager
Assuming you already have a VPC setup, and the entitlement for Transit Gateways, your screen should look like this when you click on Transit Gateways on the left.
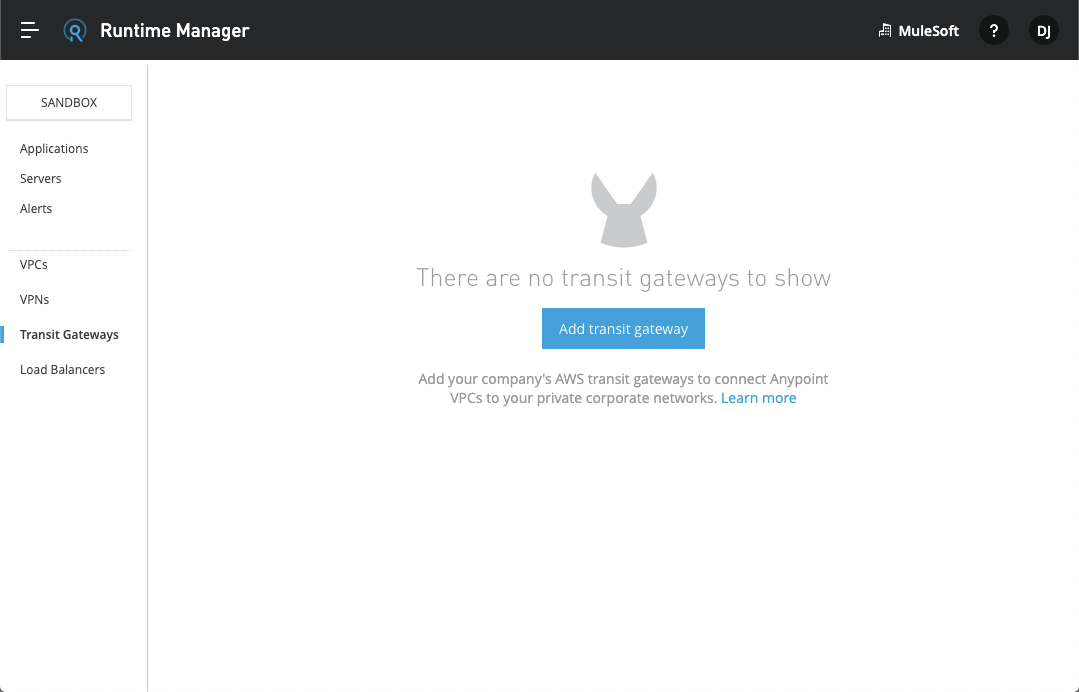
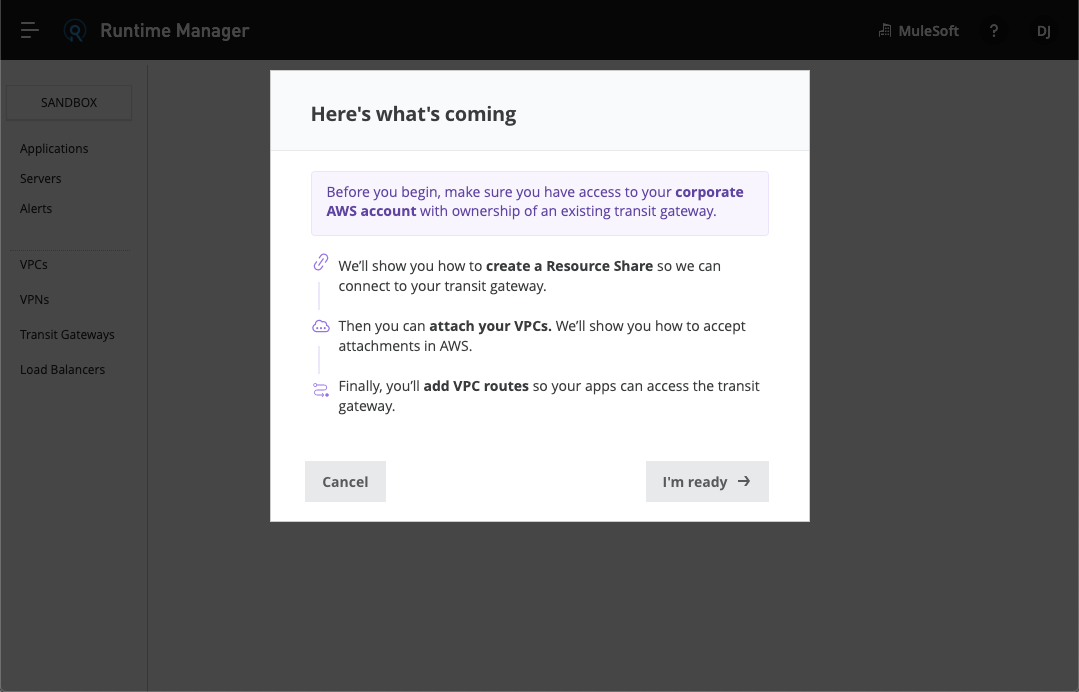
Click on Add transit gateway and click on I'm ready on the next screen.
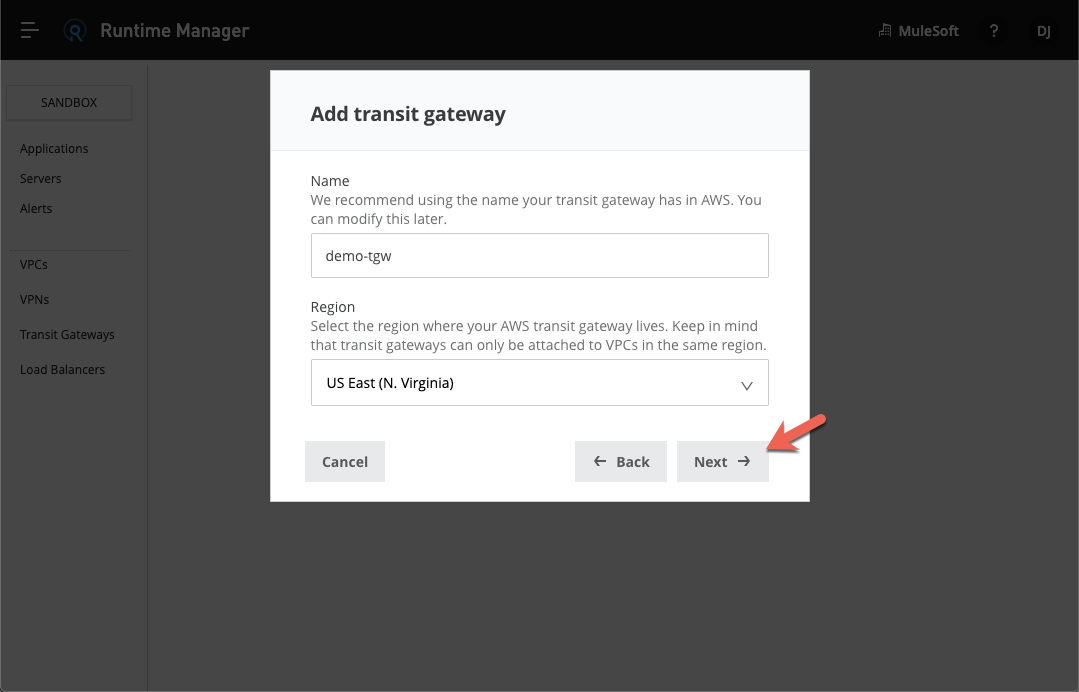
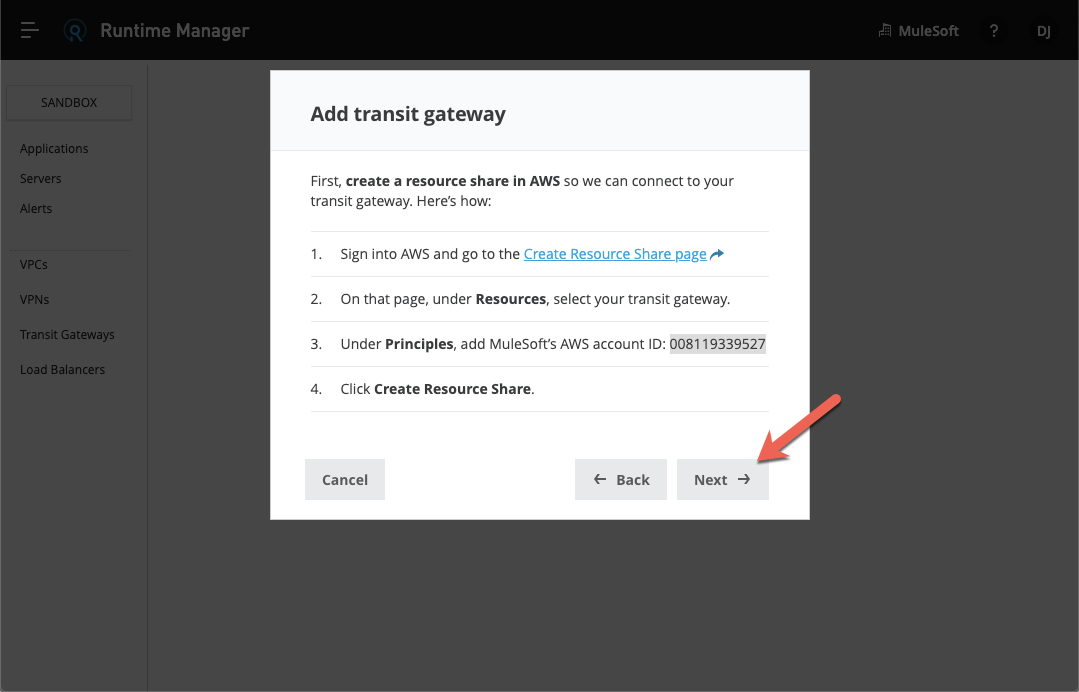
Give your transit gateway the same name as the one you used in AWS and select the same region as well and click on Next.
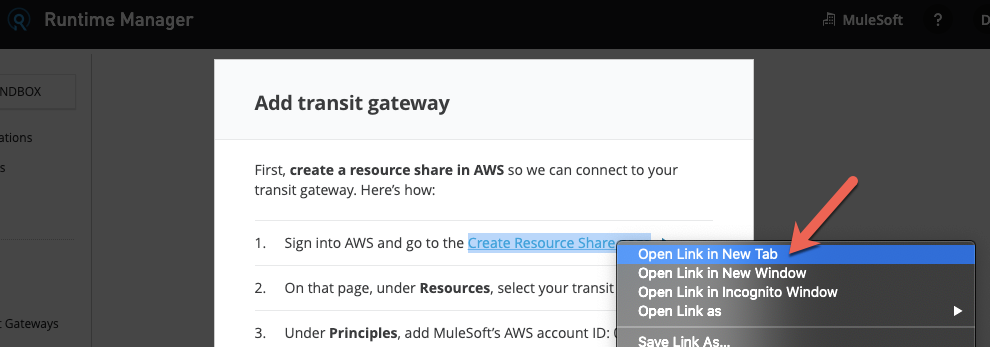
In the next screen, right click on the Create Resource Share page link and open it in a new tab so you won't lose your settings in Anypoint Platform up to this point.
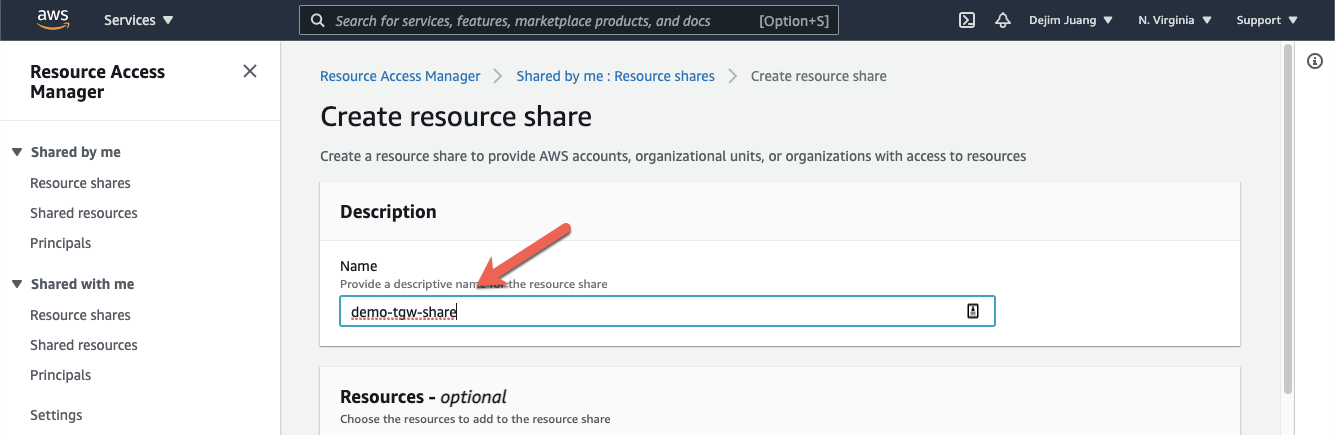
In the Resource Access Manager screen, we're going to create a resource share. Give the resource share a Name in the Description section.
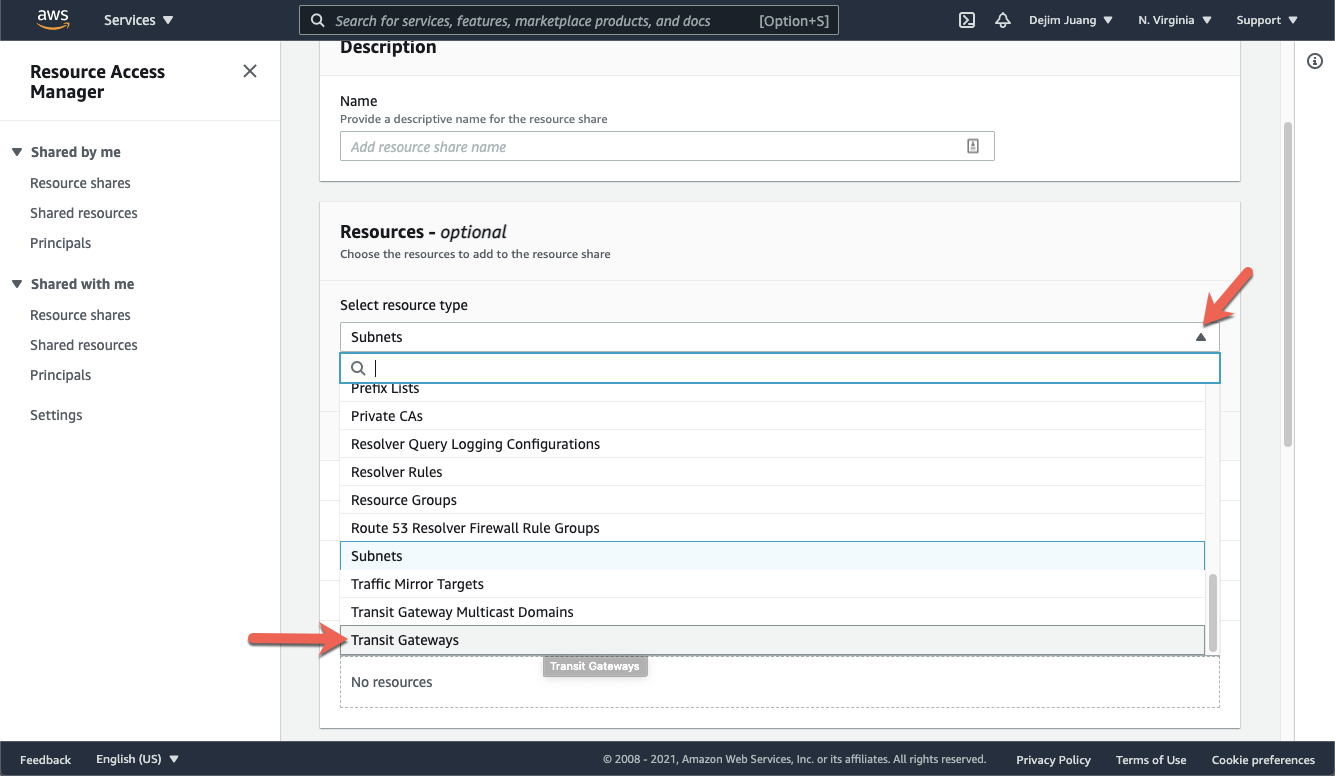
Scroll down to the Resources section and click on the drop-down and change it to Transit Gateways
Next, scroll down to the Principals section and copy and paste the MuleSoft account ID and click on Add
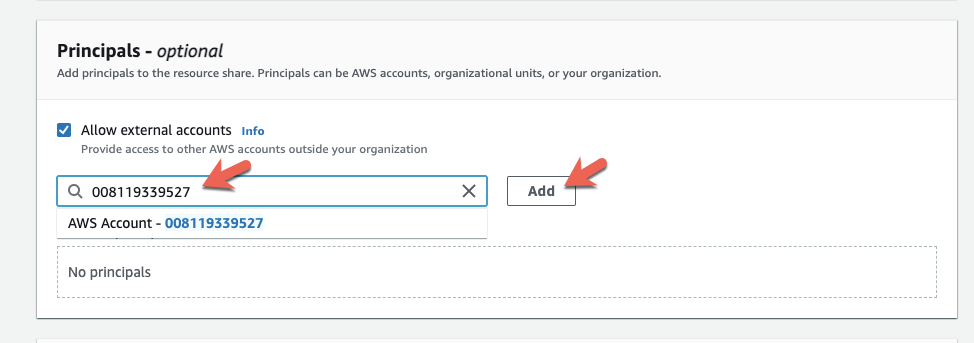
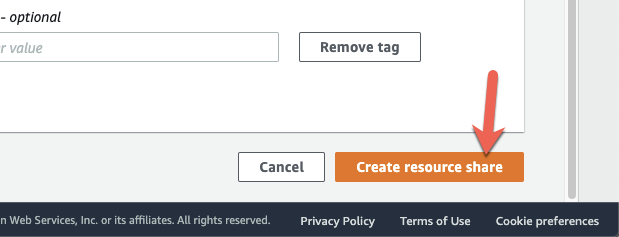
Scroll down to the bottom and click on Create resource share
Keep the AWS Console open for the next section. We're going to jump back to Anypoint Platform to complete the setup.
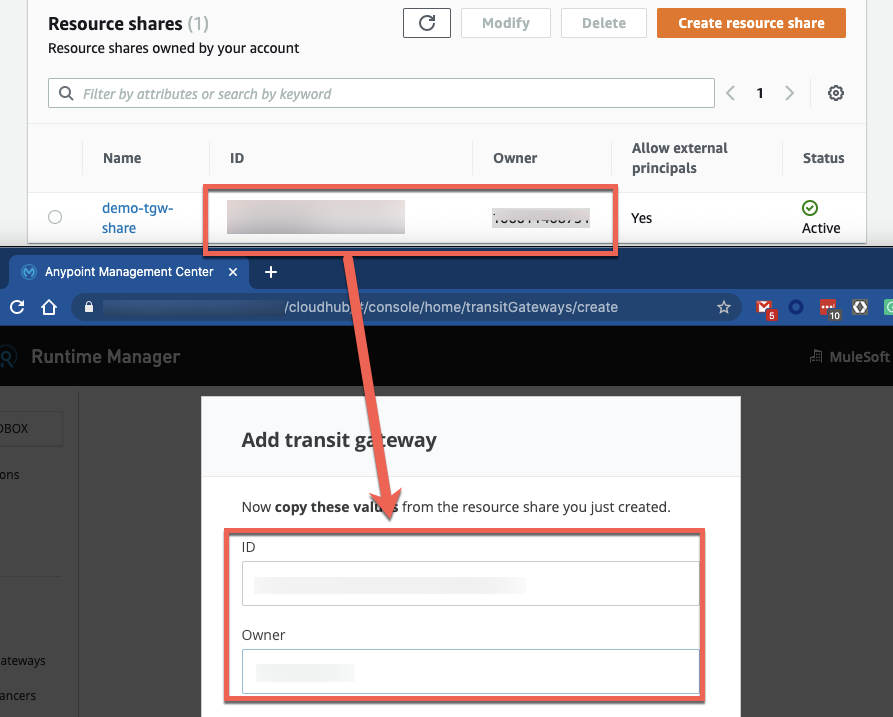
So we're back in the Anypoint Platform and we need to complete the connection. Click on Next.
Copy and paste the ID and Owner from the AWS Resource share to the Anypoint Platform screen and click on Add
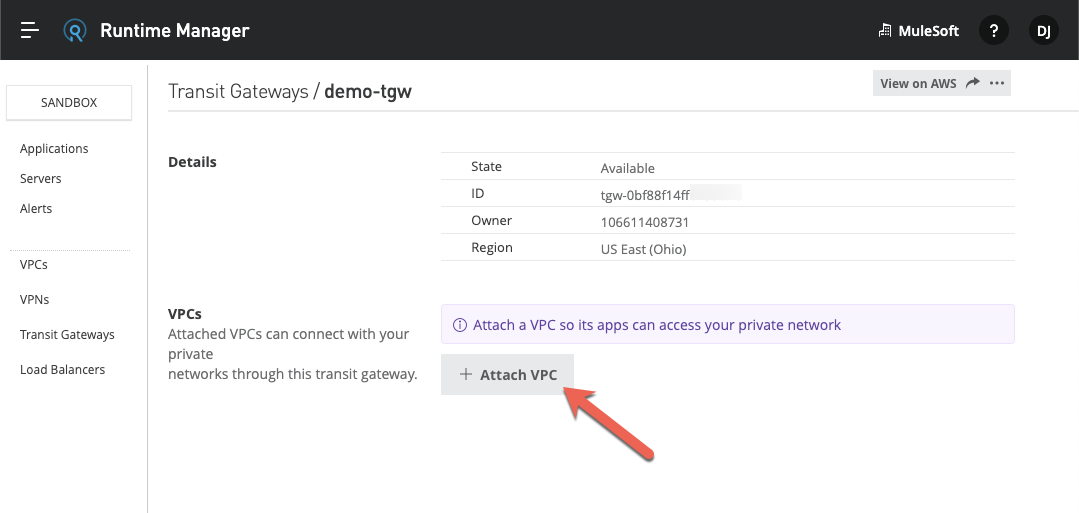
Once the connection is set up, you'll see the following screen with details on the Transit Gateway. Next we need to attach the CloudHub VPC to the Transit Gateway. Click on Attach VPC
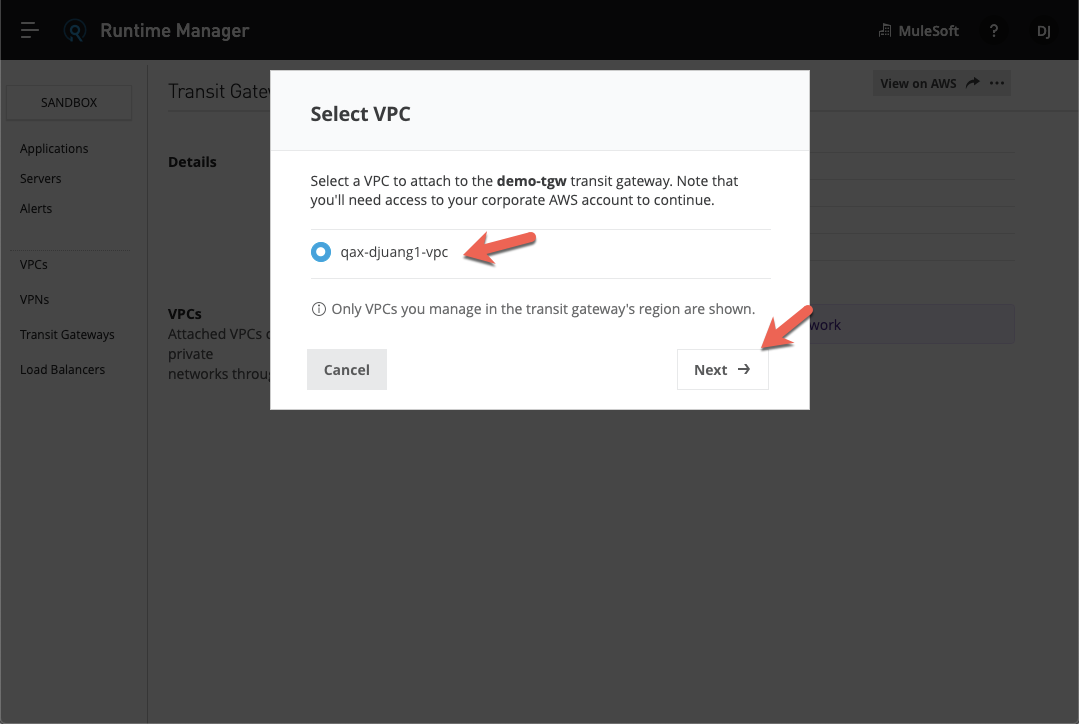
The Select VPC dialog box will show you the list of VPCs that you have in your environment. Select the one you want to use and click on Next
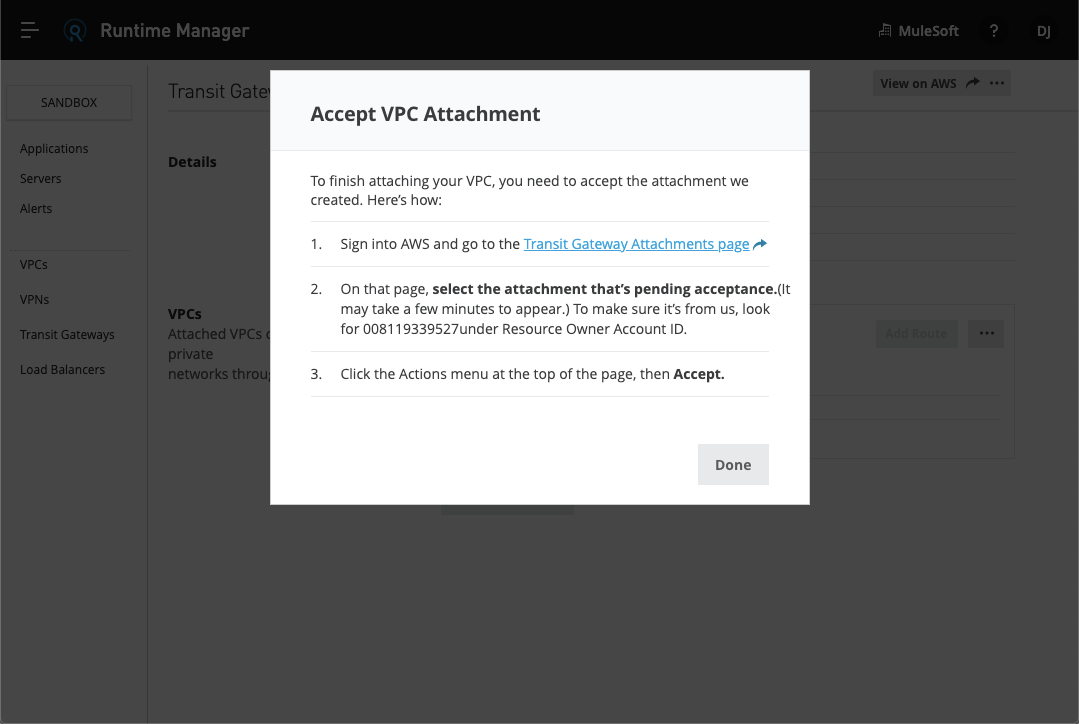
Similar to what we did earlier when we set up the Resource Share in AWS, we need to go back to AWS and accept the VPC attachment to the Transit Gateway. Right-click on the Transit Gateway Attachments page link and open a new tab so you don't lose your place in Anypoint Platform.
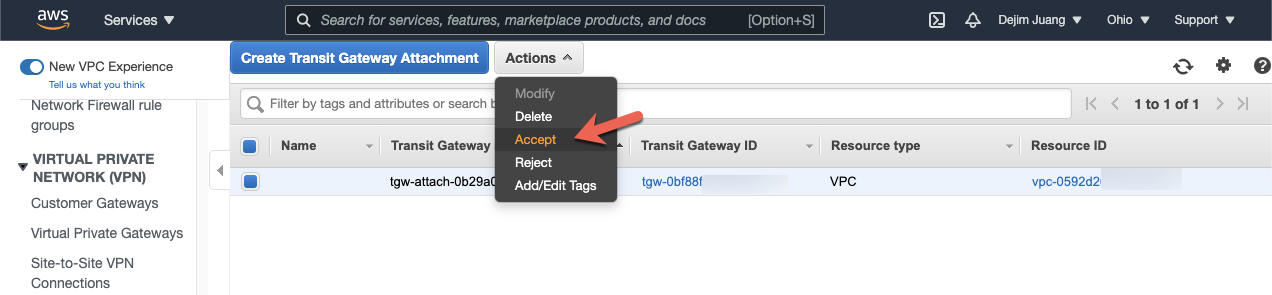
In the AWS Console, you'll find yourself in the Transit Gateway Attachments section. If you already have the AWS Console open, you can find it under VPC > Transit Gateways, Transit Gateway Attachments. We want to select the attachment that we created in Anypoint Platform. You can see the state set to pending acceptance.
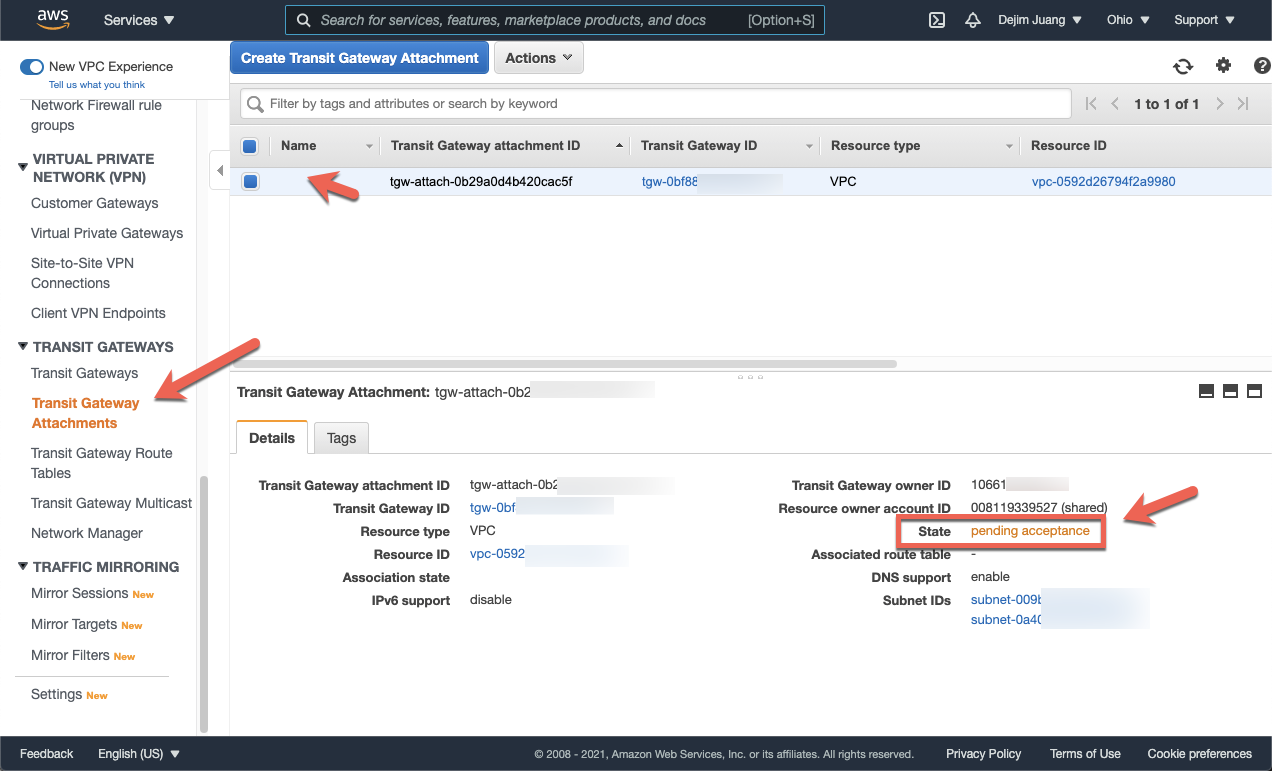
Click on the Actions drop-down and select Accept.
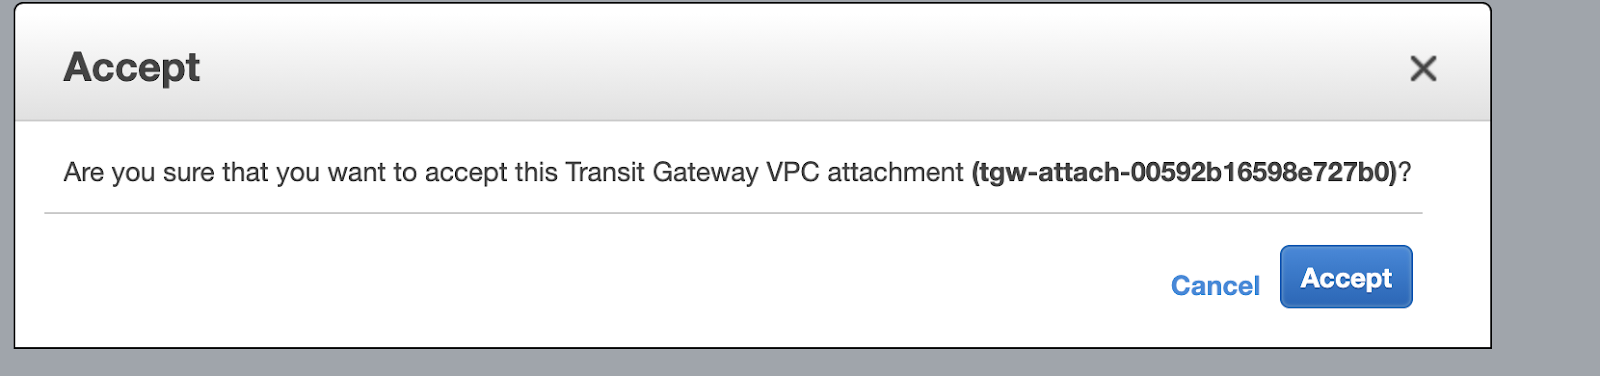
Click on Accept in the window that pops up.
Switch back to Anypoint Platform and give it a couple minutes to refresh and show the successful attachment of the Transit Gateway to the CloudHub VPC. You'll see the list of VPC routes displayed on this screen as well.
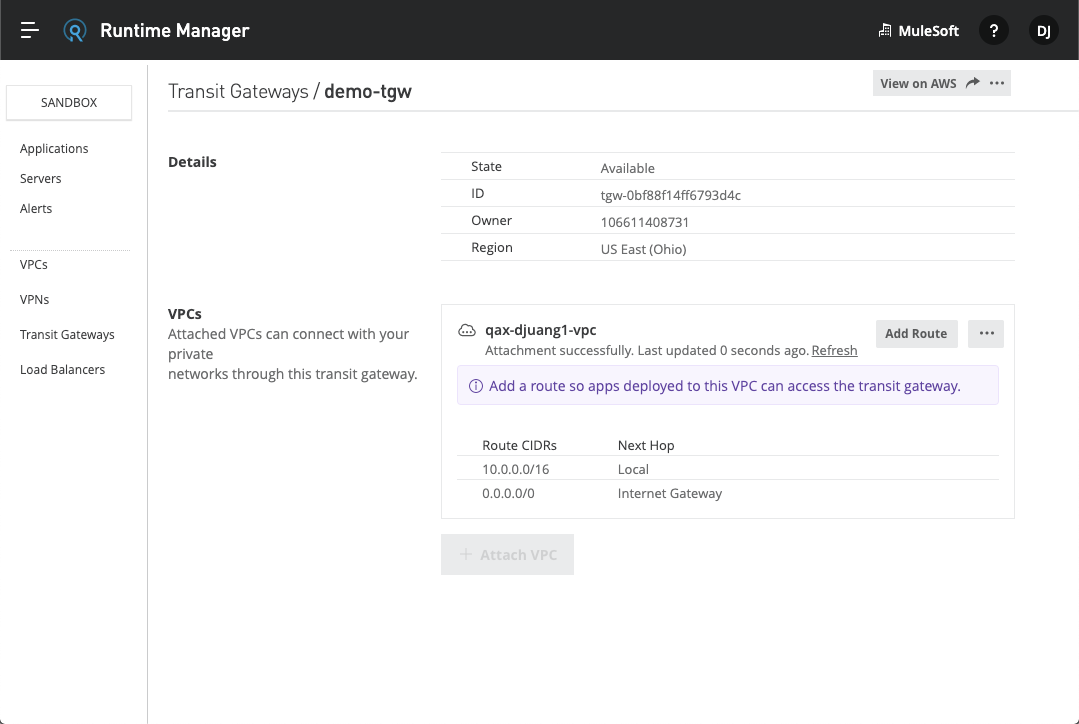
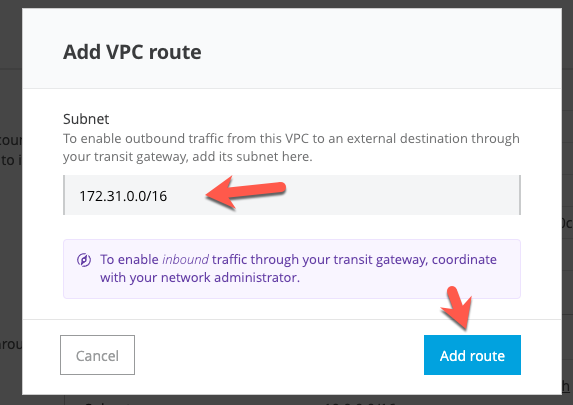
In order for the traffic to flow between VPCs, you need to configure the Routes. Click on Add Route
Fill in the field with the CIDR range for the VPC in AWS and then click on Add route
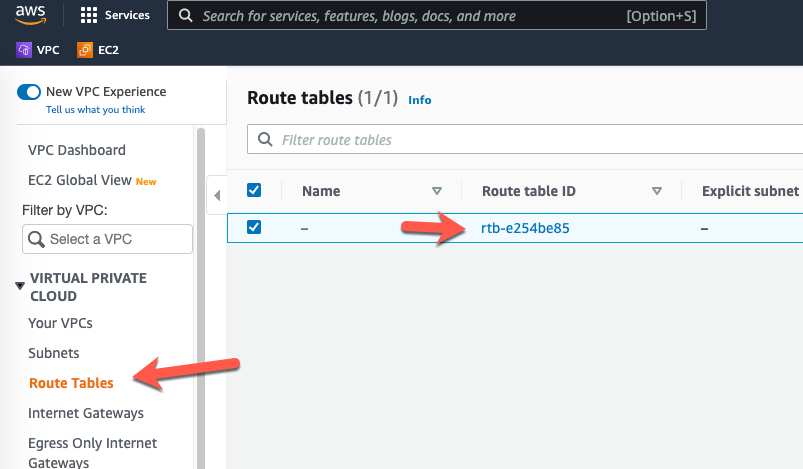
We need to do the same thing in AWS in order for the traffic to flow from AWS to CloudHub. In the VPC console, click on Route Tables and select the route table that is tied to the VPC.
In the Routes tab at the bottom, click on Edit routes
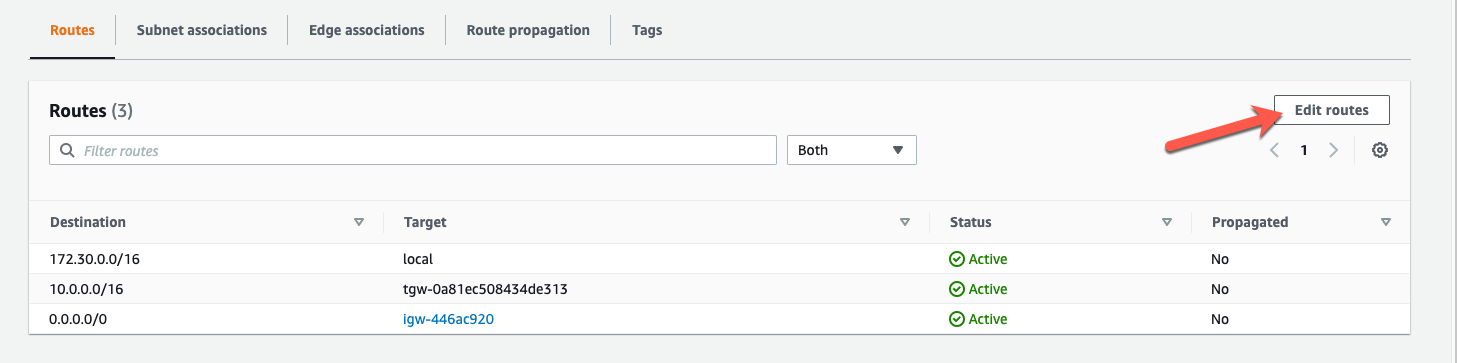
Click Add route and enter the CIDR range for the CloudHub VPC and select Transit Gateway from the Target dropdown and select the Transit Gateway that you set up previously.

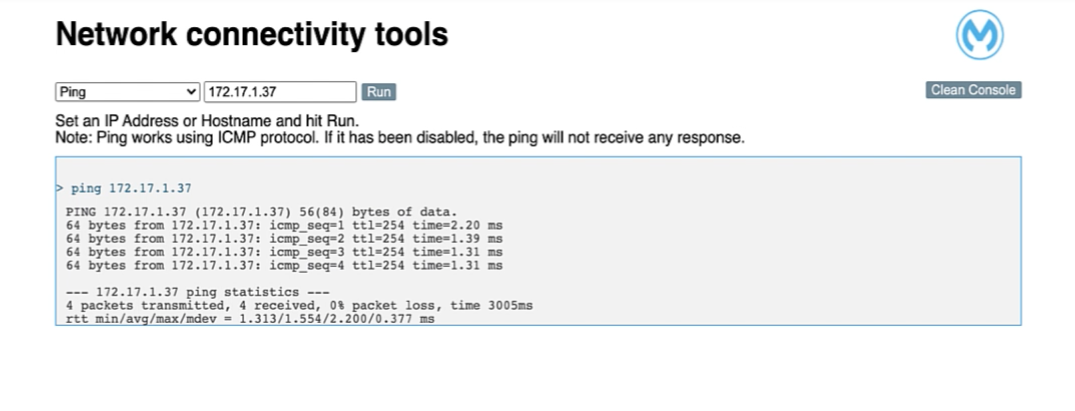
Follow the instructions here to download the Network Tools application and deploy it to your CloudHub VPC to test connectivity to the AWS VPC.
Before running the tool, you'll need to start an EC2 instance in the VPC that is connected to the Transit Gateway. If everything is set up correctly, you should see the following screen below.
As you can see, setting up Transit Gateways with Anypoint Platform is a pretty simple and straightforward process. This new capability simplifies your network and puts an end to complex peering relationships.