CRM Analytics (formerly Tableau CRM) empowers your Salesforce CRM users with actionable insights and AI-driven analytics right in their workflow. In this Codelab, you'll learn how to use MuleSoft to create a dataset in CRM Analytics, upload data into the dataset, and trigger the system to start processing the data.
What you'll need
- Anypoint Studio 7.x
- CRM Analytics (formerly Tableau CRM, a.k.a Einstein Analytics, a.k.a Wave Analytics)
To simplify this Codelab, we're going to create a CSV file to use as the schema for the CRM Anlytics dataset. Copy the data below and paste it into a text editor and save it as a CSV file (e.g. result.csv)
longDescription,id,description,canUseRevenueSchedule,isIntellectualPropertyProtected,isAutoProvisionable,isCustomerDiscountAllowed,requiresUnitPriceLabel
12397-MOTOR_HSG_RT,12397-MOTOR_HSG_RT,12397-MOTOR_HSG_RT,false,false,false,false,true
133341-VAL_STEM_SEAL,133341-VAL_STEM_SE,133341-VAL_STEM_SEAL,false,false,false,false,true
134438-OIL_PUMP_CVR,134438-OIL_PUMP_CV,134438-OIL_PUMP_CVR,false,false,false,false,true
Before we can load data into CRM Analytics, we need to create an App and Dataset. Login to Salesforce and click on the App Launcher and click on Analytics Studio

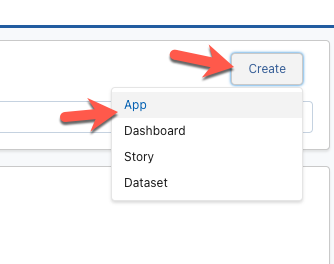
Click on Create and select App.
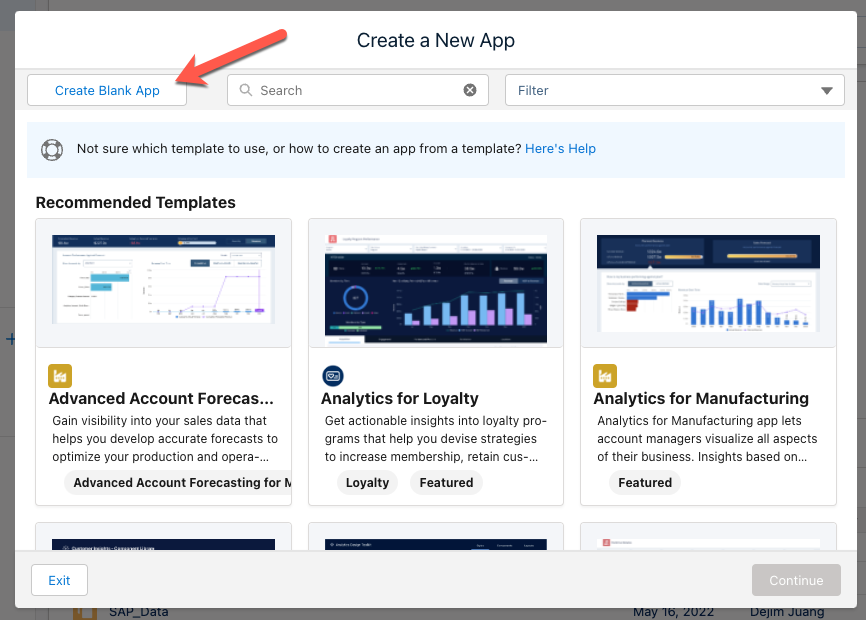
Click on Create Blank App
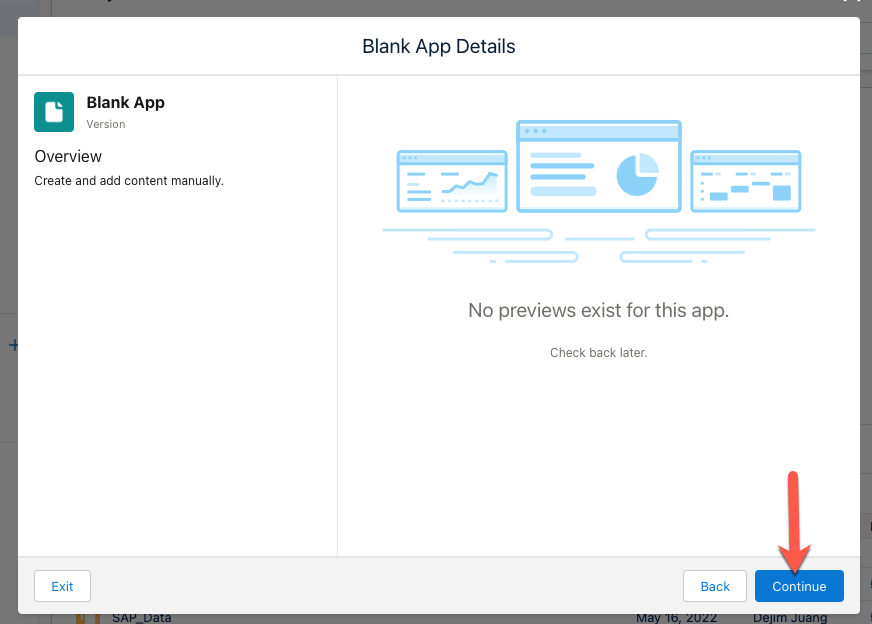
Click on Continue
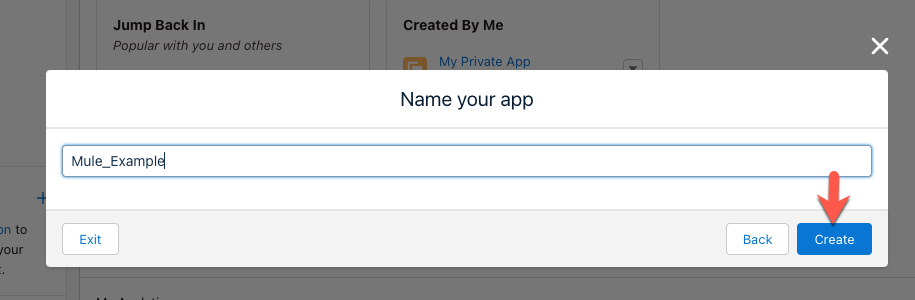
Give your app a name (e.g. Mule_Example) and click on Create. Be sure not to include a space in the name.
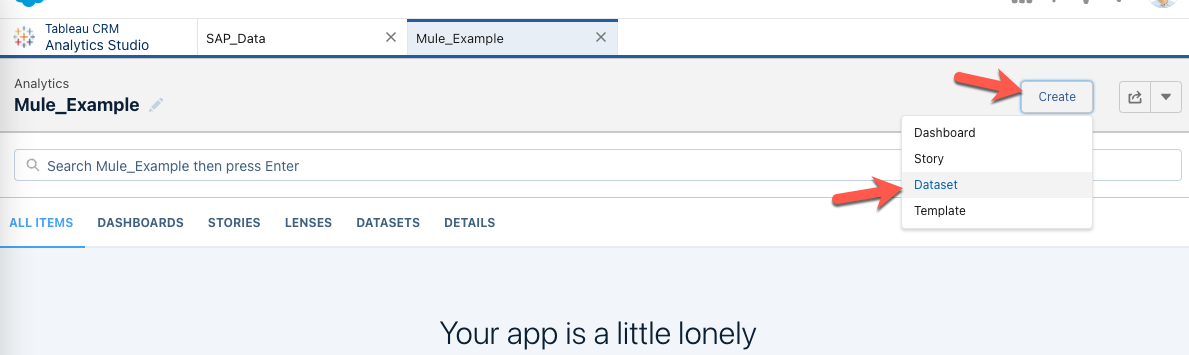
Once the app has been created, click on Create again and select Dataset
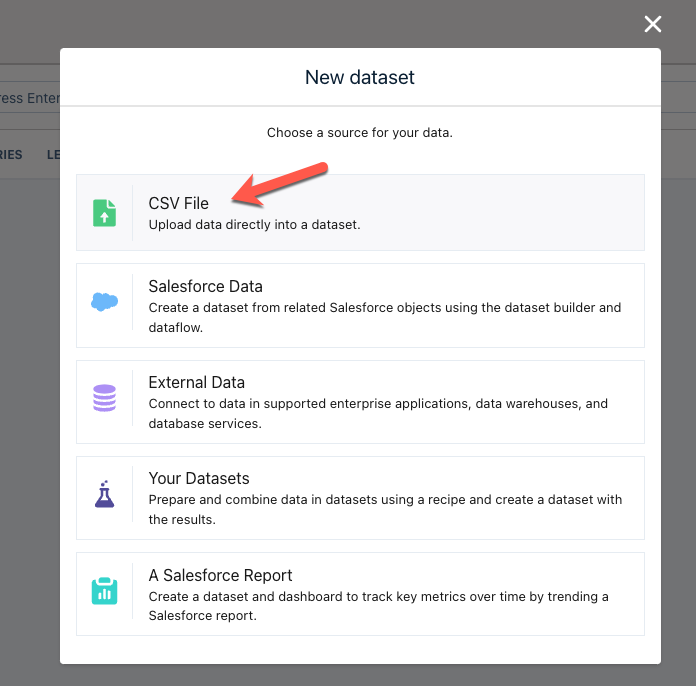
Click on CSV File
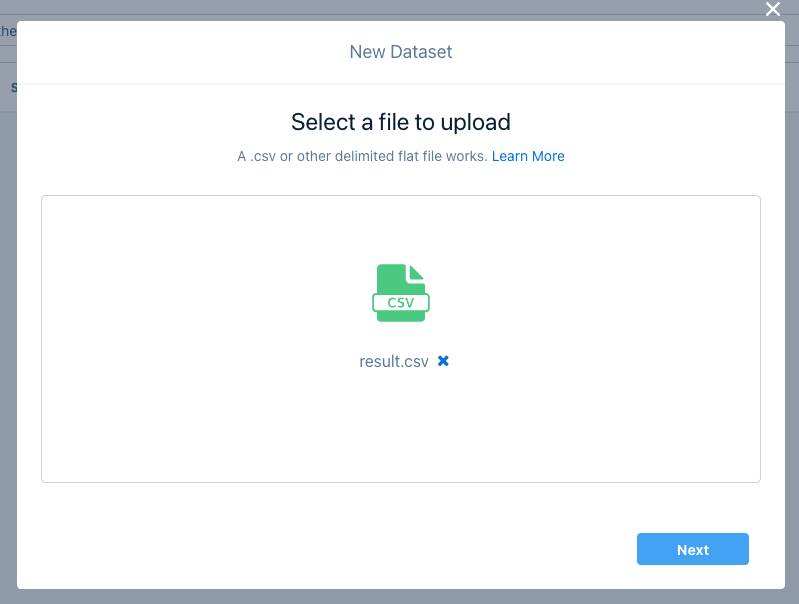
Find the CSV file that we created earlier and drag and drop that into the window. Click on Next
Give your Dataset Name a name (e.g. Product) and in the Data Schema File section, click on the drop down and click on Download File. This step is very important because you need the schema file for the connector. Click on Next

If you need to make any changes to the field attributes, you can do that in the next screen. Otherwise, click on Upload File.

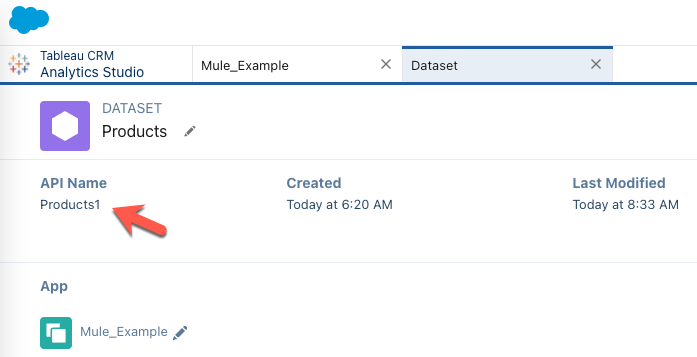
Once the dataset is created, copy down the API Name. (e.g. Products1) You'll need to use this to configure the connector in the next step.
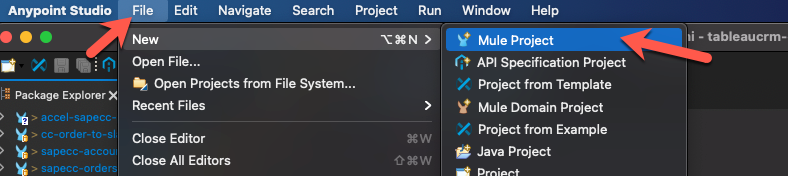
Now that we've created the App and Dataset, we can create the Mule Application to load the data into the dataset. Switch over to Anypoint Studio and create a new Mule project.
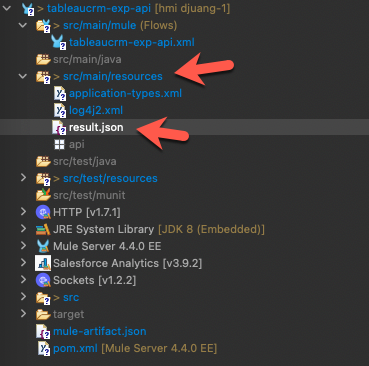
In the previous step, you downloaded a dataset schema file that was in JSON format. Take that file and add it to your project in the src/main/resources folder. We'll need to link to that file later in the Codelab.
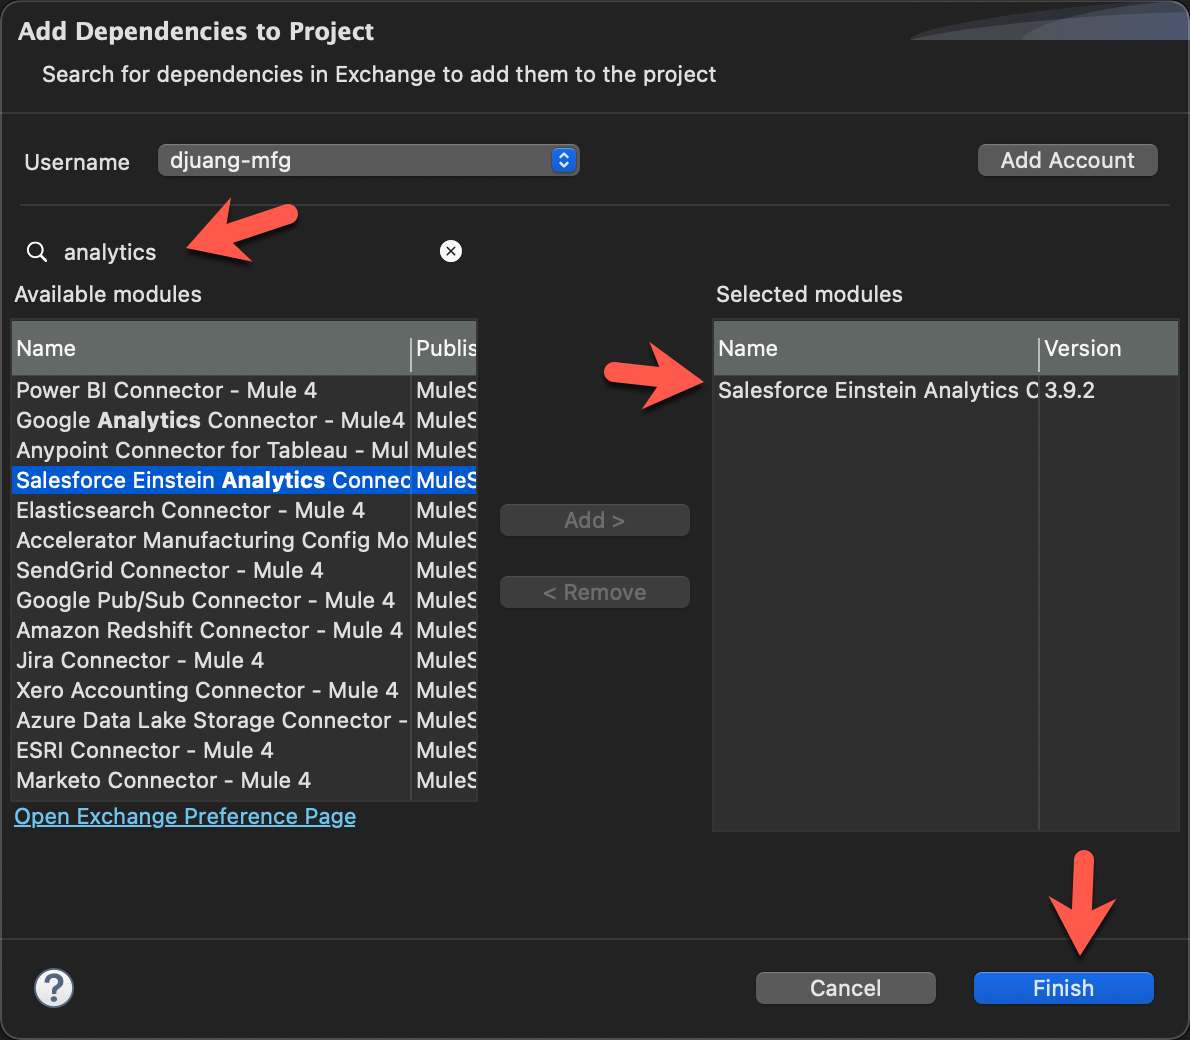
Next, in the Mule Palette, click on Search in Exchange. Search for ‘analytics' and select Salesforce Einstein Analytics Connector and click on Add. Click on Finish.
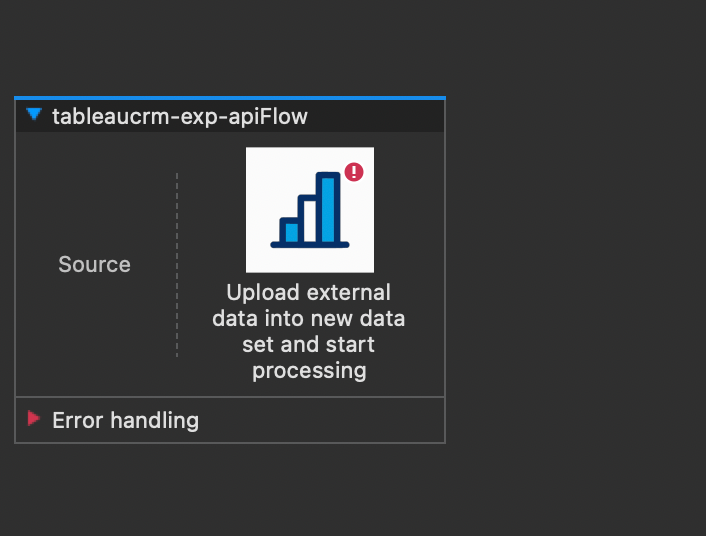
In the Mule Palette, find the connector we just added and select the Upload external data into new data set and start processing operation.
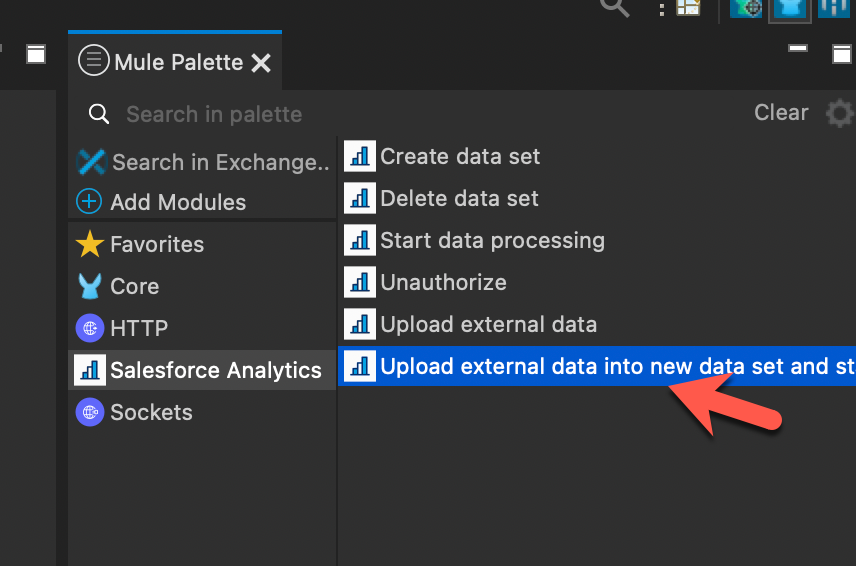
Drag and drop that into the canvas.
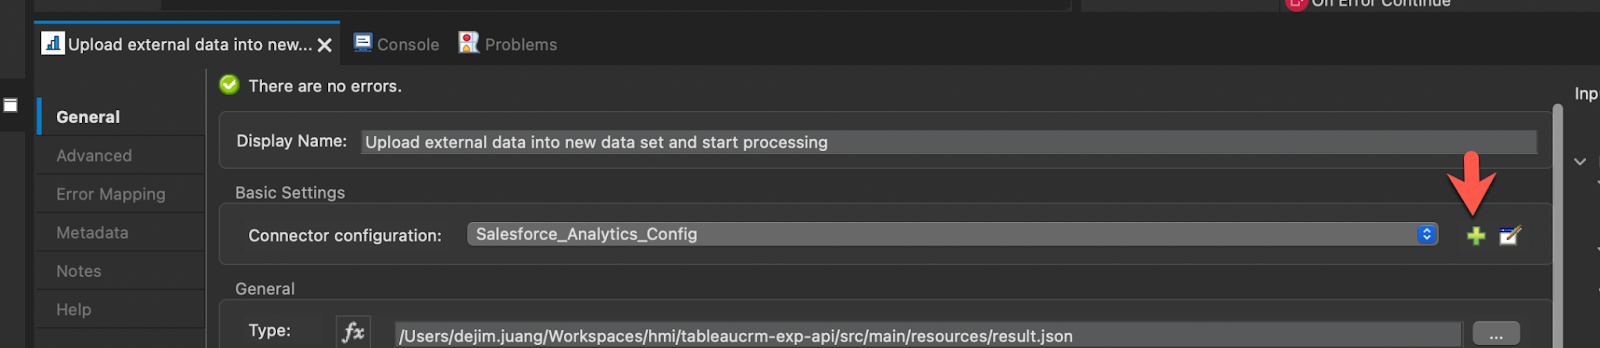
In the Mule Properties window, click on the green plus sign next to the Connector configuration drop down field.
Fill in the Username, Password, and Security Token field with your Salesforce credentials. Click on Test Connection... and if it's successful, click on OK.

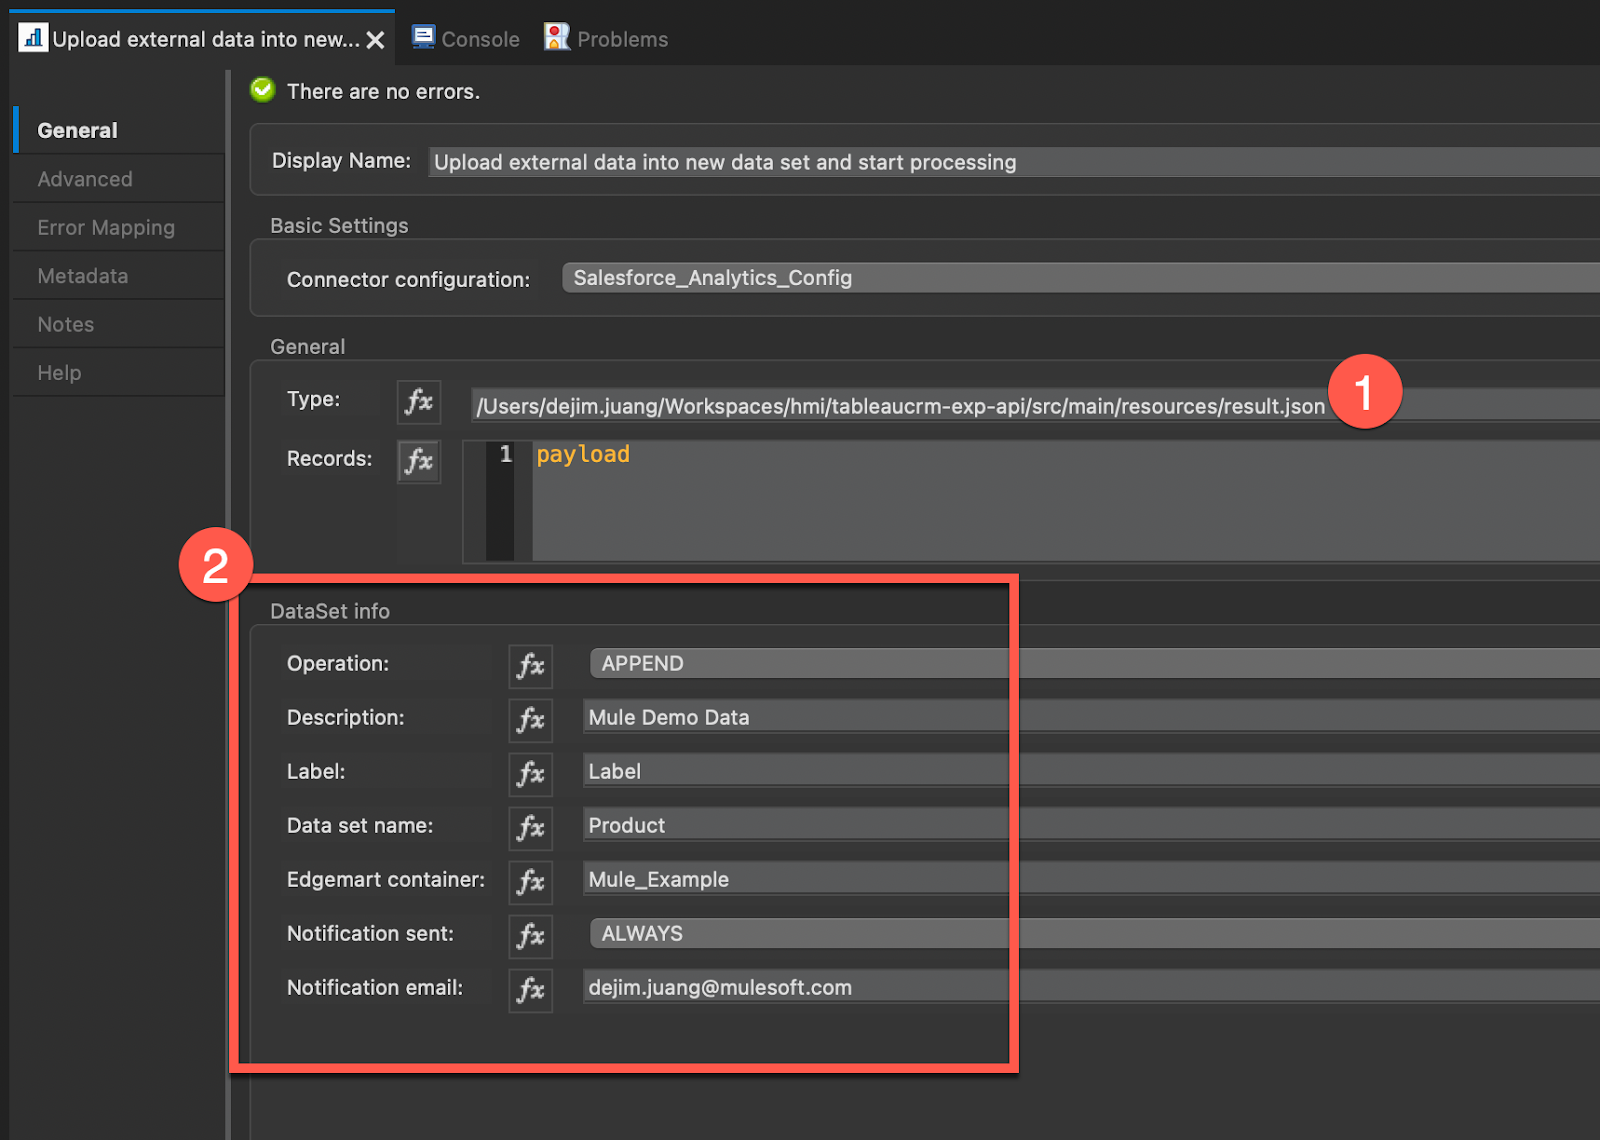
Back on the Mule Properties tab, click on the file browser button next to the Type field and find the schema file that we added to the src/main/resources folder.
Then in the DataSet info section, select and fill in the fields:
- Operation - Set this to APPEND
- Description - A description of the dataset (e.g. Mule Demo Data)
- Label - A label for the dataset (e.g. Label)
- Data set name - Fill this in with the name of the dataset that you created in the previous step. (e.g. Product)
- Edgemart container - This is the name of the App that you created in the previous step. (e.g. Mule_Example)
- Notification set - Set this to ALWAYS
- Notification email - Set this to your e-mail address.
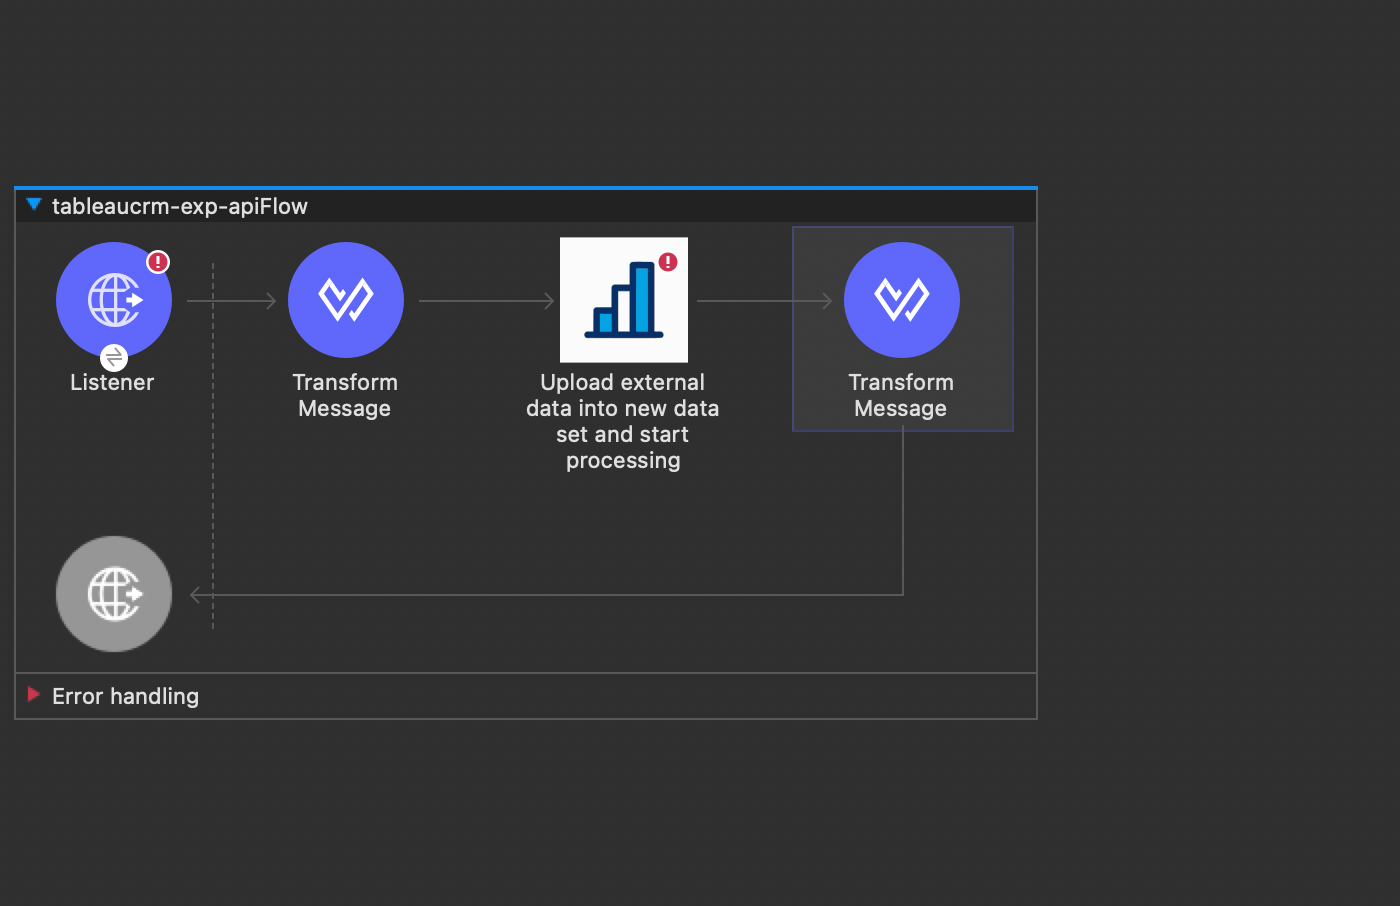
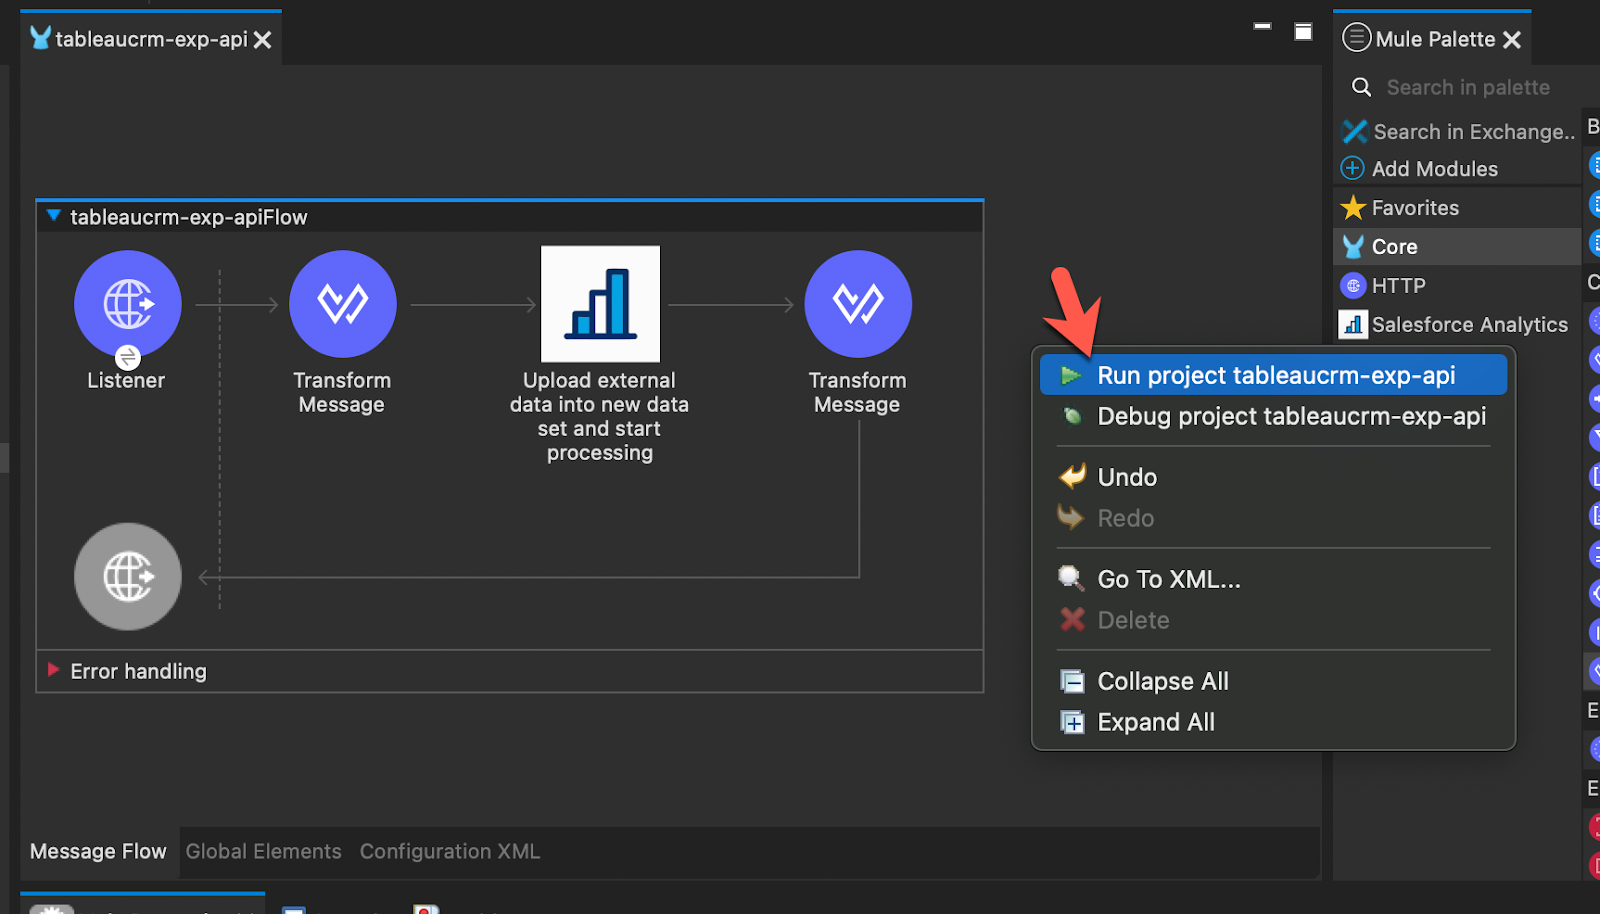
Now that the Tableau CRM connector is configured, let's configure the components around it. Go ahead and drop in an HTTP Listener and two Transform Message components around the Tableau CRM connector. It should look like the screenshot below.
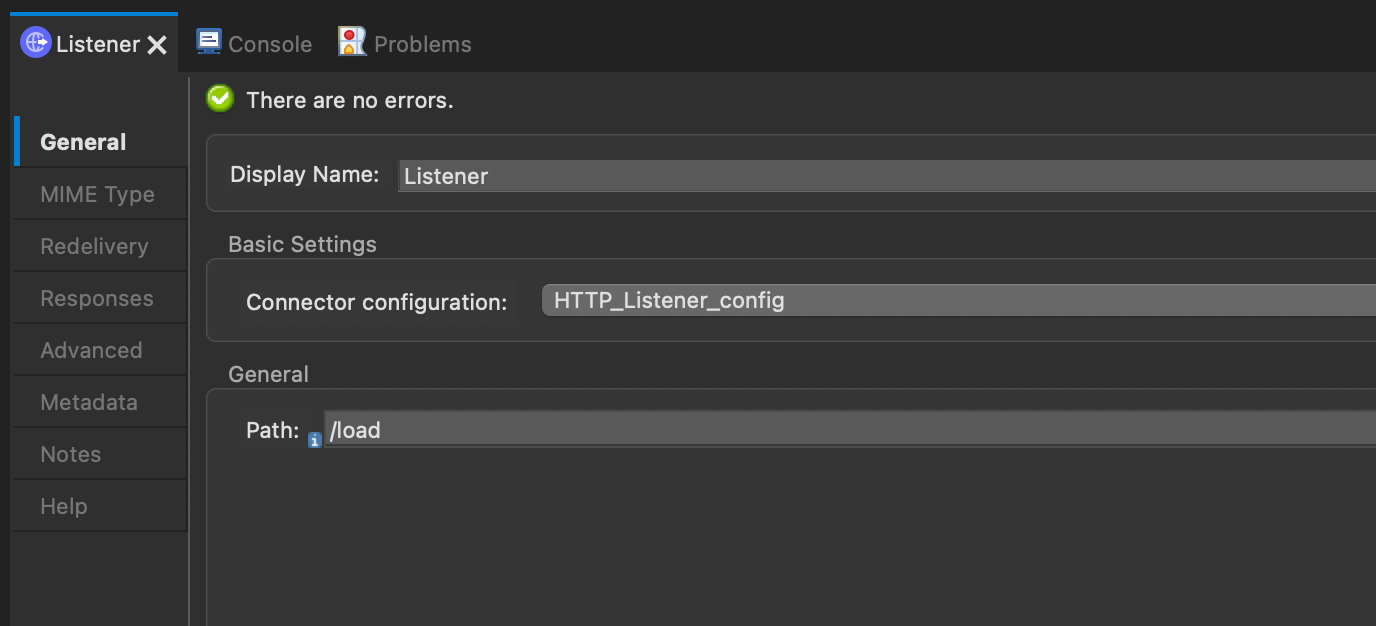
For the HTTP Listener operation, set the configuration to use the default settings (e.g. HTTP and port 8081) and then set the Path to /load.
In the first Transform Message component, we're just going to hard code the data that we're loading into Tableau CRM. This data needs to match the schema file that was generated in the first step. I've included an example of the DataWeave script I've used for this codelab below.
%dw 2.0
output application/java
---
[
  {
    "longDescription": "1000 Miles",
    "id": "1000 MILES",
    "description": "1000 Miles",
    "canUseRevenueSchedule": false,
    "isIntellectualPropertyProtected": false,
    "isAutoProvisionable": false,
    "isCustomerDiscountAllowed": false,
    "requiresUnitPriceLabel": true
  }
]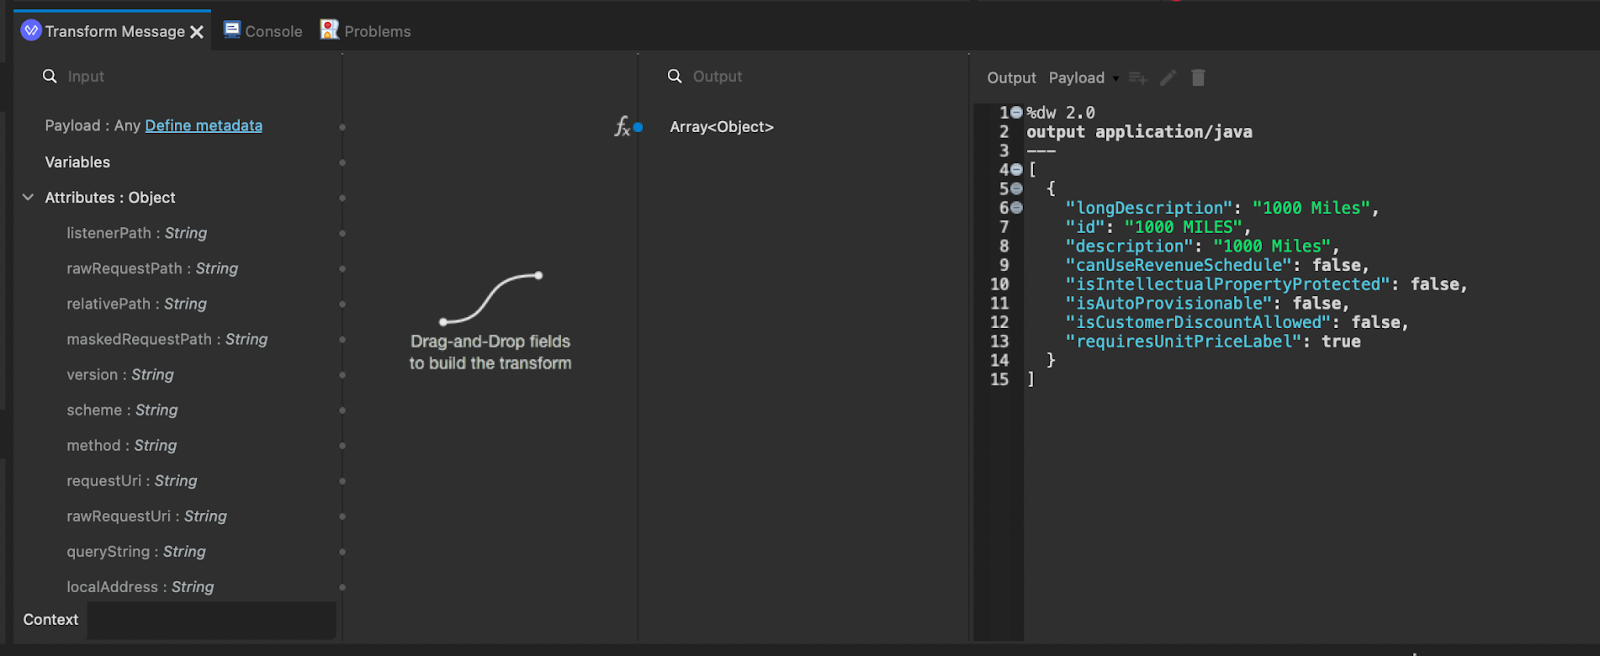
In the last Transform Message component, we just want to take the output and return that back to the user in JSON format. You can copy and paste the DataWeave script below.
%dw 2.0
output application/json
---
payload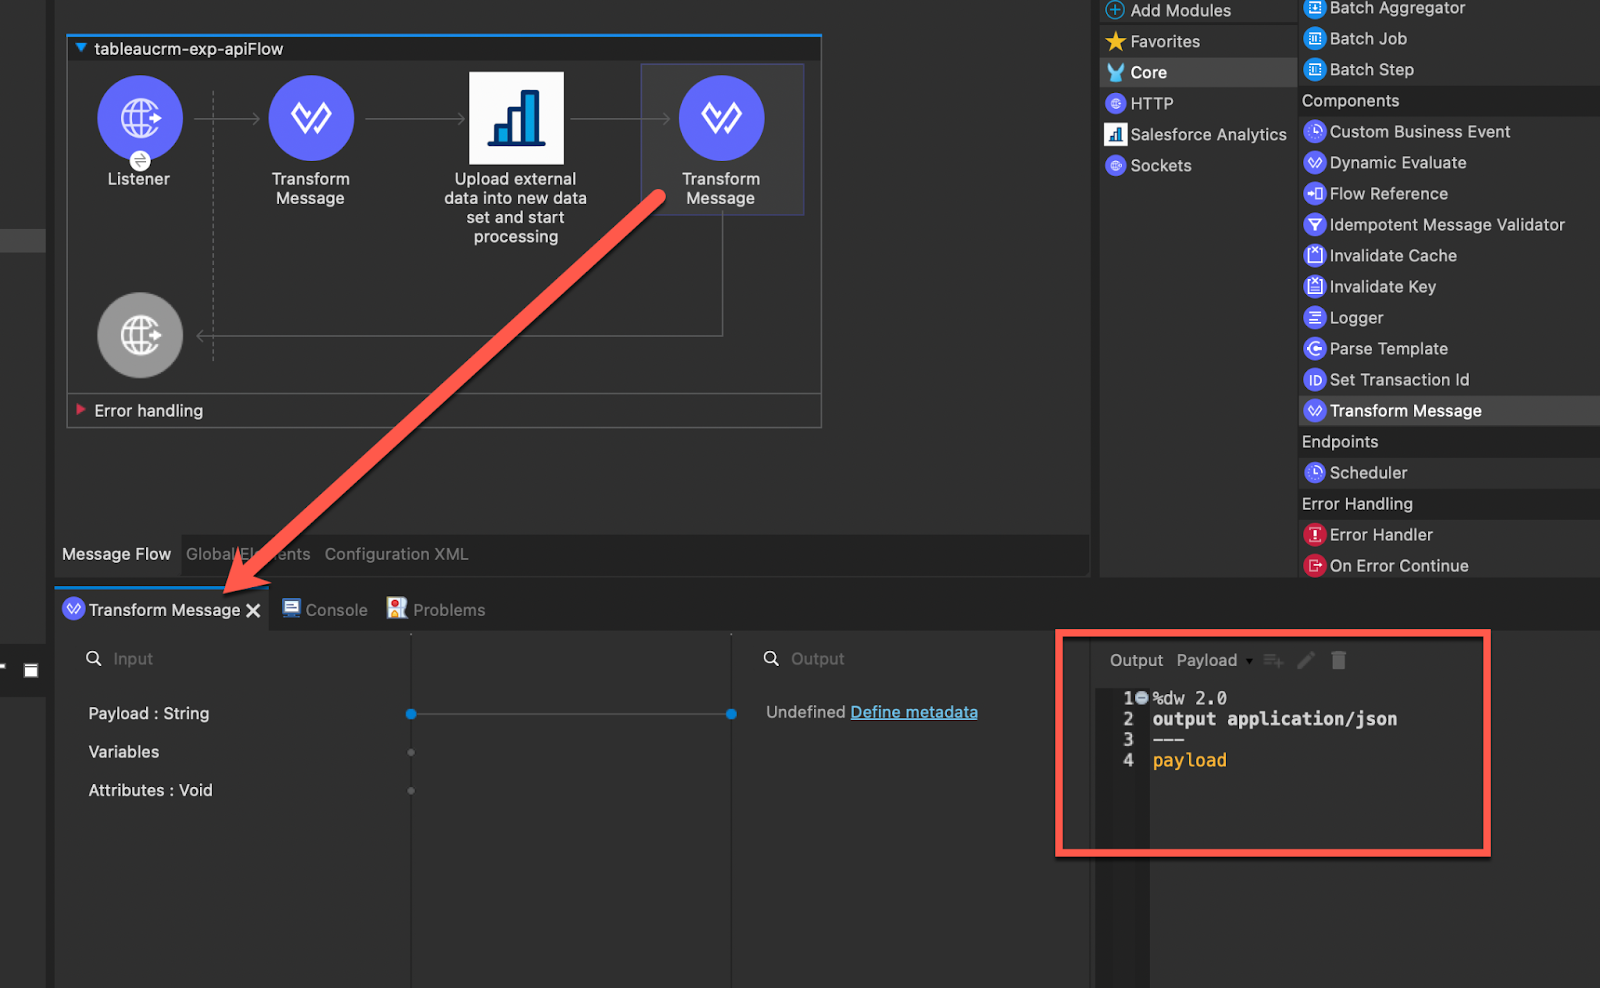
Let's run the Mule application and load data into Tableau CRM. Right click on the canvas and select Run project <application name>
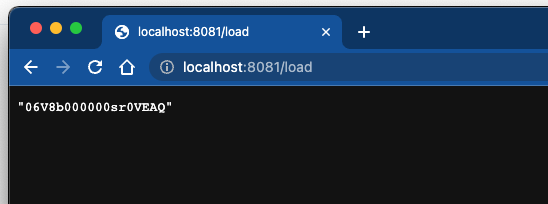
Switch to your browser and open the following URL
http://localhost:8081/loadIf the flow was set up correctly, you should see the following screen.
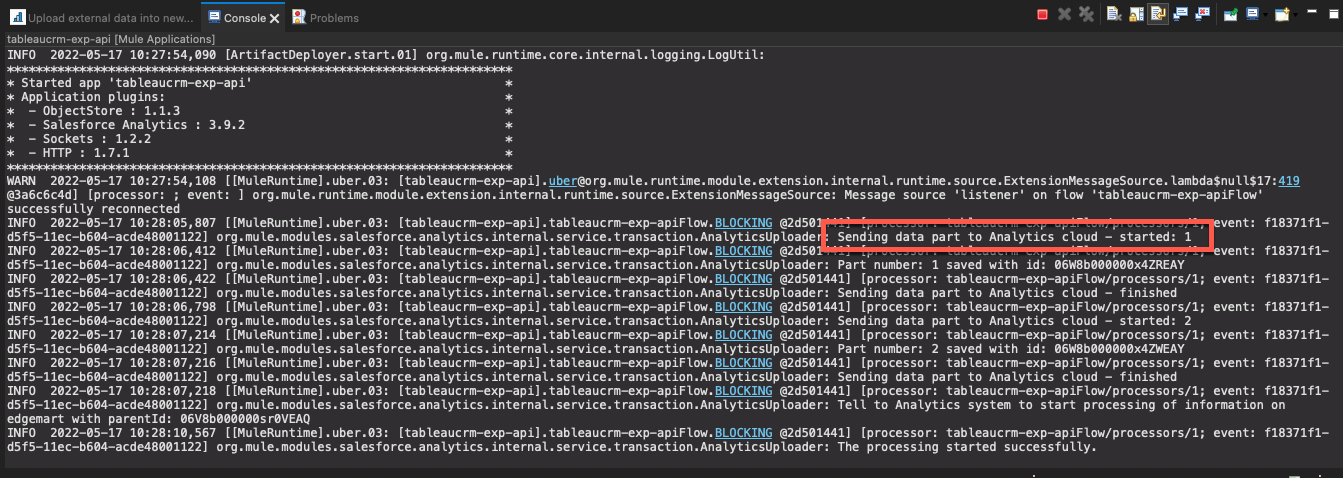
Additionally, in the Console tab, you'll see messages about sending data to Analytics cloud.
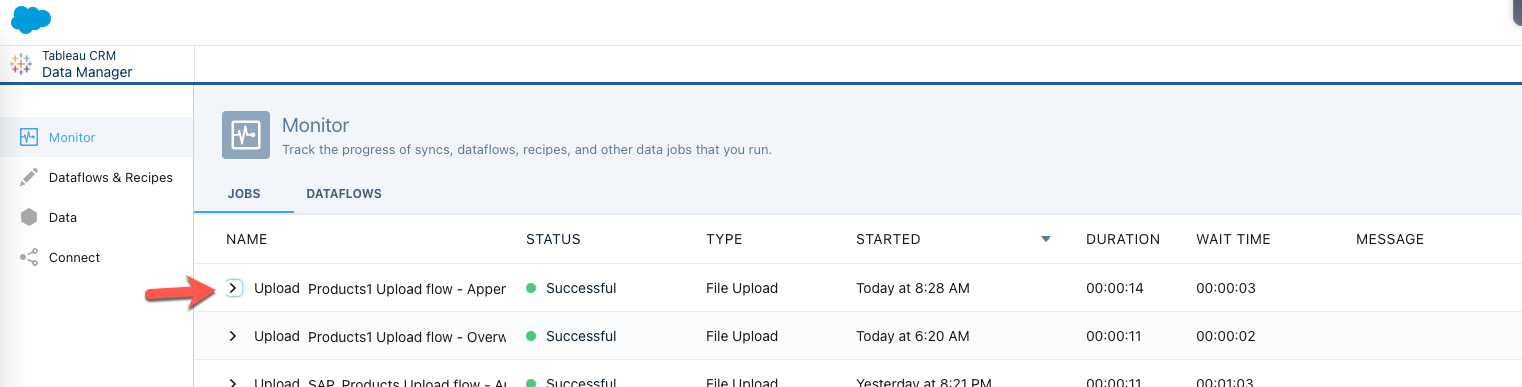
Switch back to Tableau CRM and click on Data Manager
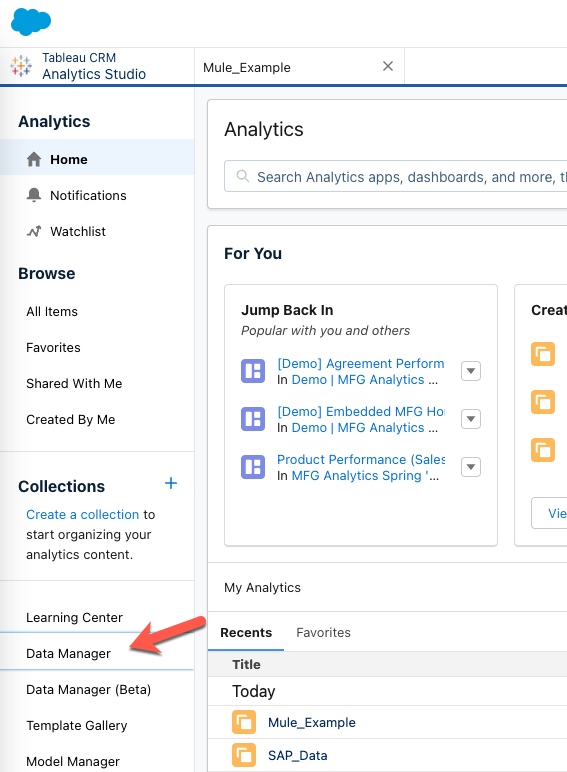
You'll see the job in the Monitor section and the status showing the data was successfully loaded.
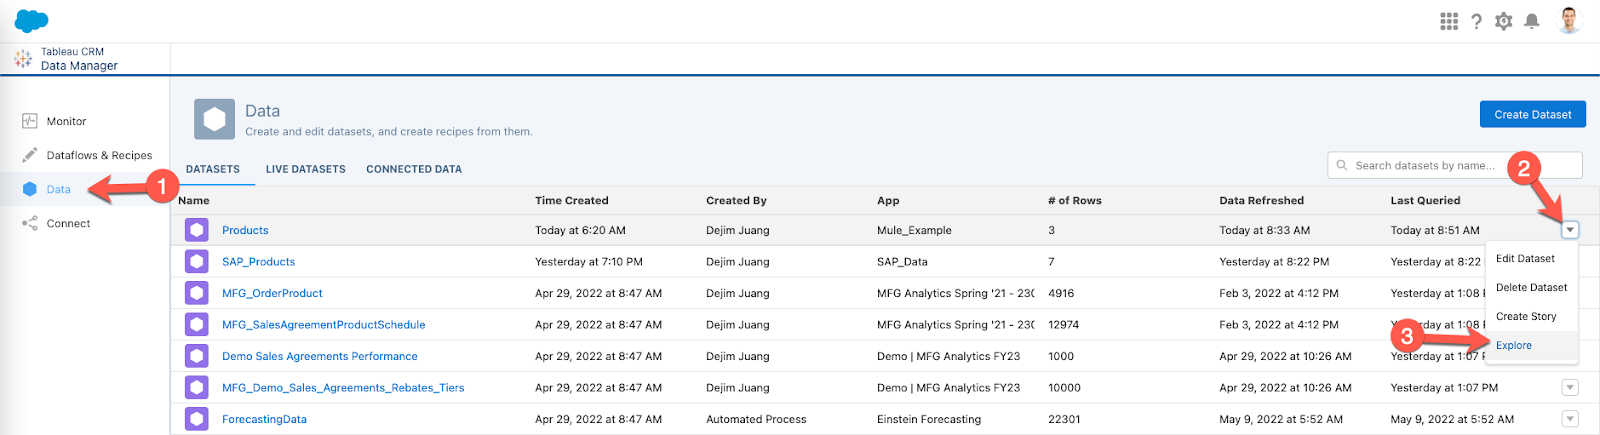
Let's look at the data now. Click on Data in the left-hand navigation. Click on the drop-down icon and select Explore.
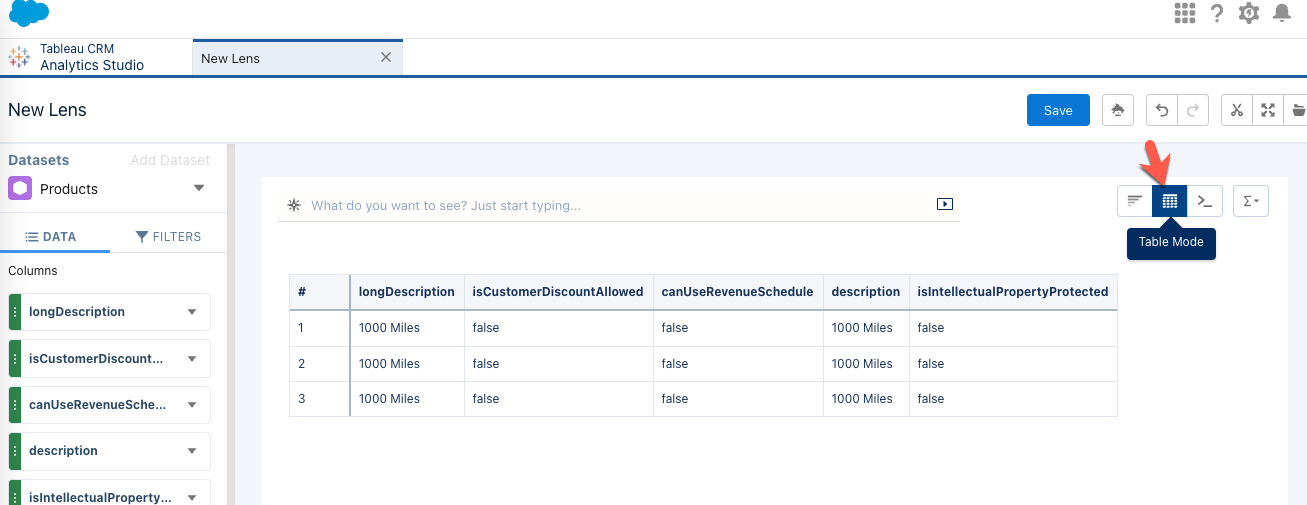
In the new window, click on Table Mode to toggle the view and see the data that we just appended to the Dataset.
Congratulations! You've learned how to load data into Tableau CRM using MuleSoft and the Tableau CRM connector. While this Codelab shows you how to load static data, you can extend this project further and load data from a database, file, or even API. MuleSoft gives you the ability to orchestrate and enrich data from these various sources to help your users make better decisions.