Google Sheets is a real-time spreadsheet tool with powerful functions to help teams efficiently perform multiple functions such as helping sales teams collaborate on leads and opportunities, and helping HR teams collaborate on candidates for interviewing and hiring.
The Google Sheets Connector allows users to easily synchronize data and automates business processes between Google Sheets and third-party applications, either on-premises or in the cloud.
In this codelab, I'll walk you through the process of setting up the Google Sheets connector and running a simple Mule application to list files in your Google Drive.
What you'll learn
- How to setup the Google Sheets connector.
What you'll need
- Anypoint Studio 7.10
- Google Sheets Connector
- Google Cloud Platform
Before we build the Mule application, we need to set up a project in Google Cloud and create the credentials for the OAuth 2.0 call for the Google Sheets API that we plan to use.
Create Project
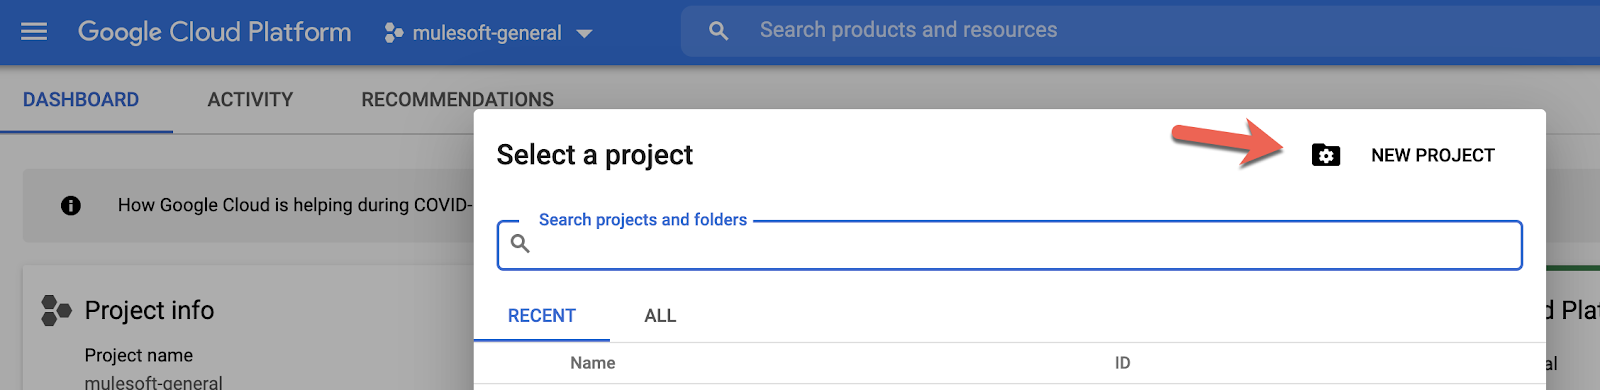
Go to Google Cloud Console (https://console.cloud.google.com) and create a new project or use an existing one.
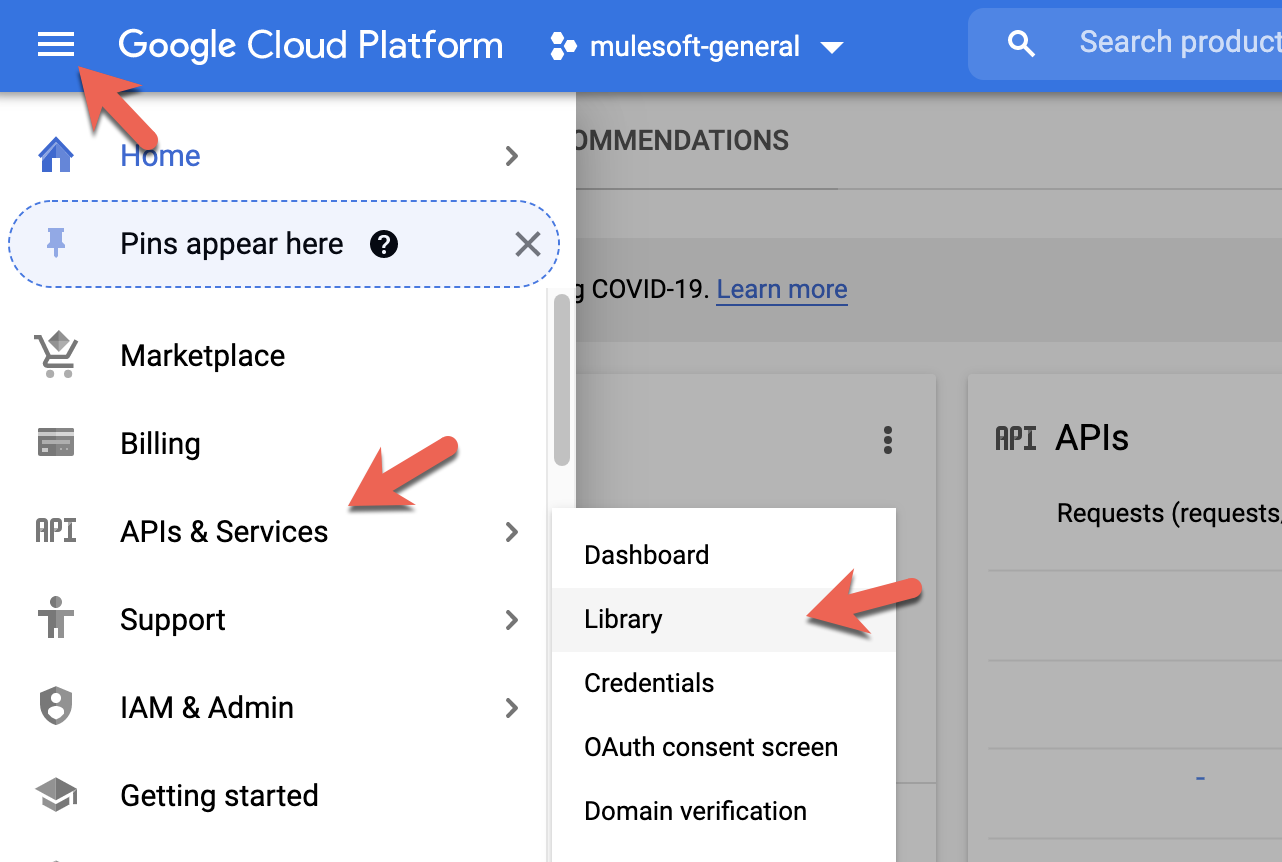
In the project, click on the hamburger menu in the top left and navigate to to APIs & Services and click on Library
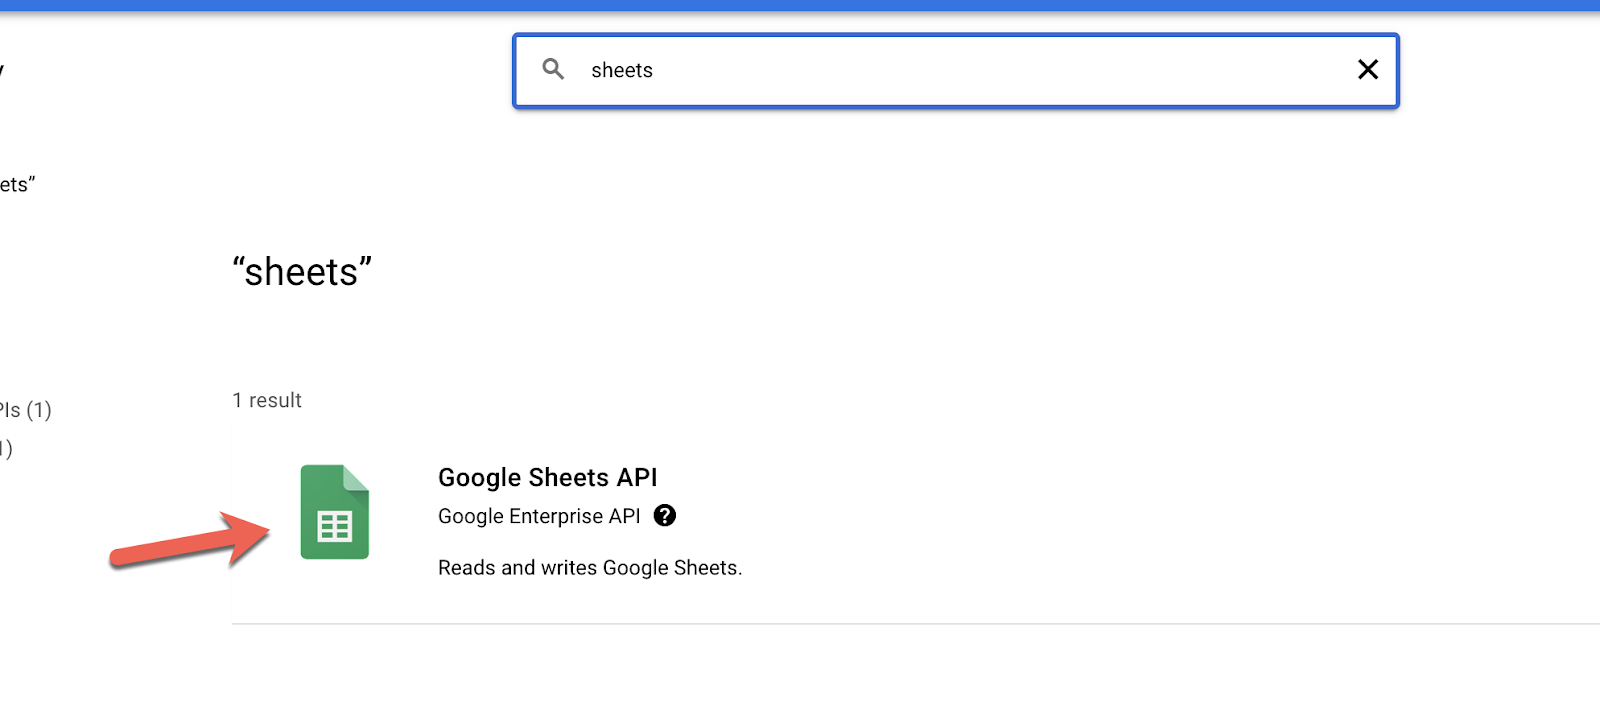
Search for ‘sheets' and click on Google Sheets API
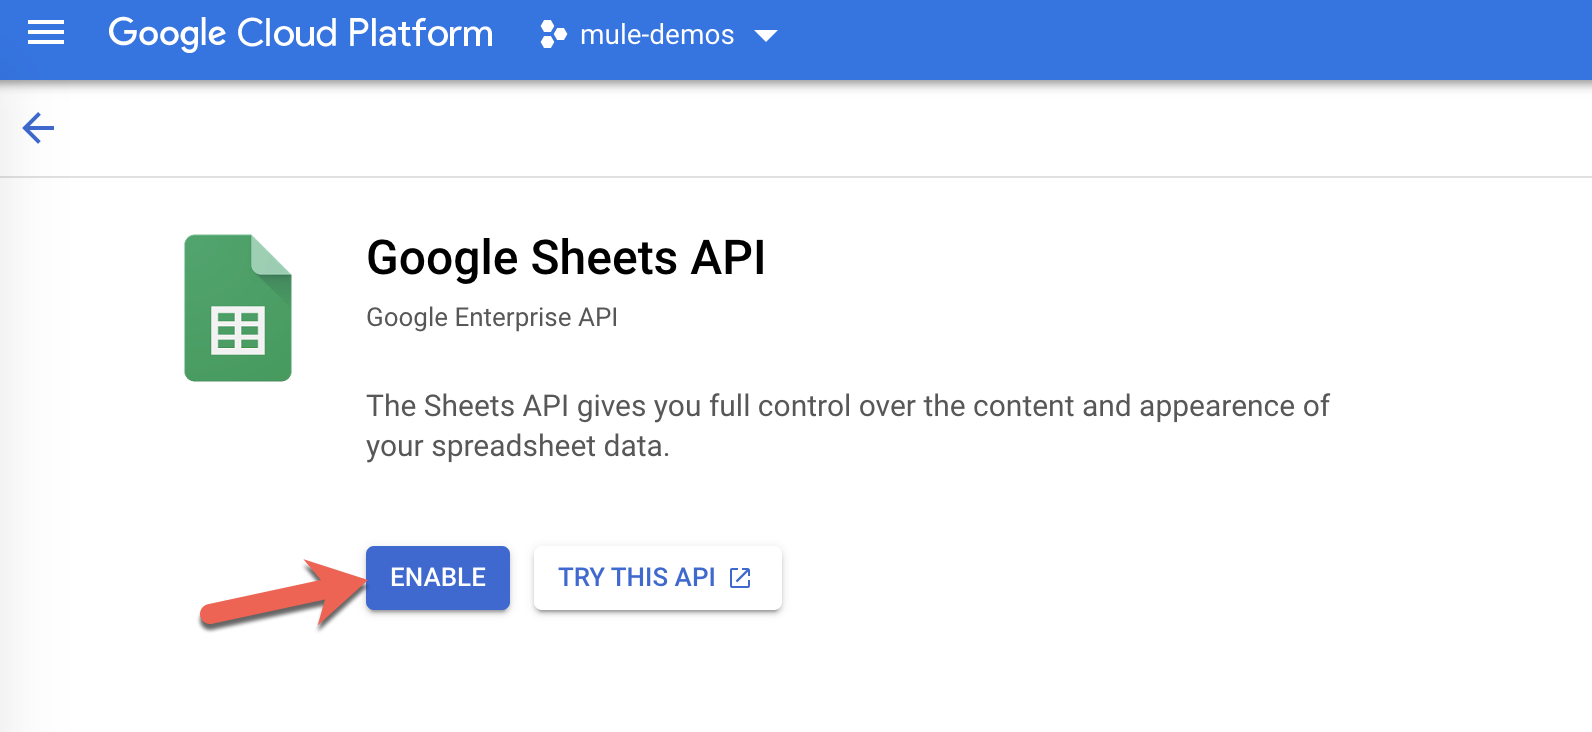
Click on Enable
Create Credentials
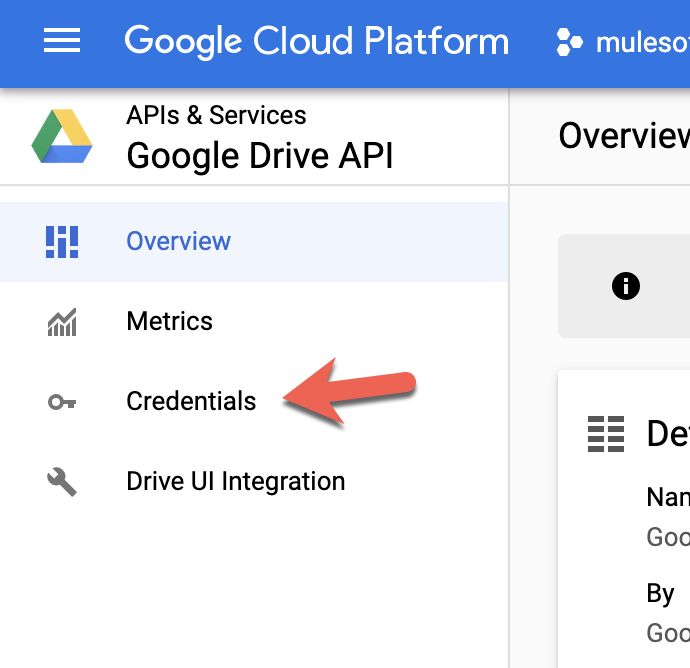
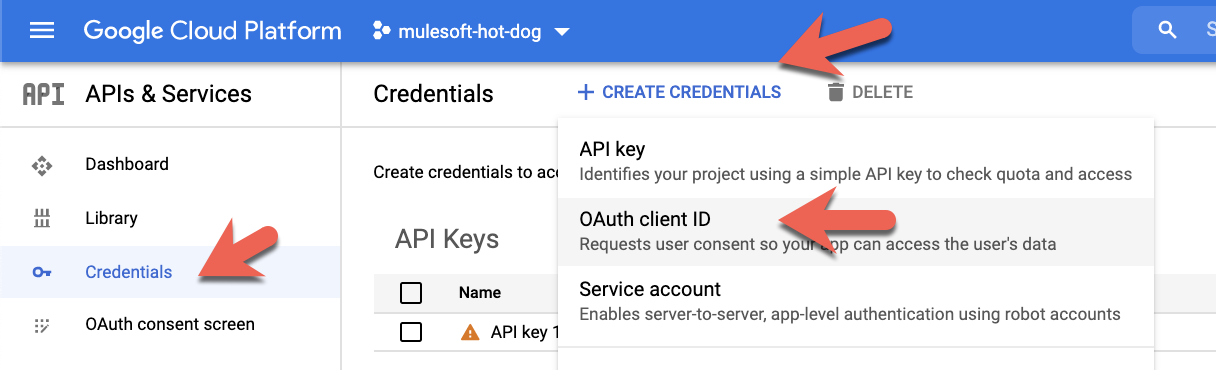
In the Overview screen, click on Credentials on the left hand navigation.
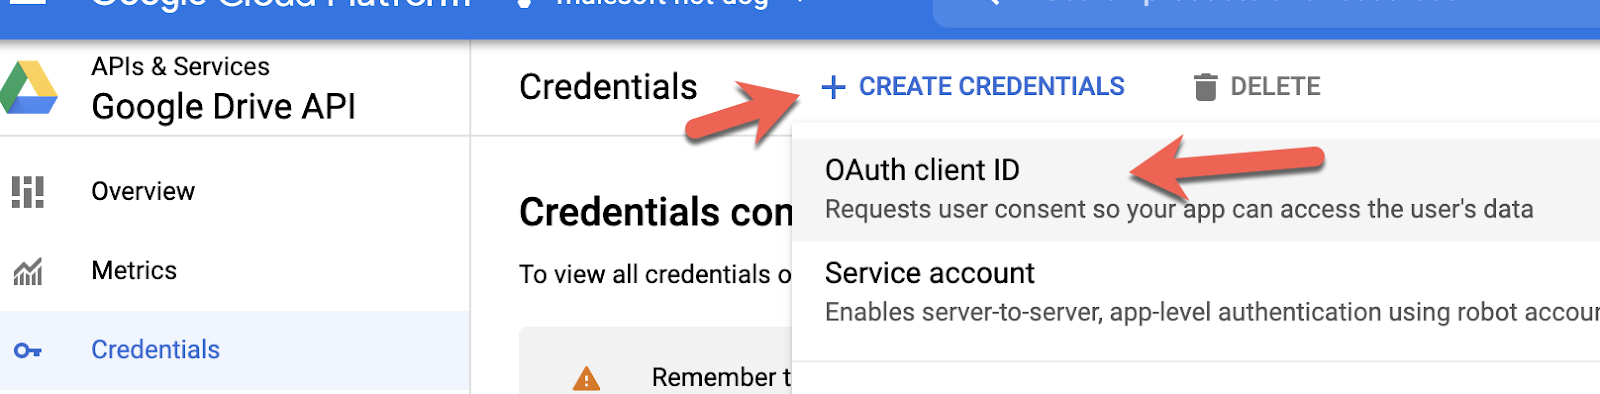
In the Credentials screen, click on Create Credentials and click on OAuth client ID
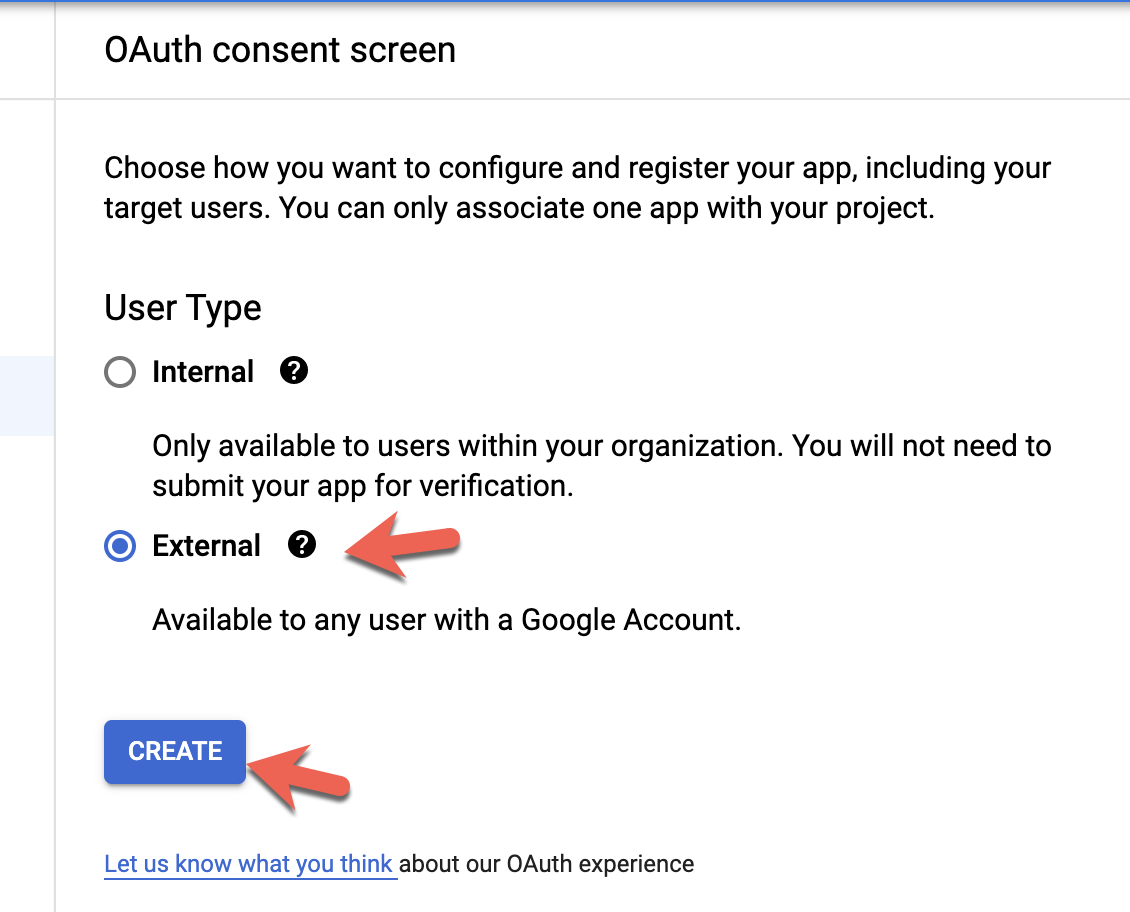
Before you can create an OAuth client ID, you need to configure the consent screen. Click on Configure Consent Screen. In the next screen, check External and click on Create
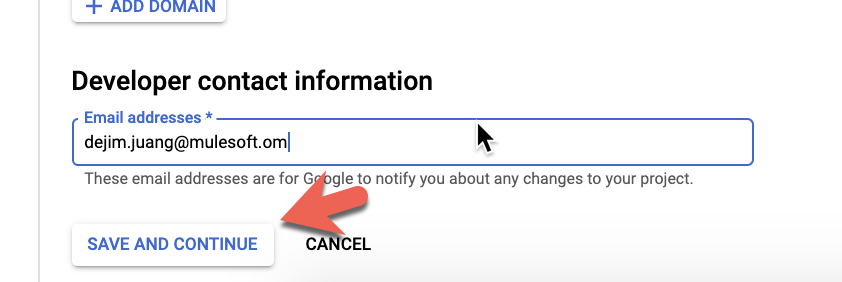
In the next screen, fill in the required fields for the App information and Developer contact information sections and click on Save and Continue near the bottom of the screen.
In the Scopes and Optional info section, just click on Save and Continue.
Lastly, on the Summary screen, click on Back to Dashboard to finish configuring the consent screen.
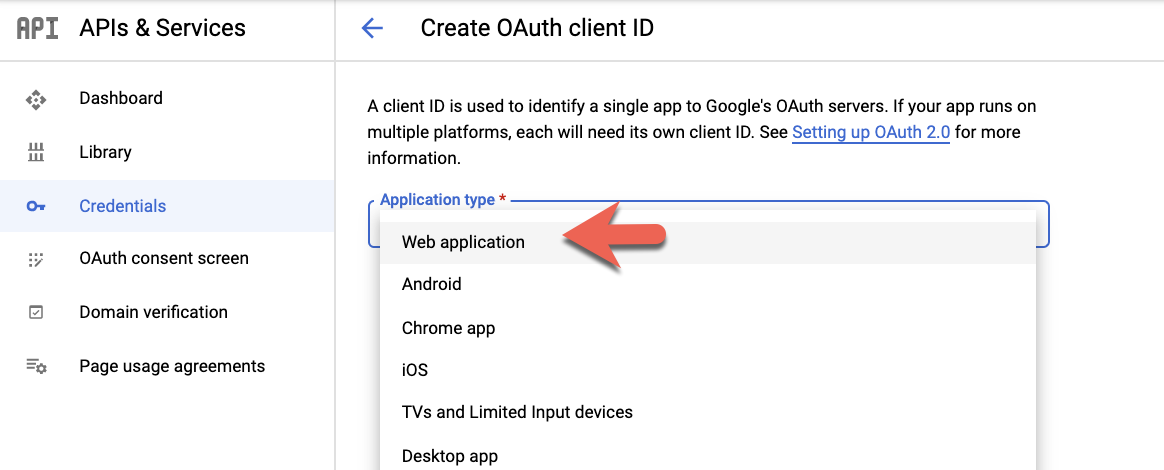
Now we can go back and setup the OAuth 2.0 client ID. Click on Credentials on the left hand navigation and then click on Create Credentials and OAuth client ID
Select Web application for the Application type drop-down.
Give the application a name (e.g. Mule Application) and add the following URI for the Authorized redirect URIs section and then click on Create
http://127.0.0.1:8081/callback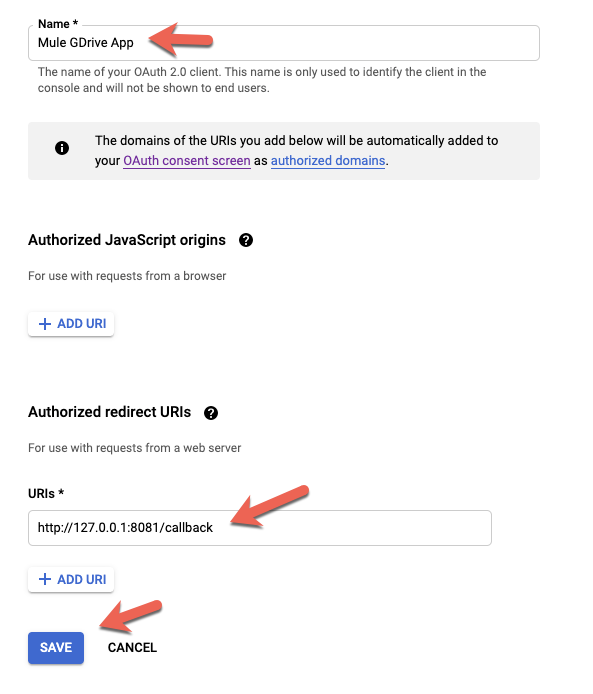
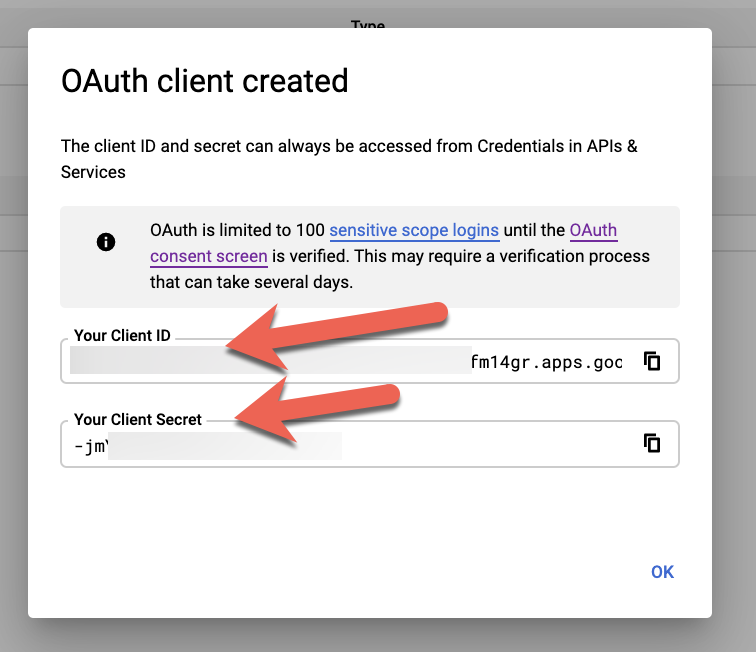
Copy down the client ID and client secret. You'll need these for the next section.
Create New Mule Project
Now that we've setup the Google Sheets API, let's create the Mule application. Switch over to Anypoint Studio and create a new project by going to File > New > Mule Project

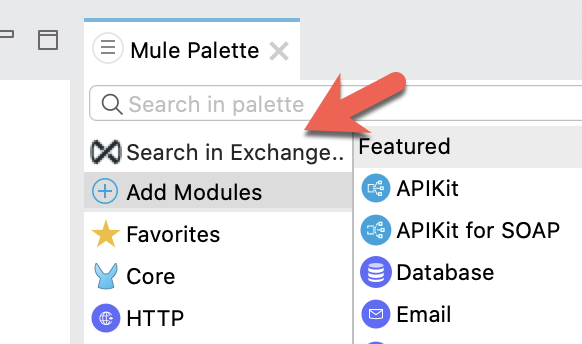
Before we build our flow, we need to add the Google Sheets module. In the Mule Palette, click on Search in Exchange
Search for sheets and select the Google Sheets Connector - Mule 4. Click on Add and then click on Finish
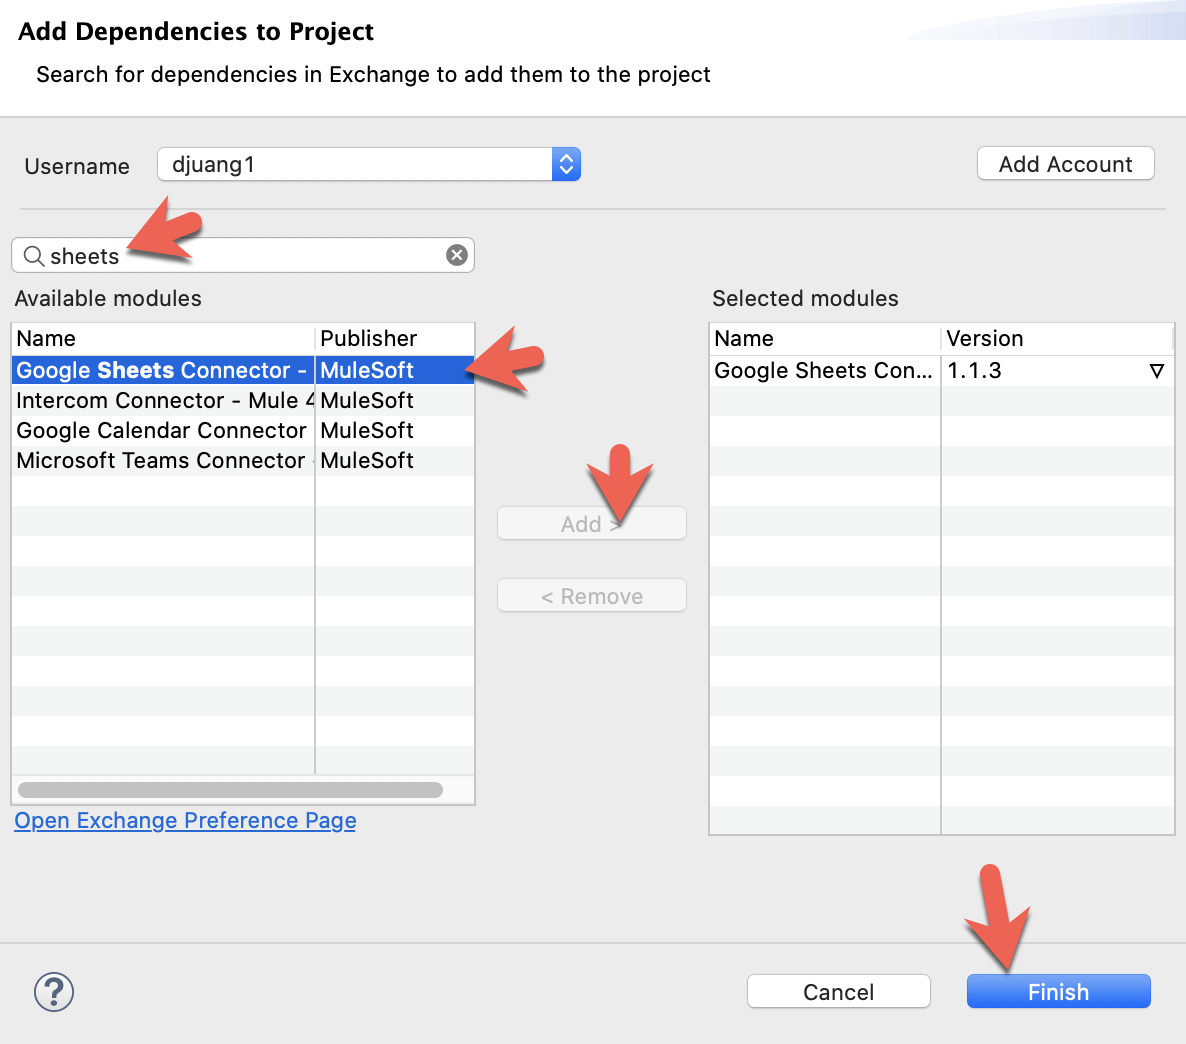
Additionally you can add the module as a dependency to your pom.xml file
<dependency>
        <groupId>com.mulesoft.connectors</groupId>
        <artifactId>mule4-google-sheets-connector</artifactId>
        <version>1.1.3</version>
        <classifier>mule-plugin</classifier>
</dependency>
Create Flow
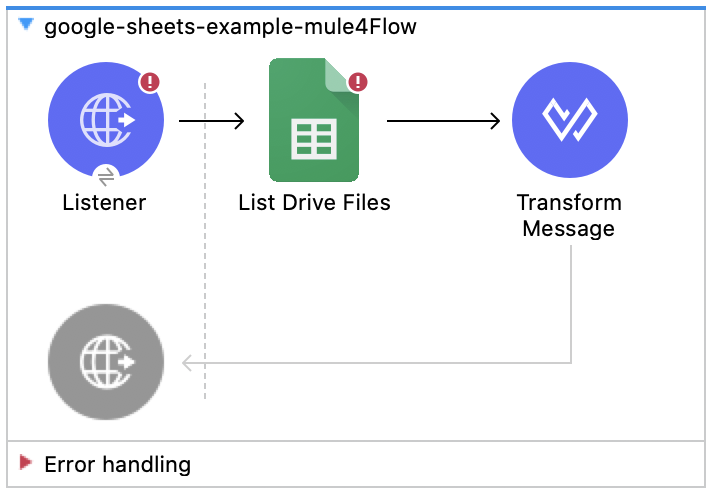
From the Mule Palette, drag and drop the following components to match the flow below. You'll need the HTTP > Listener, Google Sheets > List Drive Files, and the Transform Message components. We'll go back and configure everything later.
Set HTTP Listener Configuration
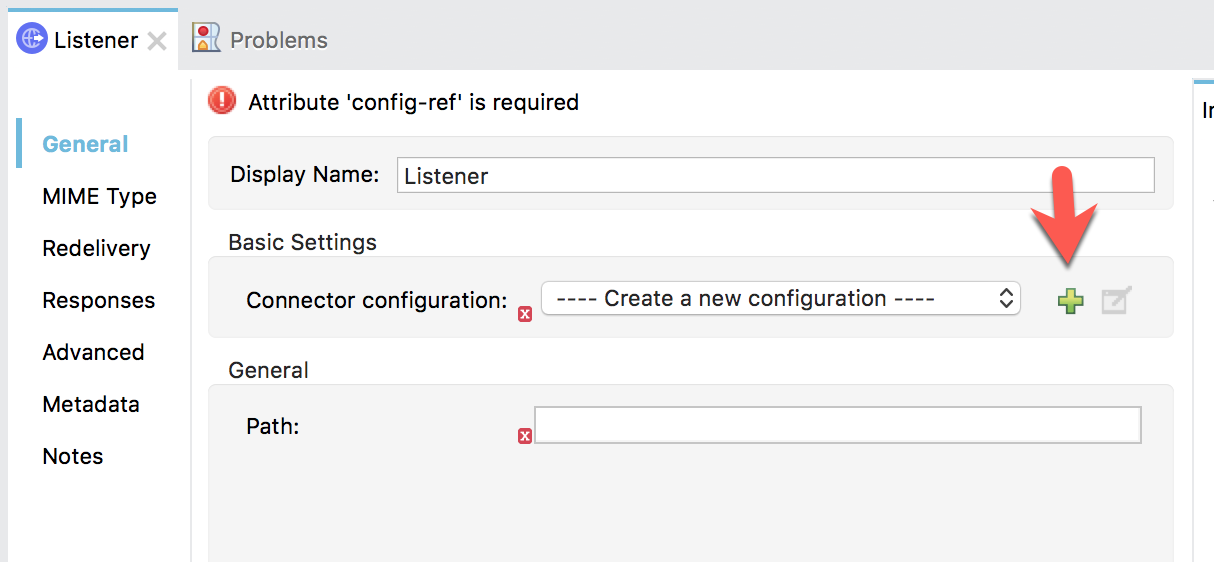
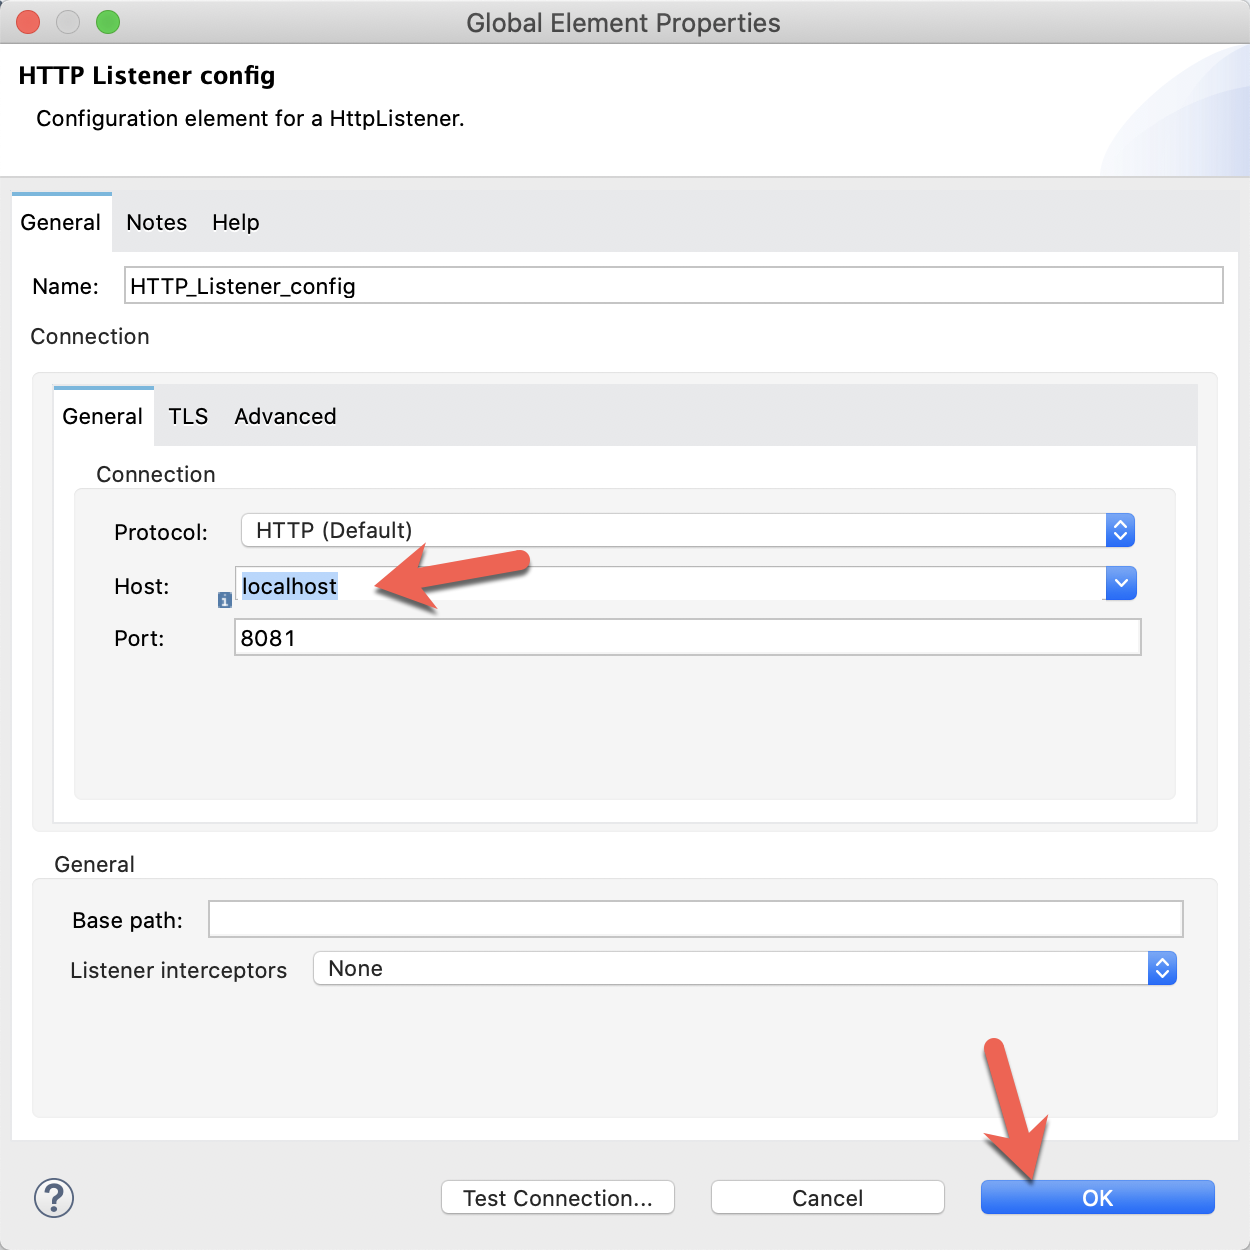
Now go back and select the HTTP Listener component in the flow we just created. If the Mule Properties tab doesn't open, click the Listener icon and click on the green plus sign to create a new Connector configuration.
Under the General tab, and in the Connection section, take note of the port. By default this will be 8081. Change the Host: to localhost and then click on OK to accept the defaults and proceed.
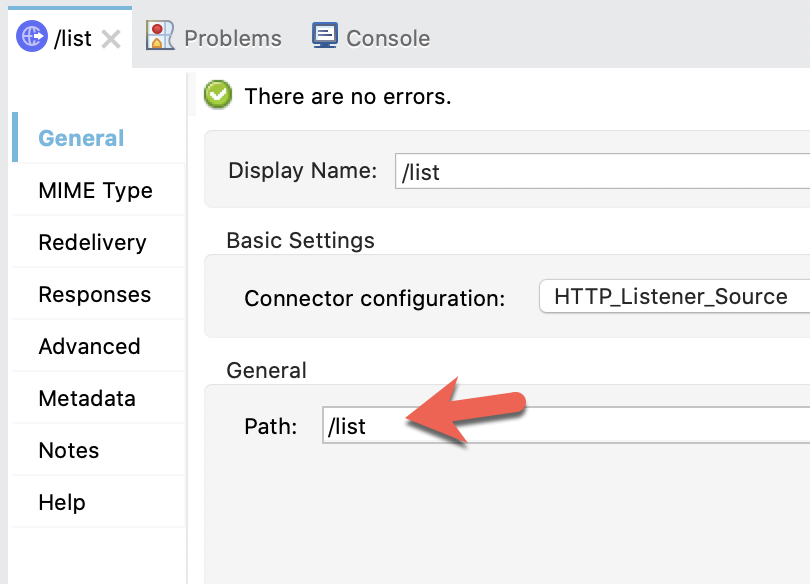
Set Listener Path
Back in the Listener Mule properties tab, fill in the Path field with the value /list. Also fill in the Display Name field with the value /list.
Let's configure the List Drive Files component now to call the Google Sheets API.
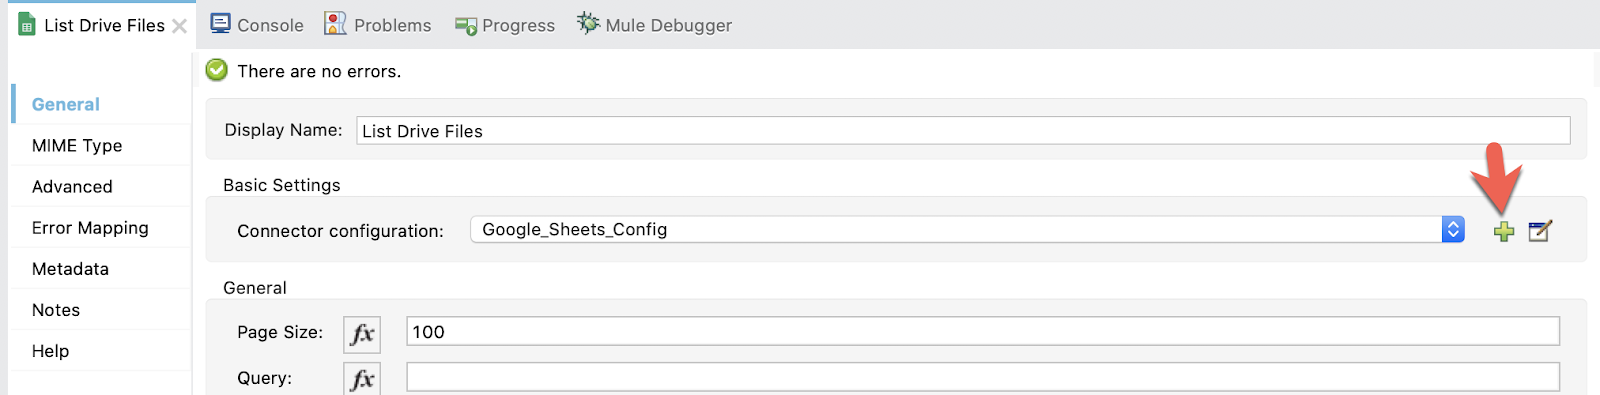
Set Google Sheets Configuration
Select the List Drive Files component. If the Mule Properties tab doesn't open, click the List Drive Files icon and click on the green plus sign to create a new Connector configuration.
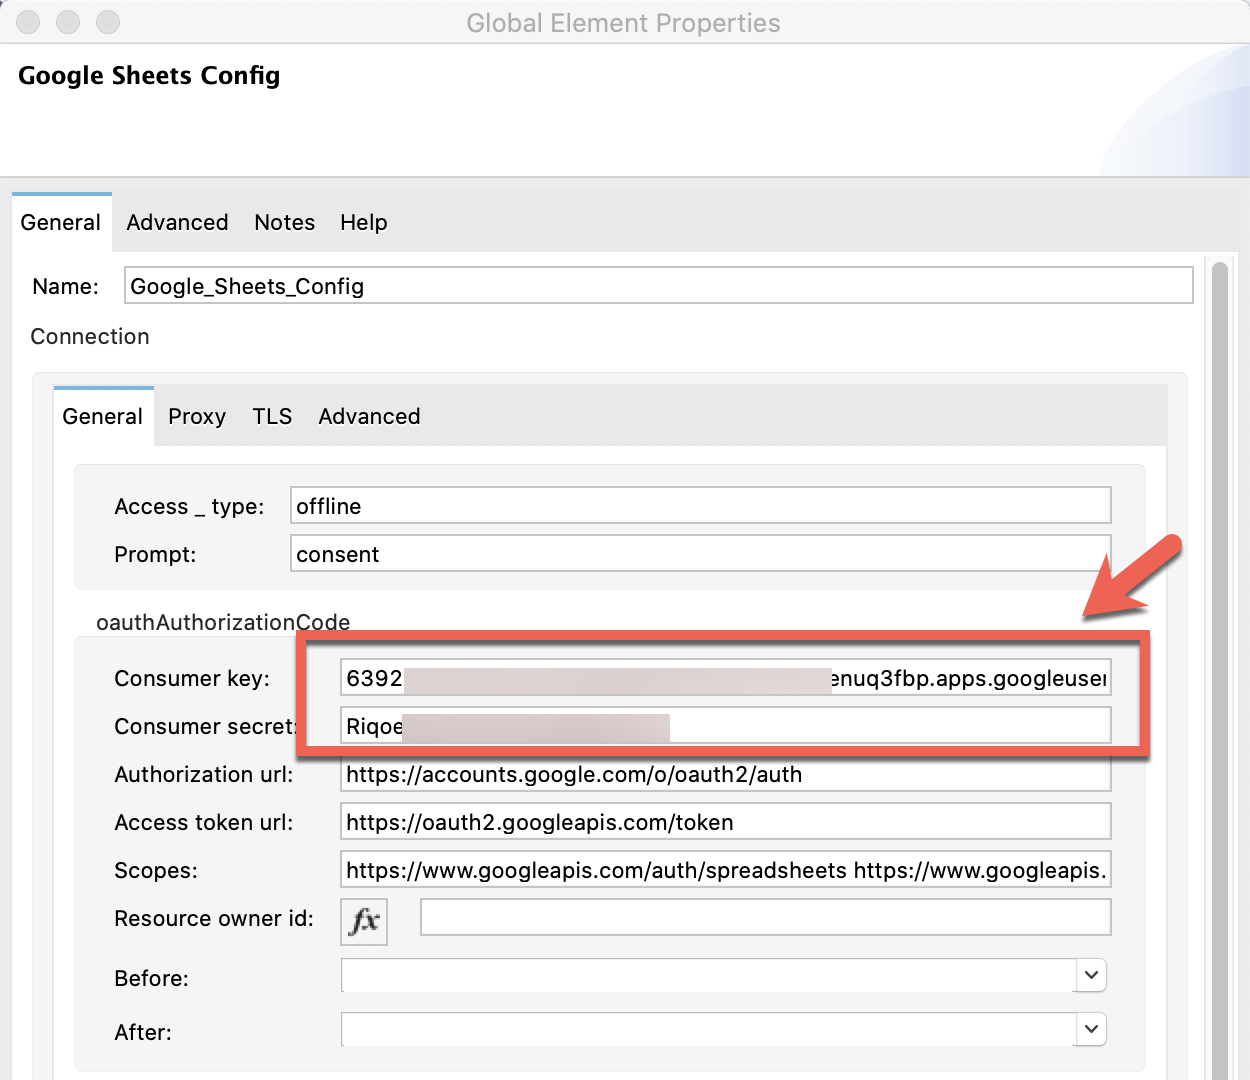
This is where the bulk of the configuration will be for calling the Google Sheets API.
Under the General tab, and in the oauthAuthorizationCode section, fill in the Consumer key: and Consumer secret: field with the Client ID and Client Secret from the previous step in the Google Cloud Platform console.
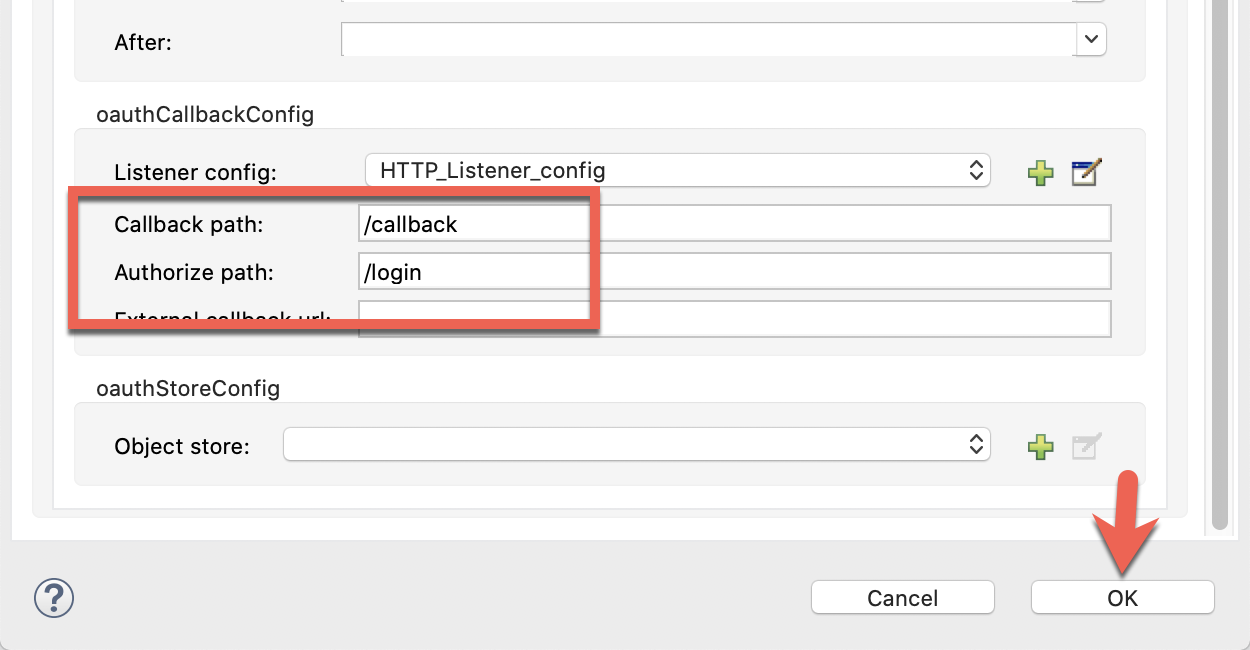
Scroll down and find the oauthCallbackConfig section. Fill in the Callback path: and Authorize path: fields to match the following screenshot. Then click on OK to close the screen.
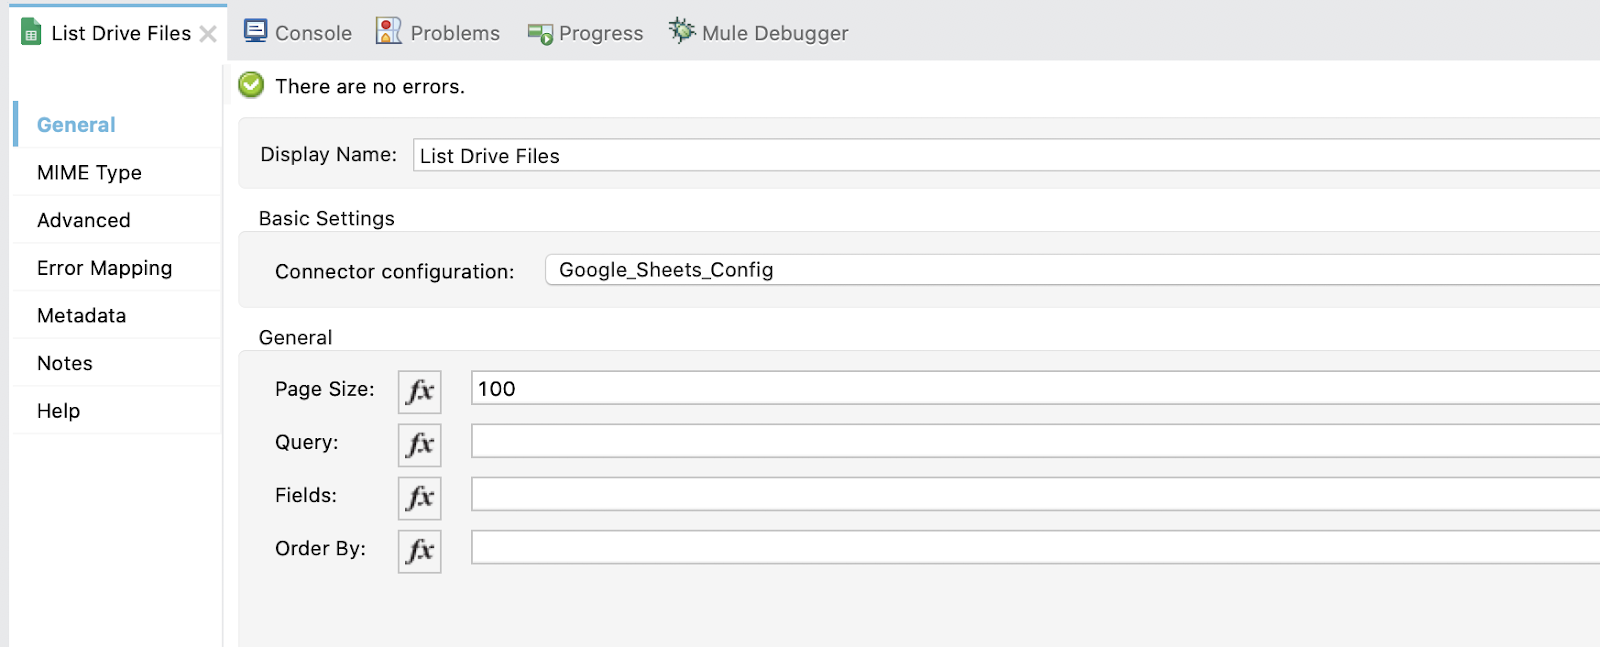
List Drive Files
Leave the default values for the List Drive Files configuration and move on to the next step.
We're going to take the response from the List Drive Files operation and convert the output to JSON and return that back to the browser. Double click on the Transform Message component and paste the following DataWeave script into the editor.
%dw 2.0
output application/json
---
payload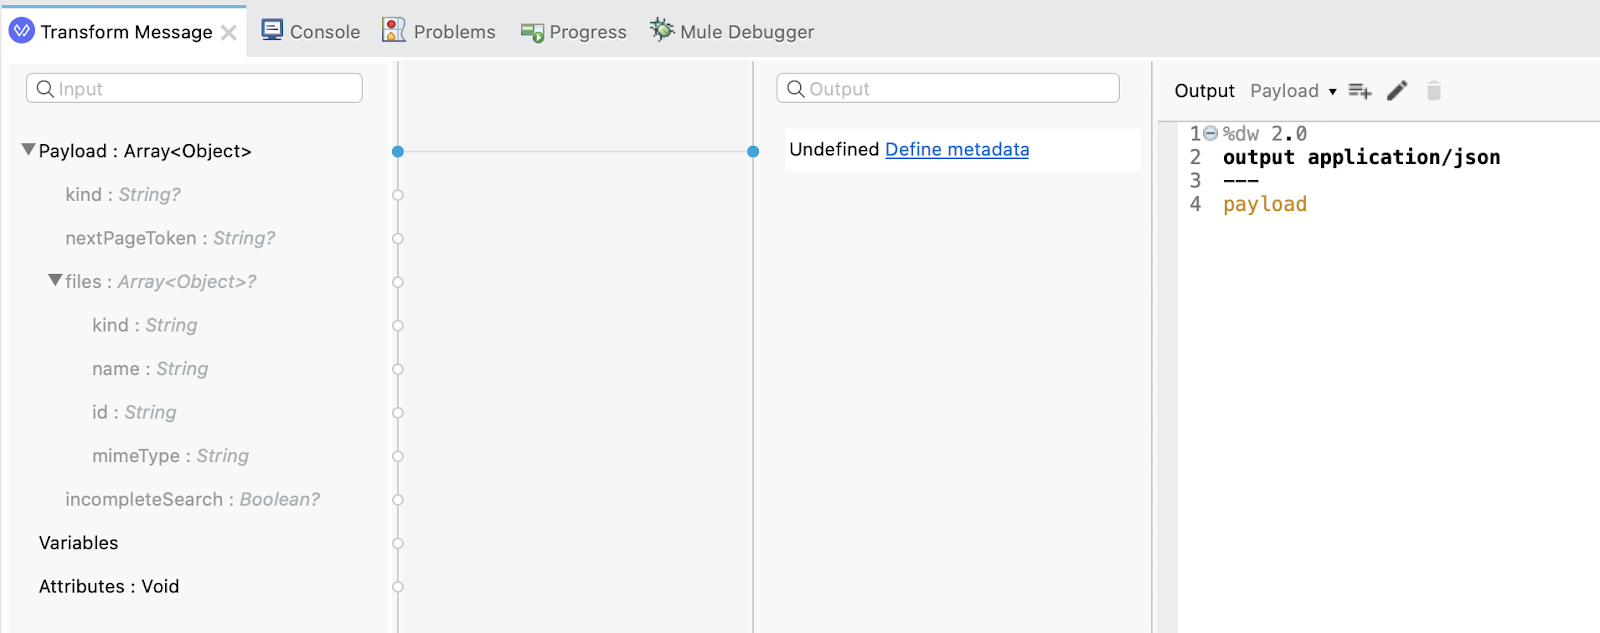
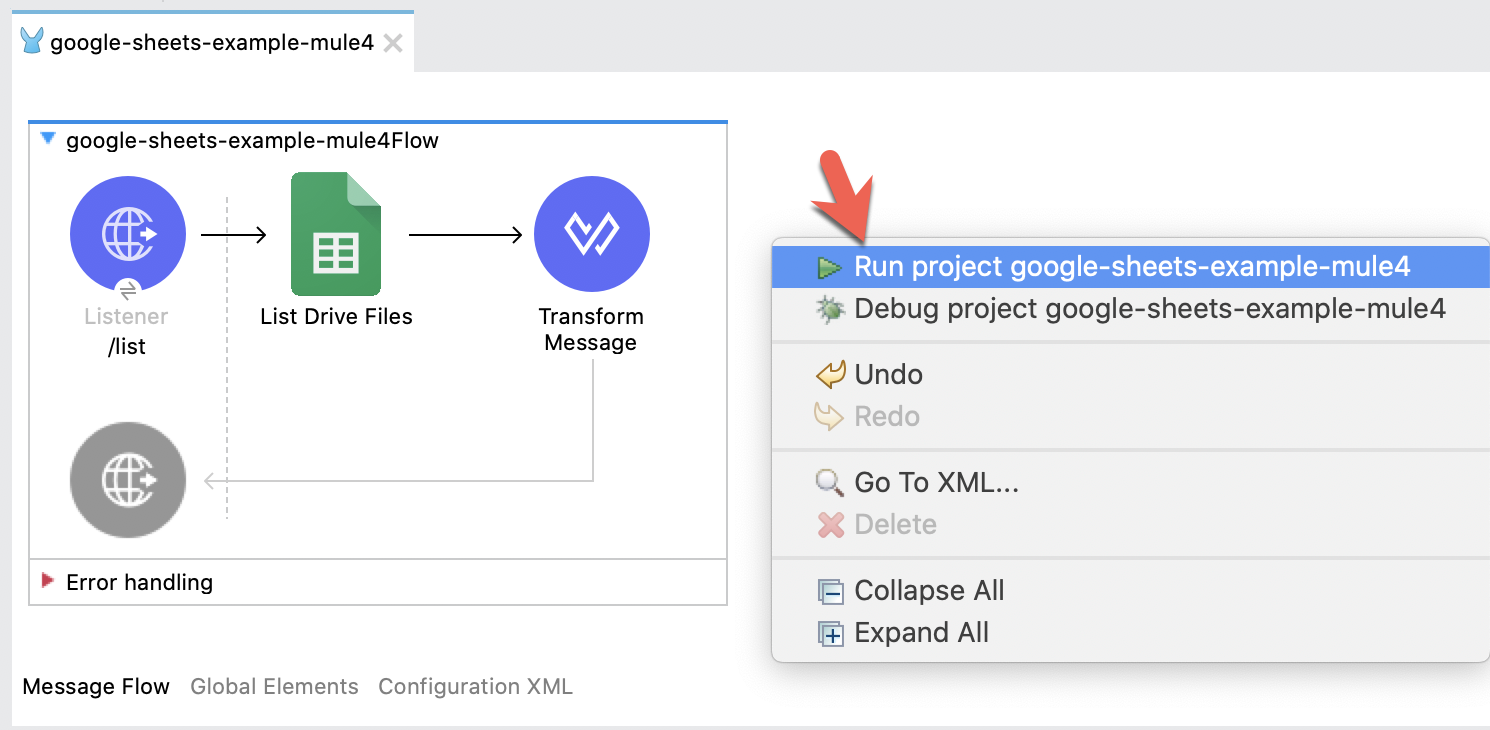
Now that everything has been configured, let's run the project and test the flow. Right-click on the canvas and click on Run project
When the project is successfully deployed, switch to your browser and navigate to the following URL
http://localhost:8081/login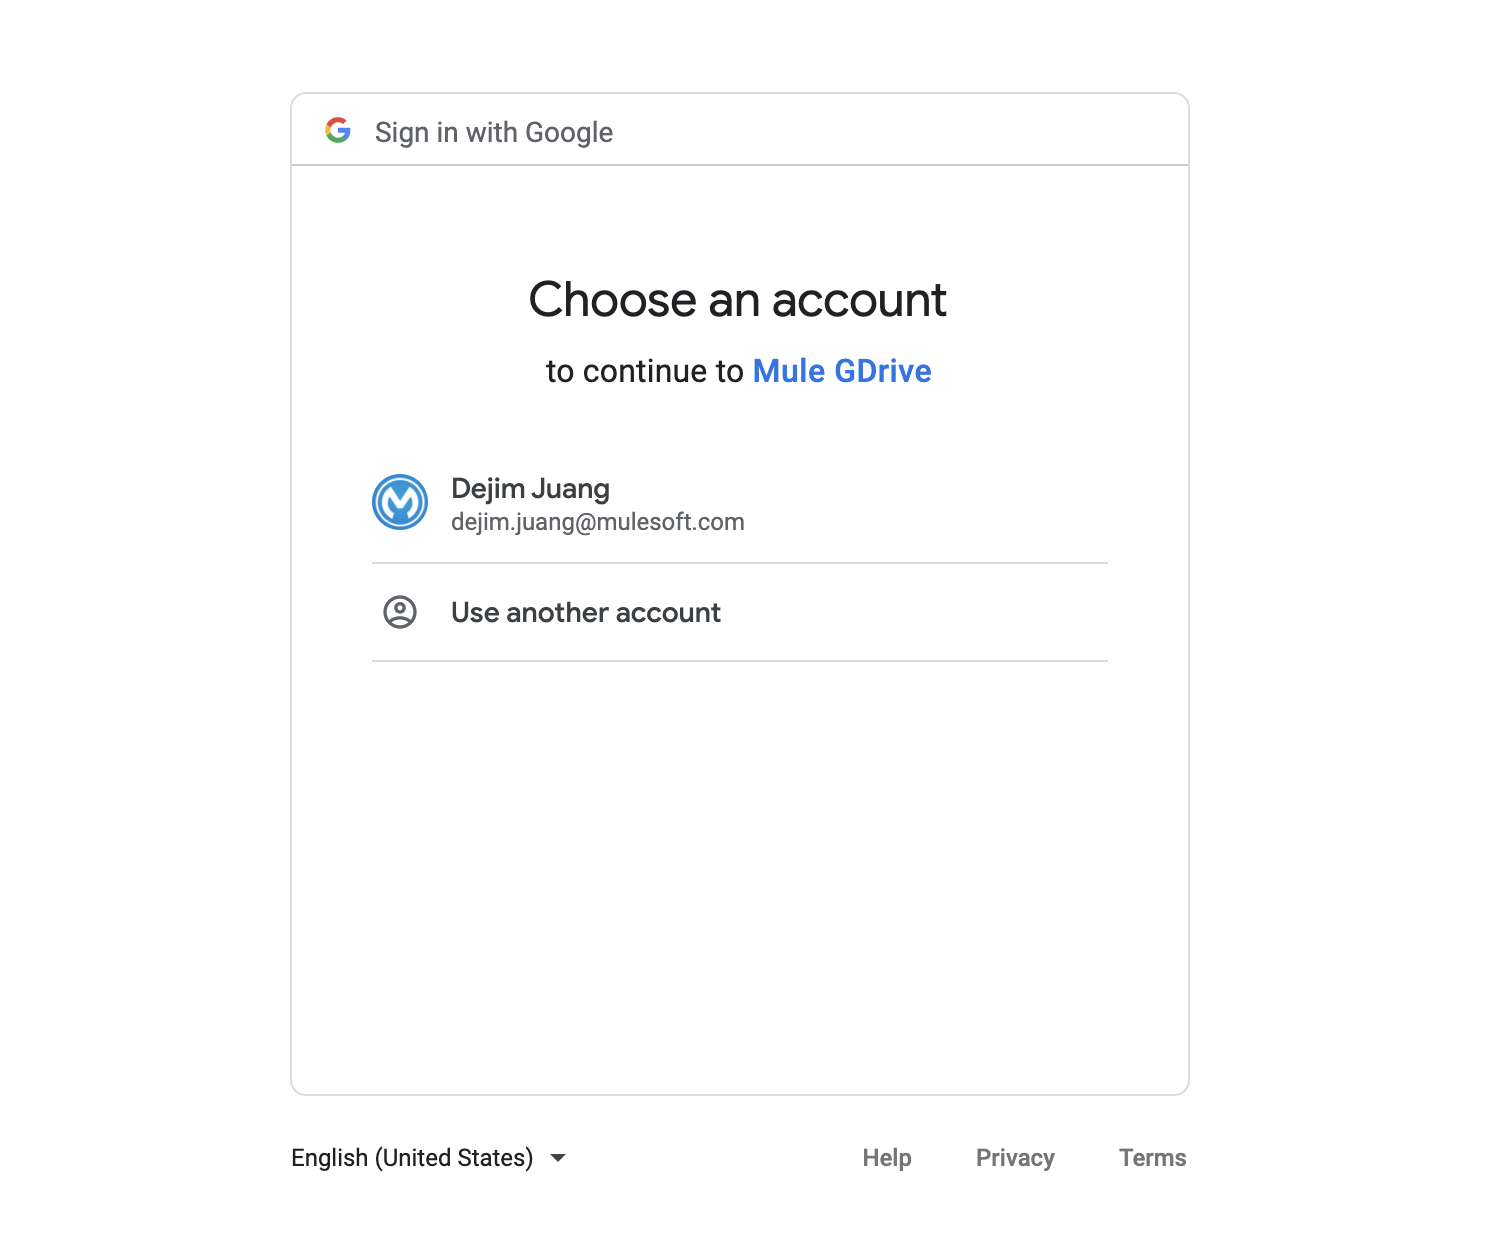
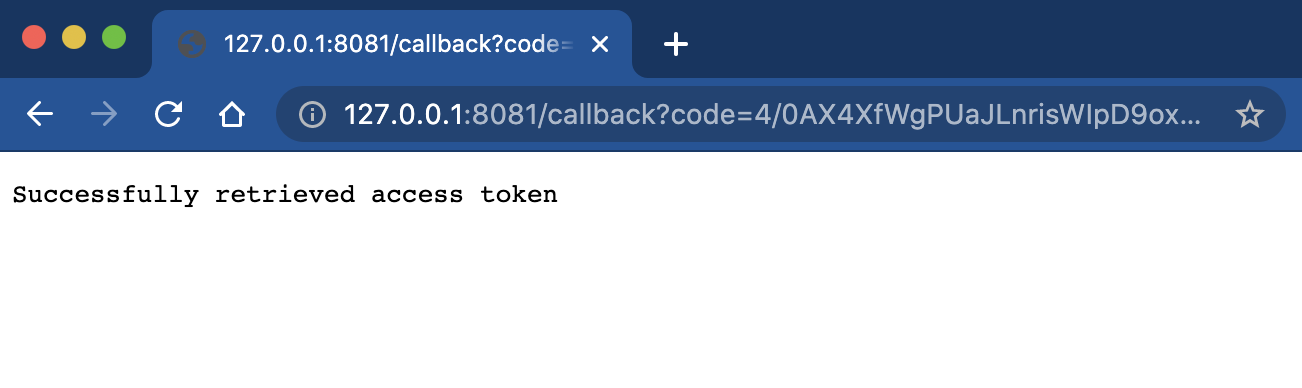
If configured correctly, you'll be redirected to the Google Sign-In screen to authenticate the user. If you're already logged in, you'll be presented with the account you want to use. Once authenticated, you'll be redirected back to the authenticated redirect URI that you set up previously (http://localhost:8081/callback) and you'll see the following screen.
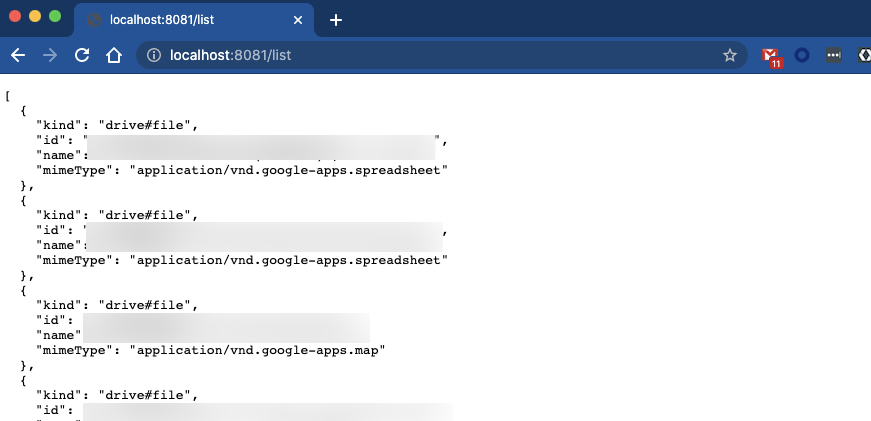
Open a new tab and navigate to (http://localhost:8081/list) and click refresh. Now you should see the data successfully returned back from the Google API.
In this codelab you learned how to set up and use the Google Sheets connector in Anypoint Studio. As you learned, there are a couple of steps that need to be completed on the Google side in the Google Cloud console before we can make the call.
We only covered using the List Drive Files operation but you can take what you learned and use any of the other operations that the Google Sheet connector provides. The configuration for the Google Drive connector is essentially the same.
What's next?
Check out some of these other codelabs...